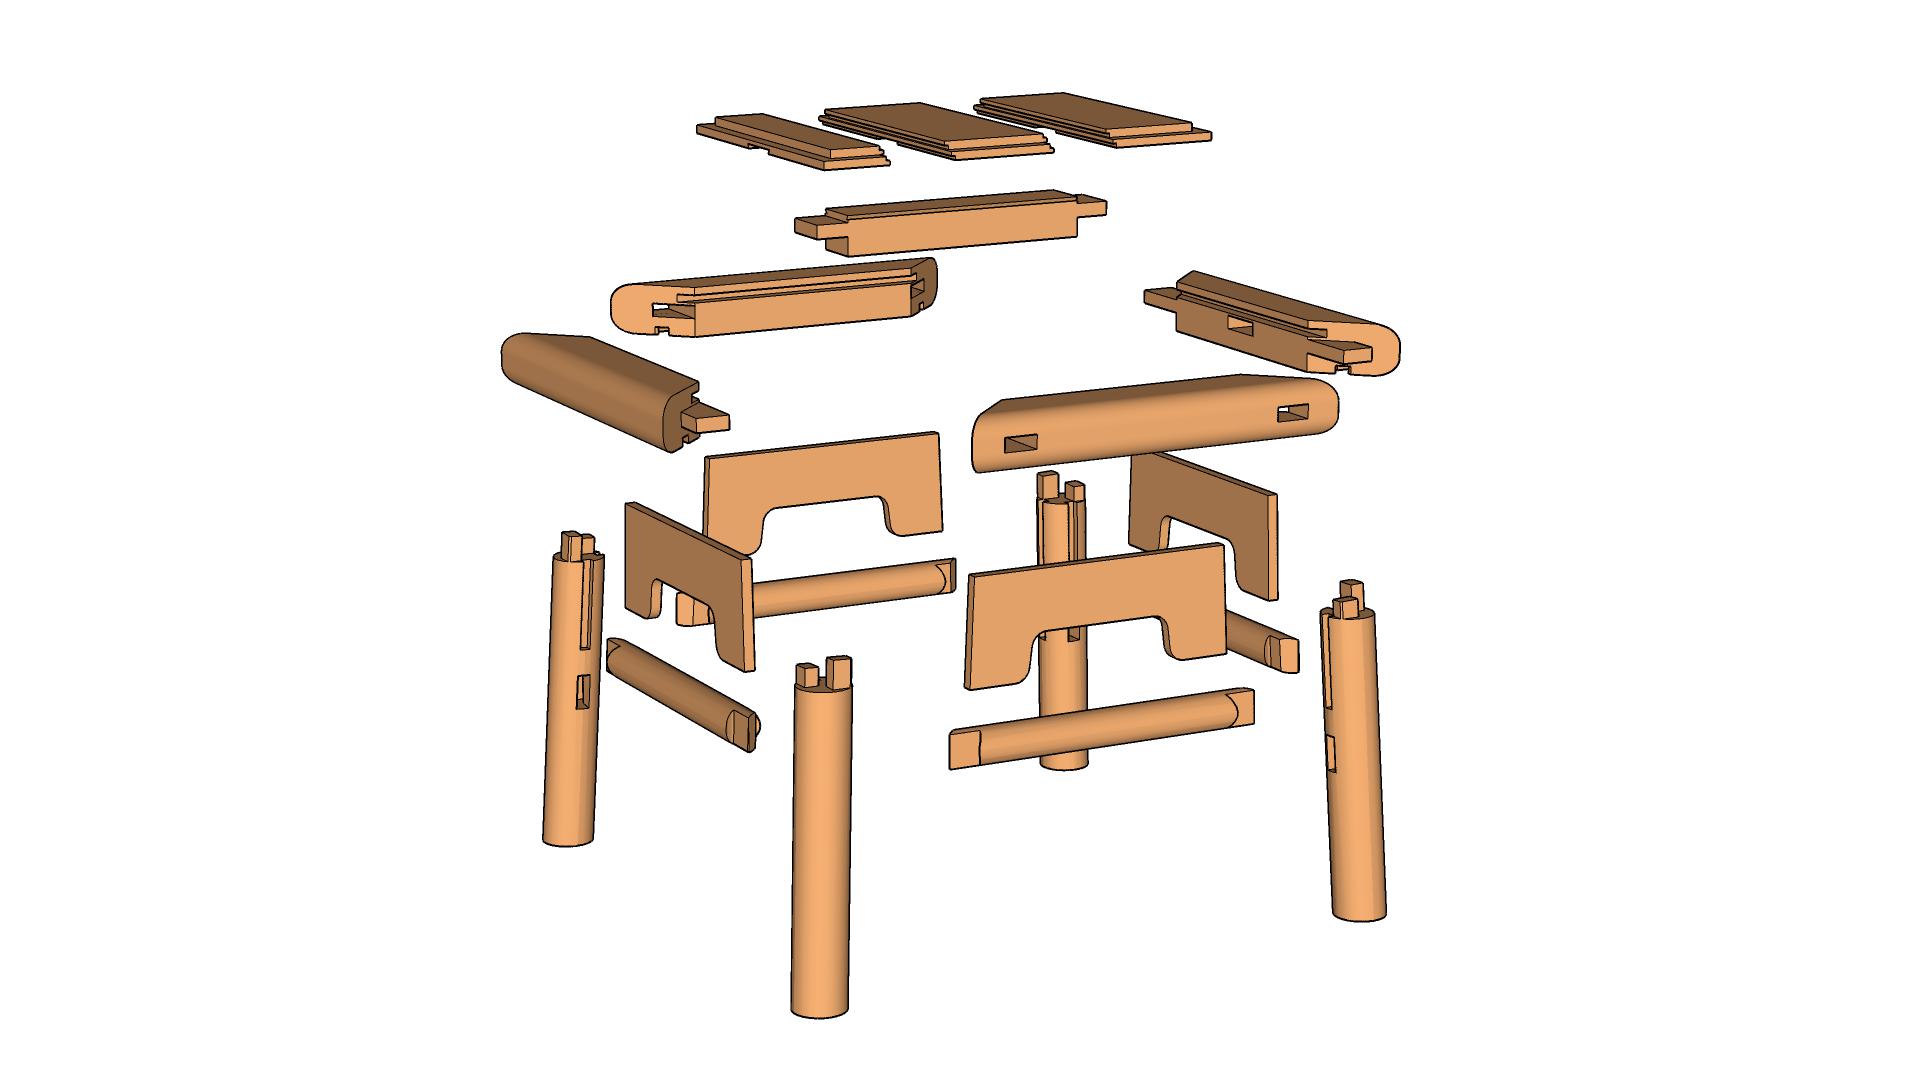
Traditional Chinese Stool
The Seat Panel
Rough Dimension
Dimension
Tongue and Groove
Glue Boards Together
Final Dimensions
Outside Groove
Panel Brace Dovetail
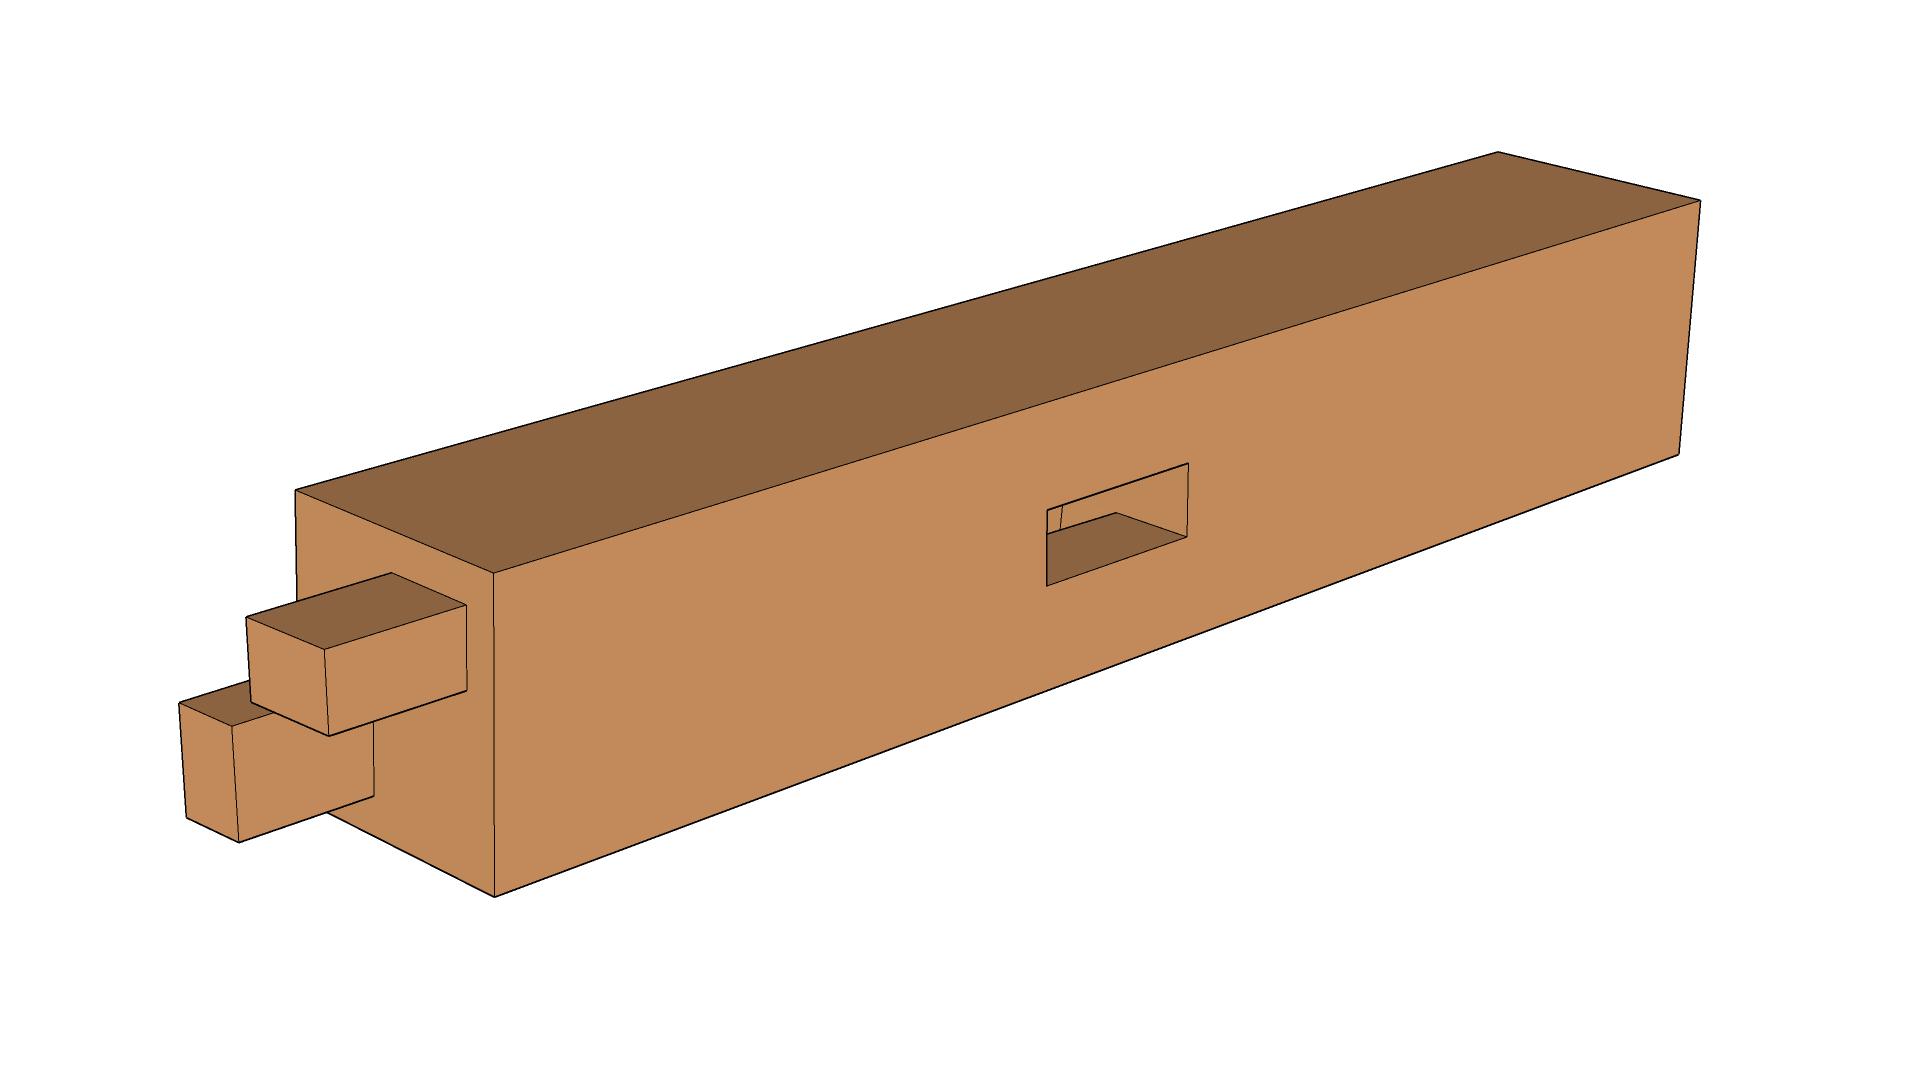
The Seat Frame (Tenon)
Rough Dimension
Dimension
Cut Angled Tenon Shoulders
Clean Tenon Shoulders
Create Brace Mortise
Create Panel Groove
Create Waist Groove
The Seat Frame (Mortise)
Rough Dimension
Dimension
Cut Mortises
Cut Mitre
Create Panel Groove
Create Waist Groove
The Seat Support Brace
Rough Dimension
Dimension
Create Tenons
Cut Dovetail
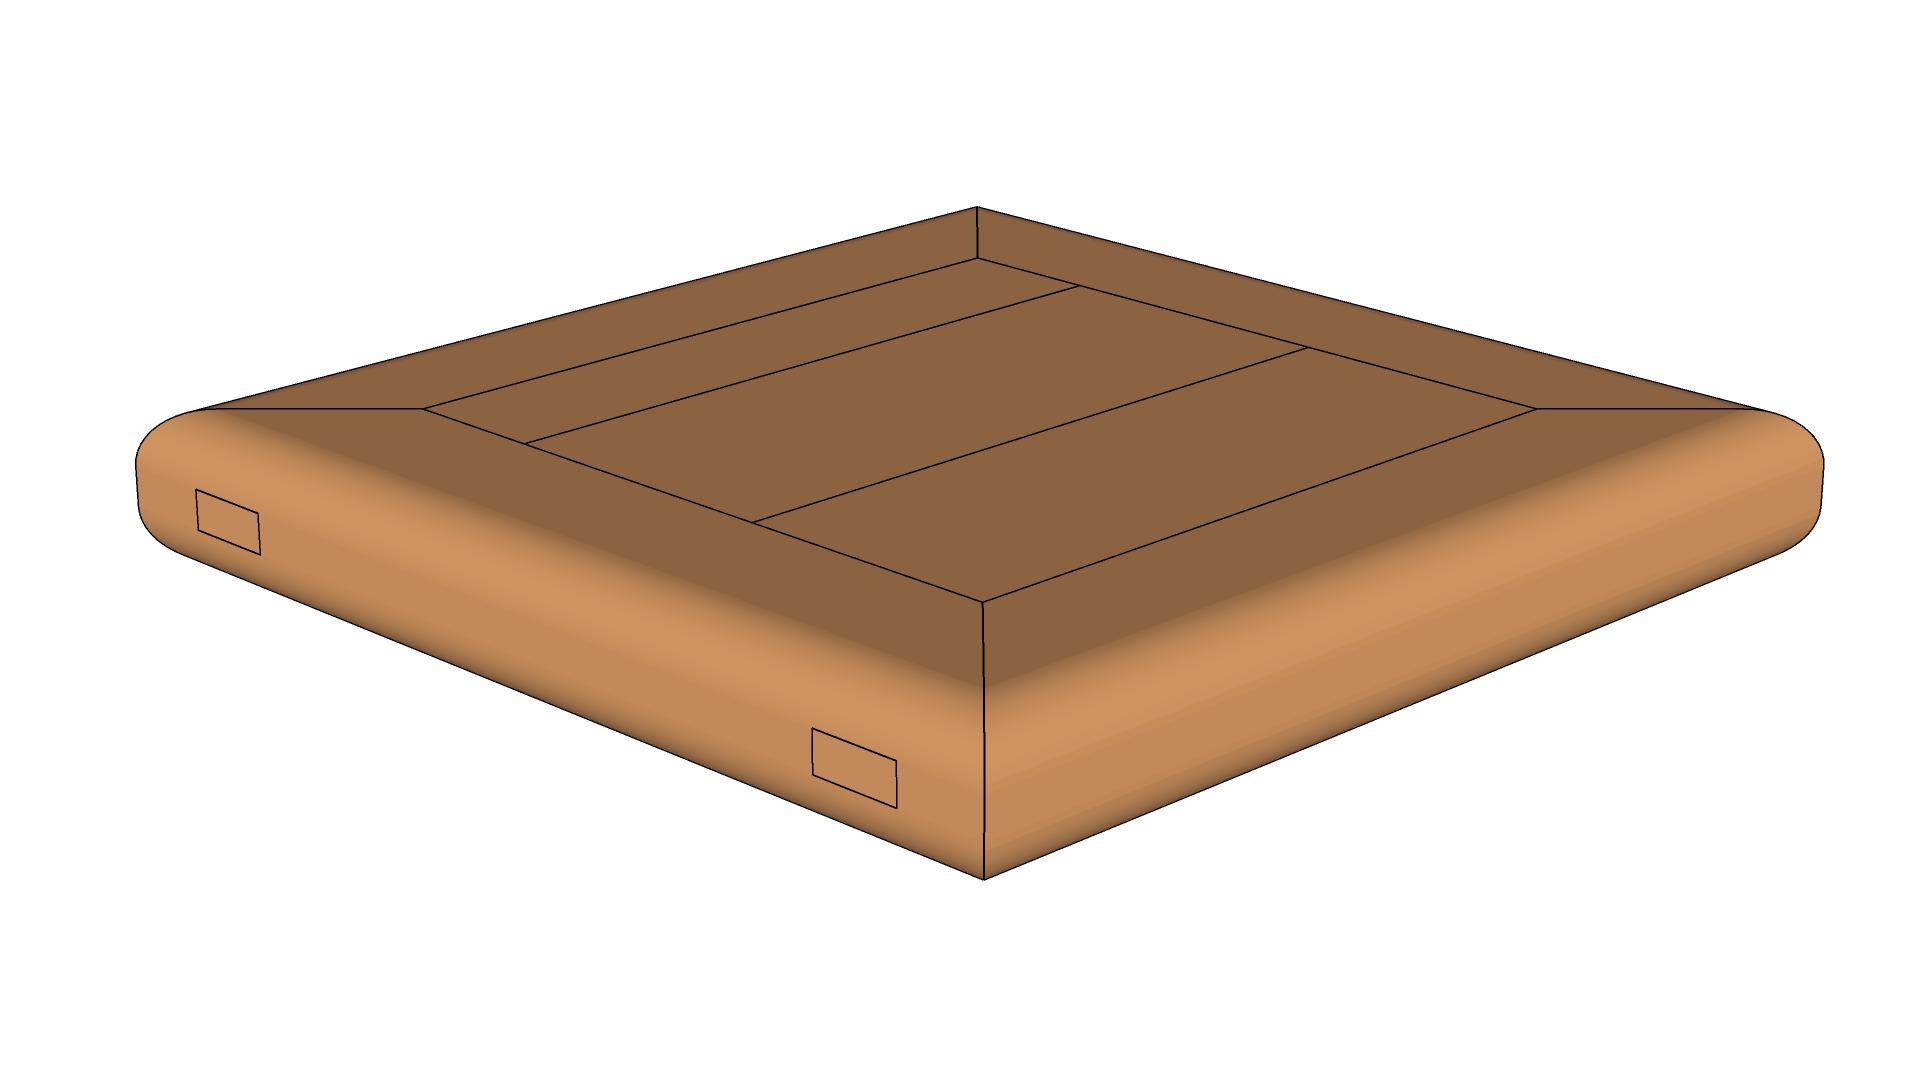
The Seat
Slide Brace Onto Panel
Glue Seat Together
Cut Leg Mortises
Round Edges
The Leg
Rough Dimension
Dimension
Cut Tenons
Cut Mortises
Cut Waist Grooves
Round Edges
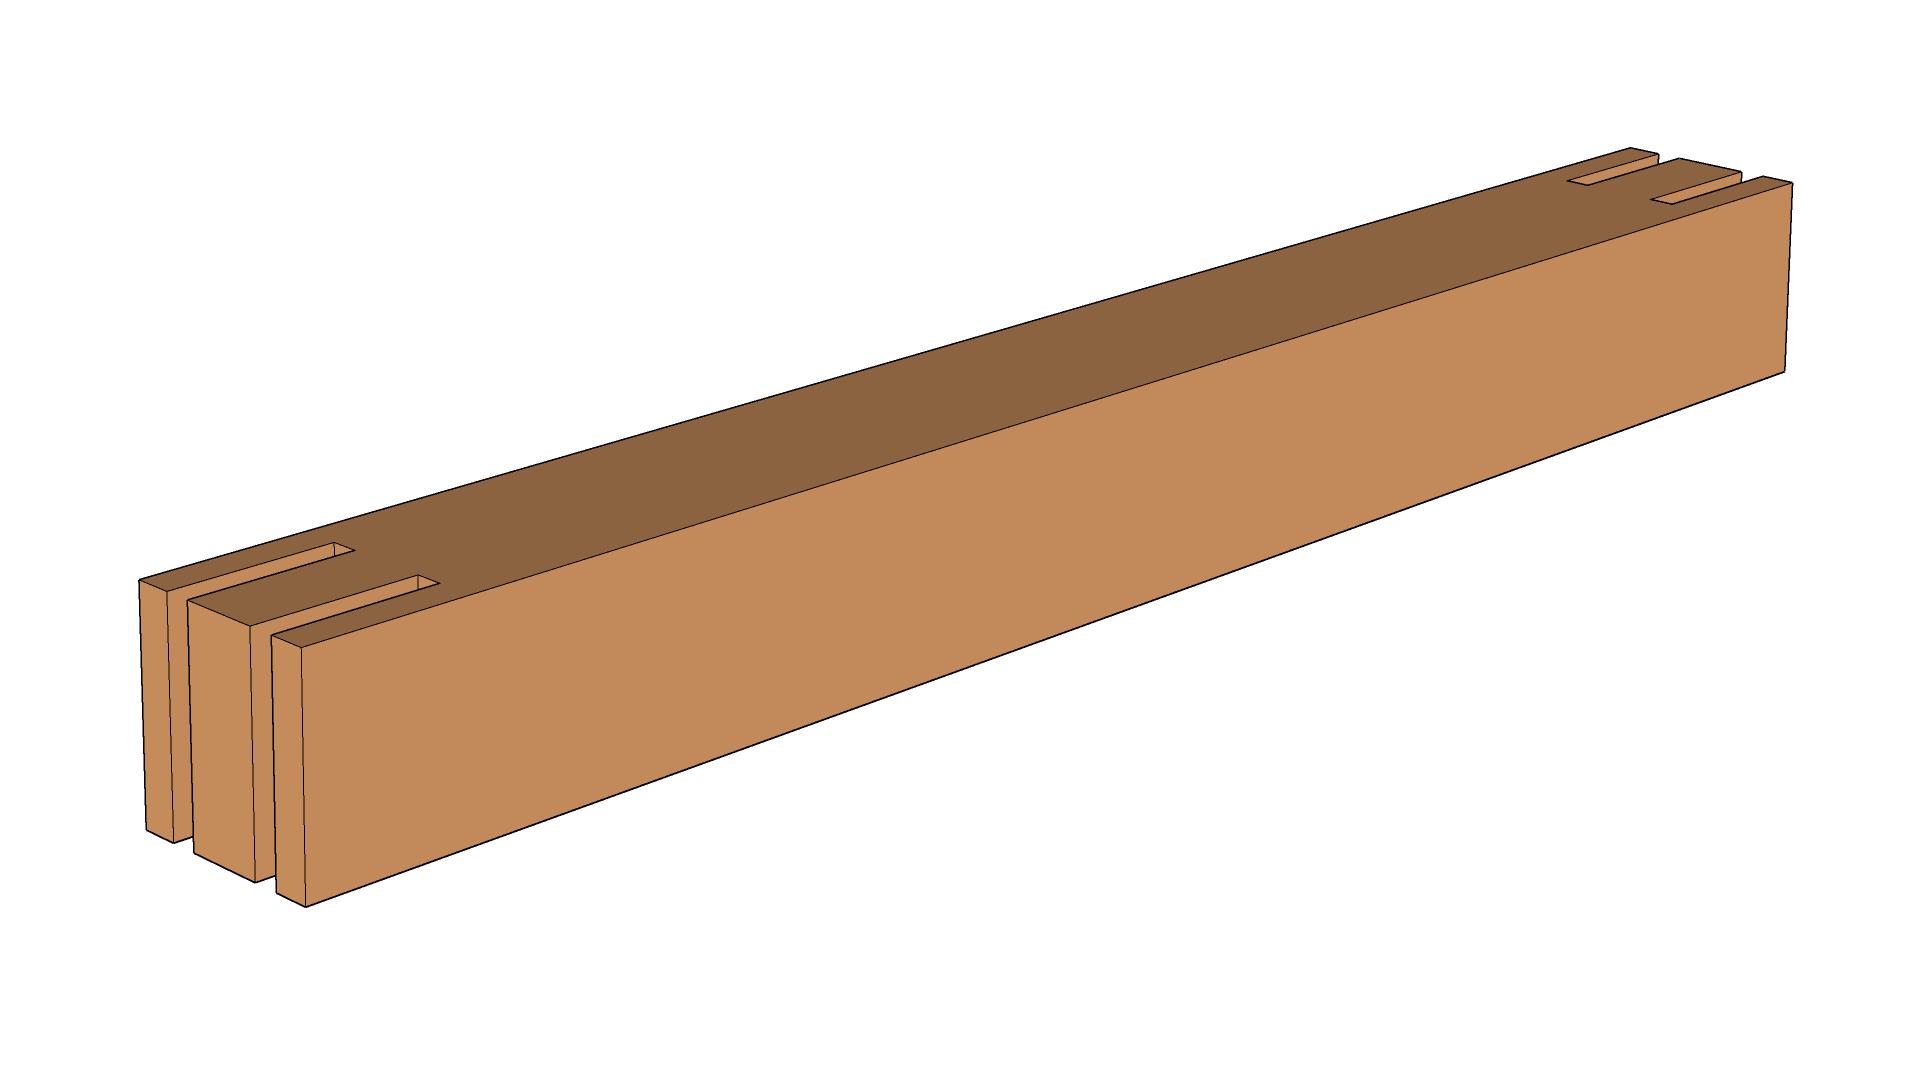
The Stretcher
Rough Dimension
Dimension
Cut Tenon Cheeks
Cut Tenon Shoulders
Cut Tenon Mitre
Round Edges
The Waist
Rough Dimension
Dimension
Cut Waist Inset
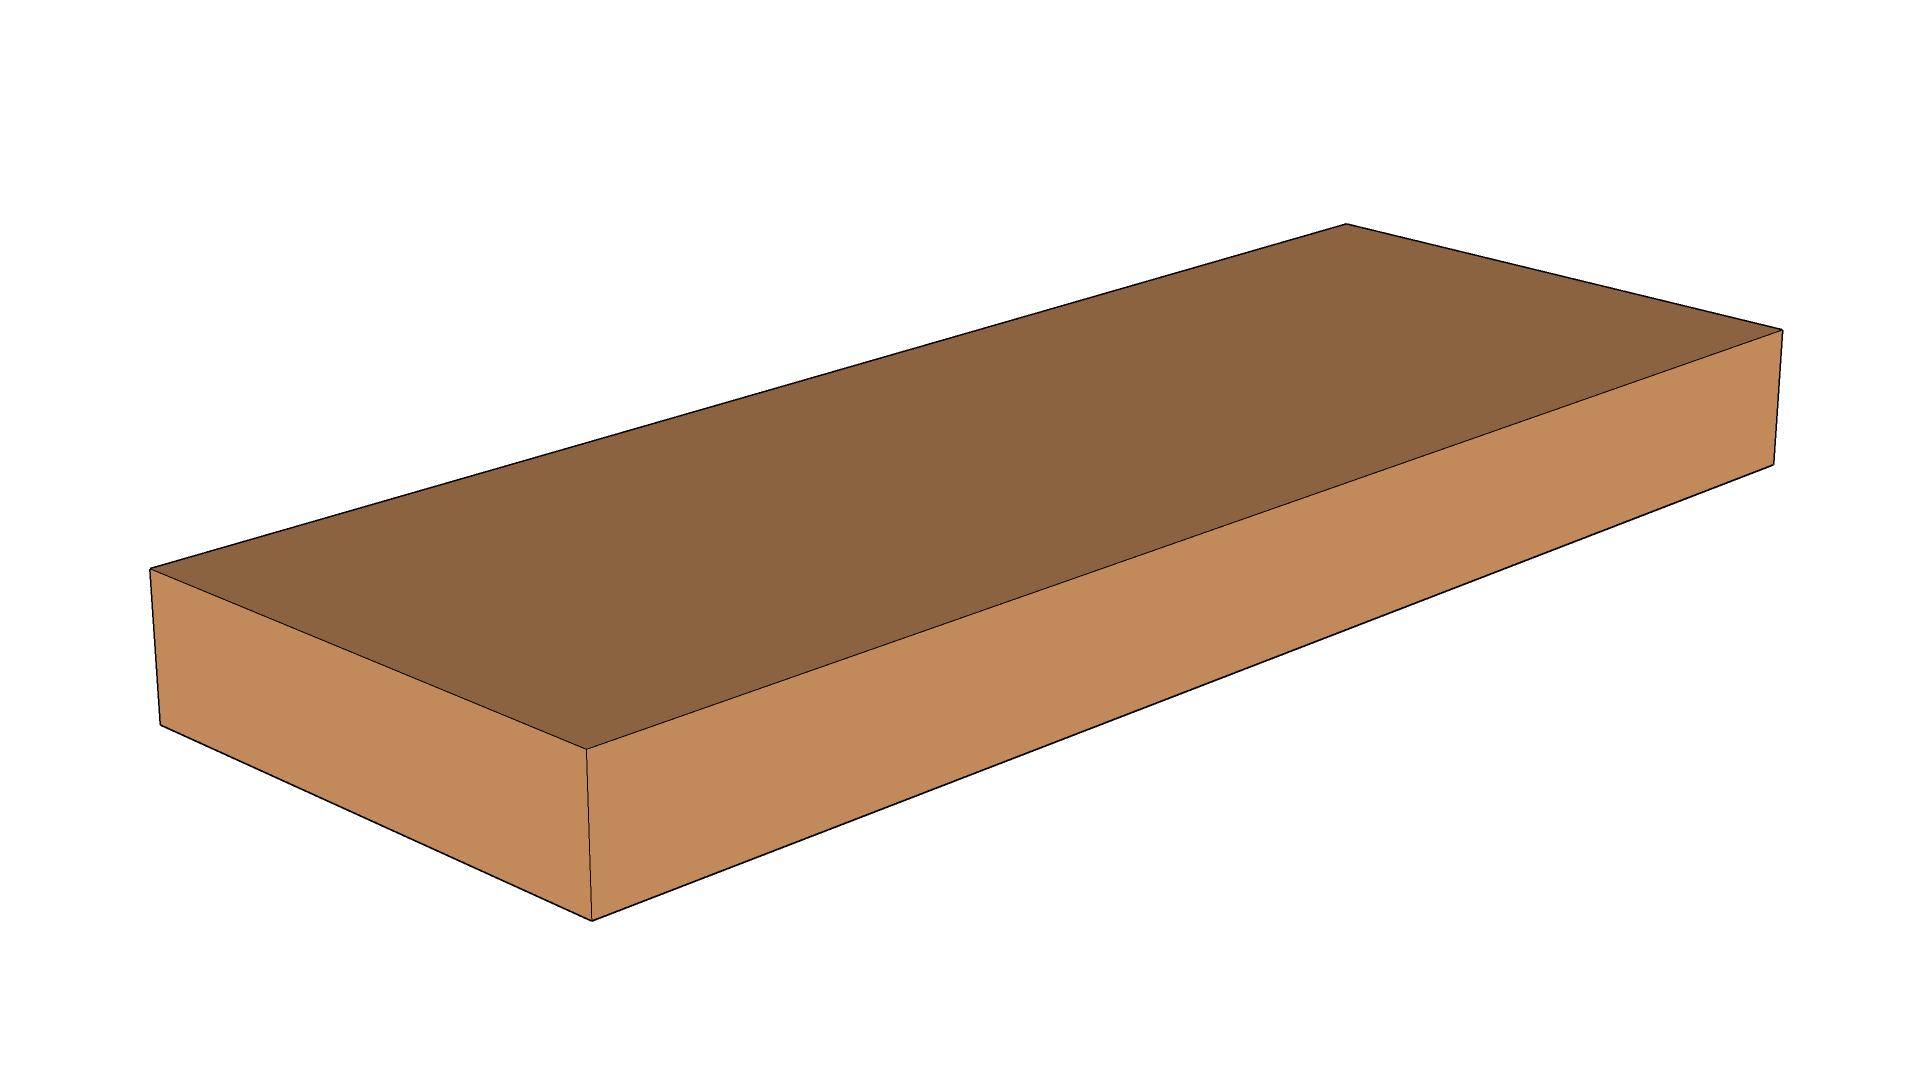
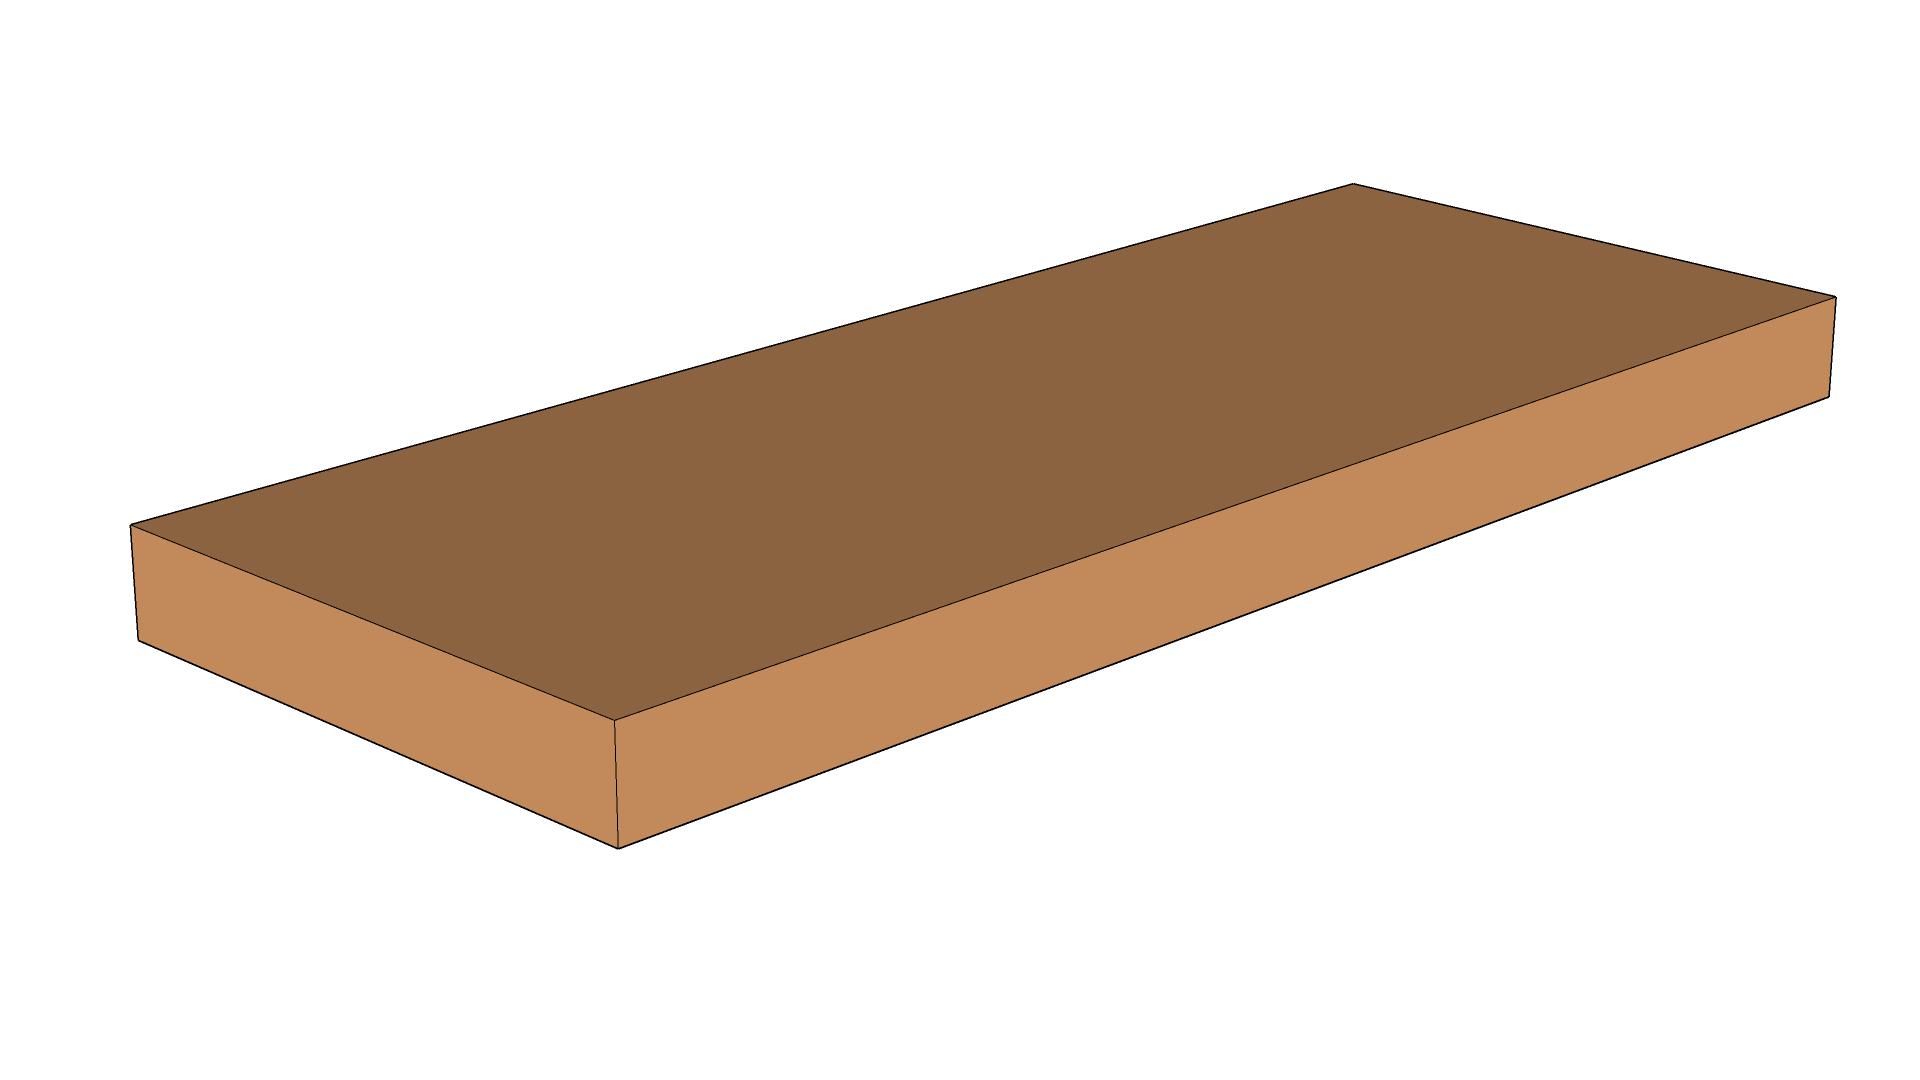
The Seat Panel
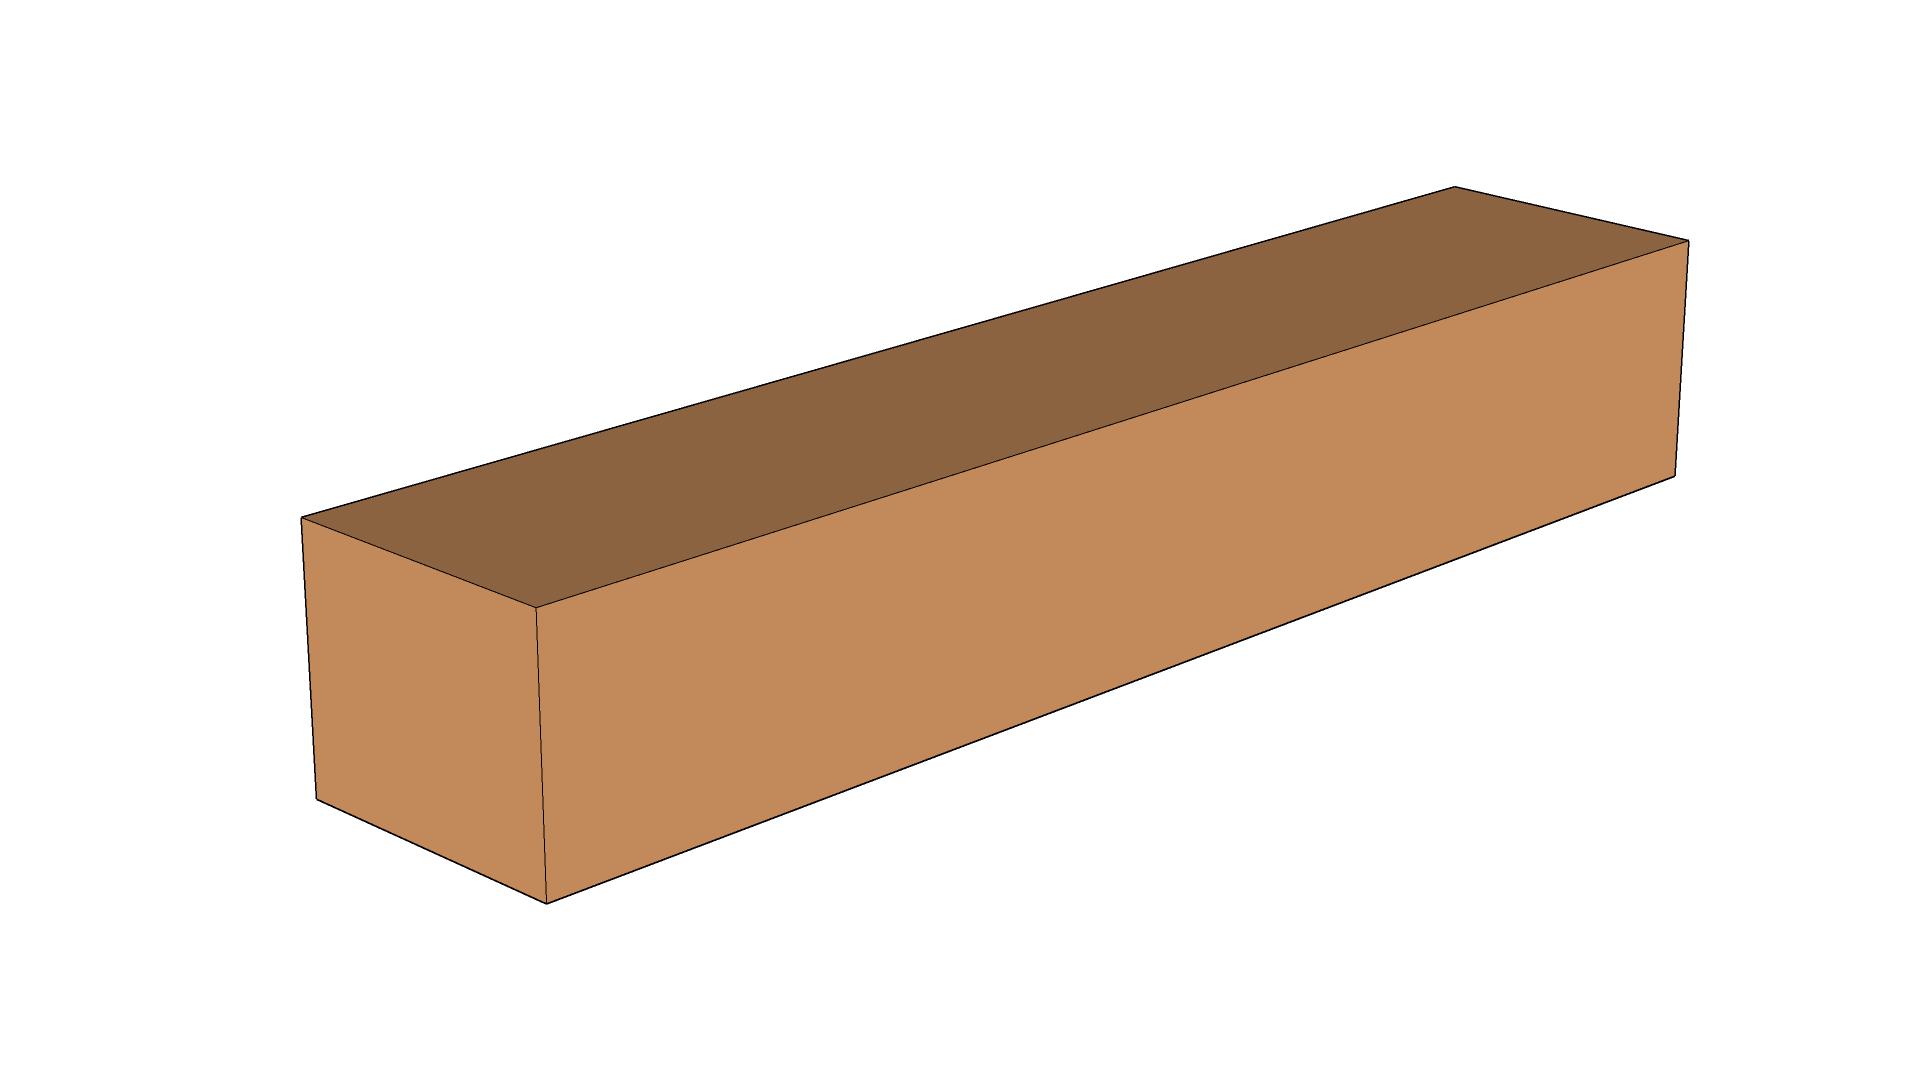
1: Rough Dimension
Cut timber to rough dimensions, depending on the size of your seat you may need multiple pieces.
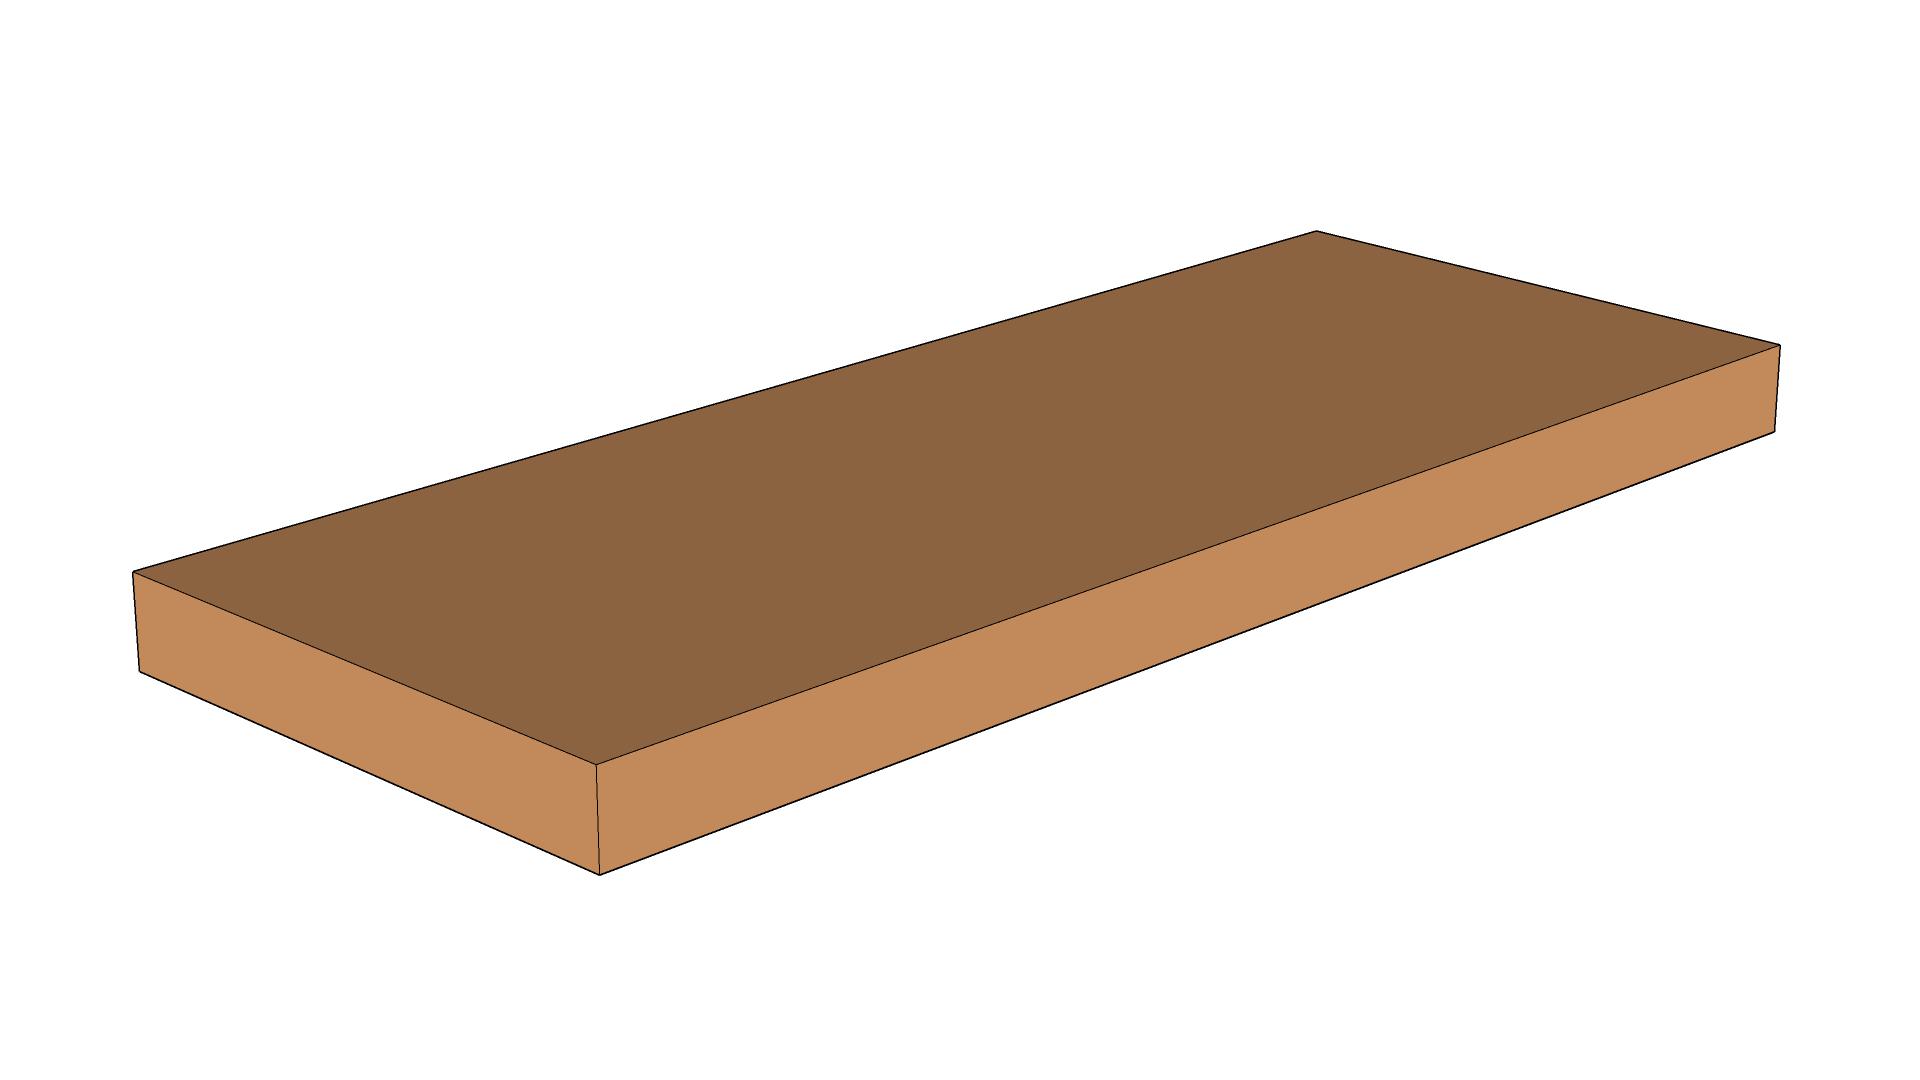
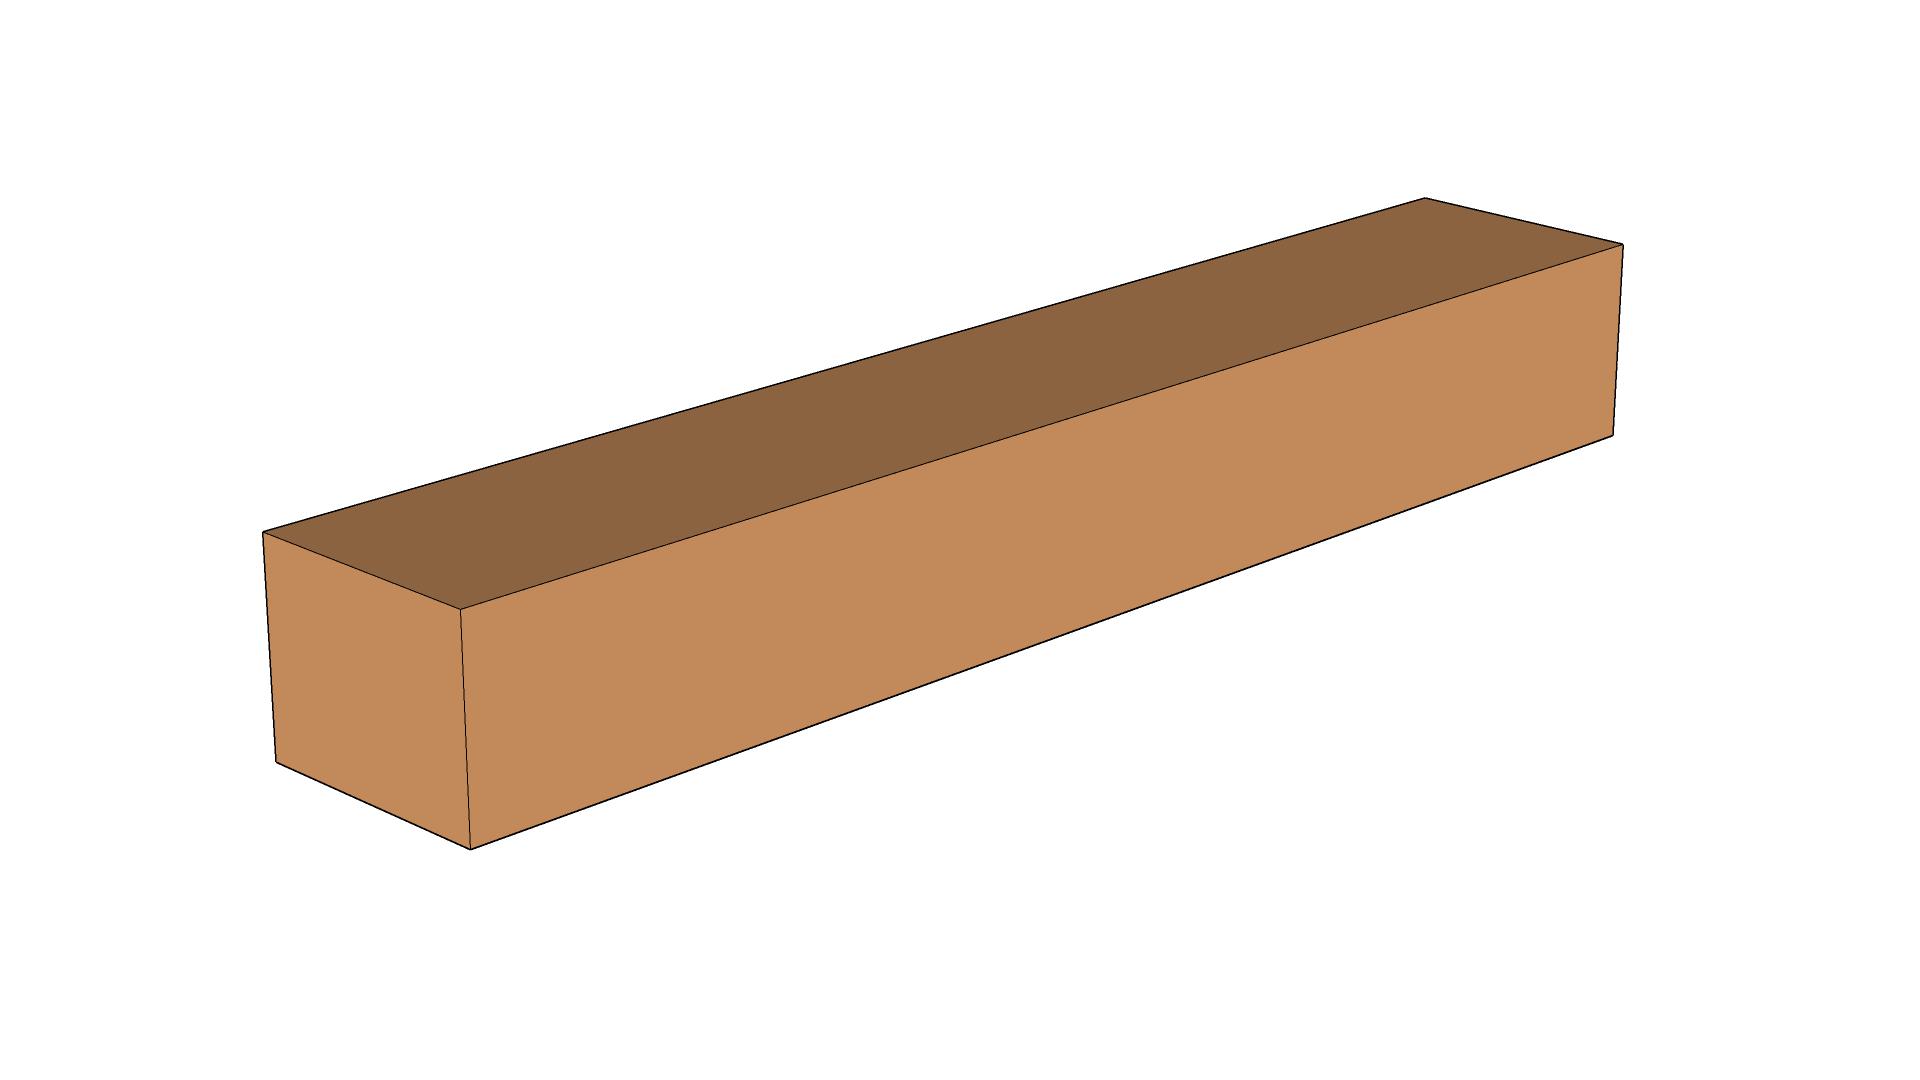
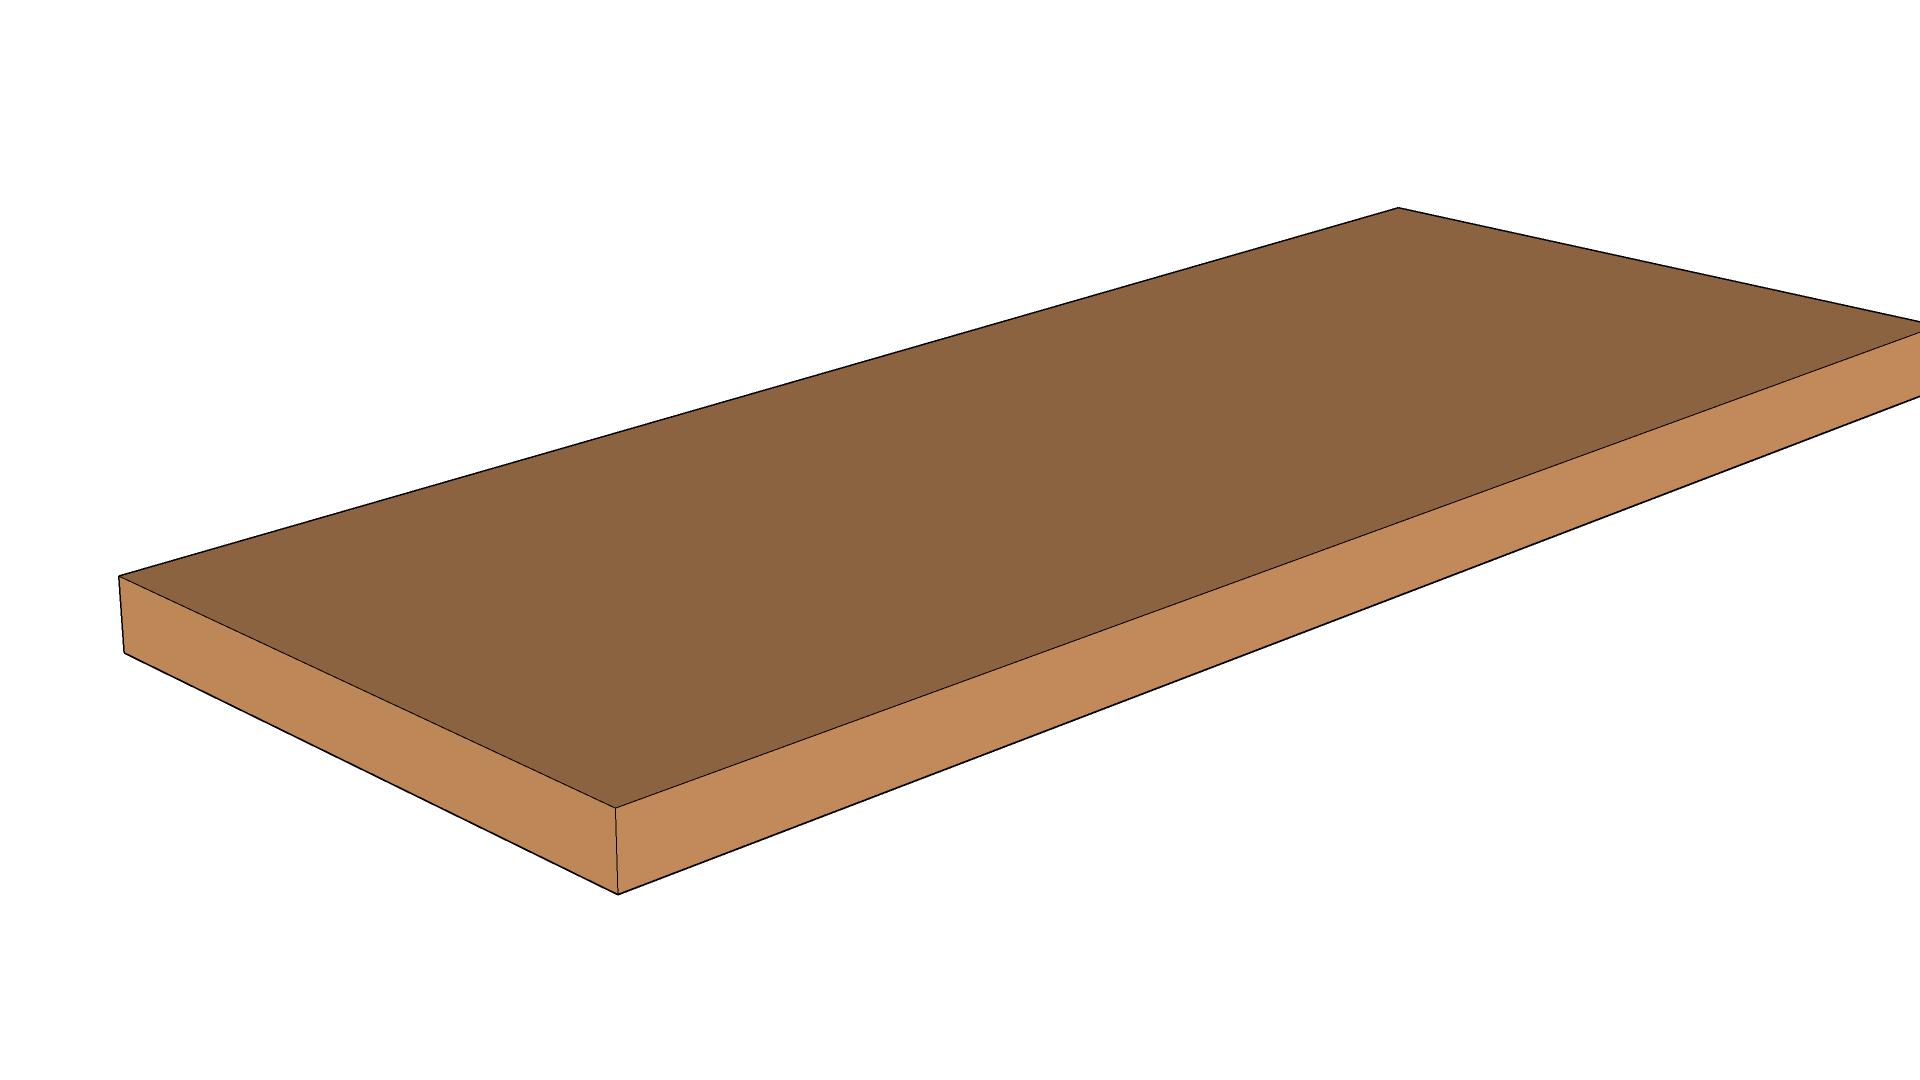
2: Dimension
Square timber and cut to final length.
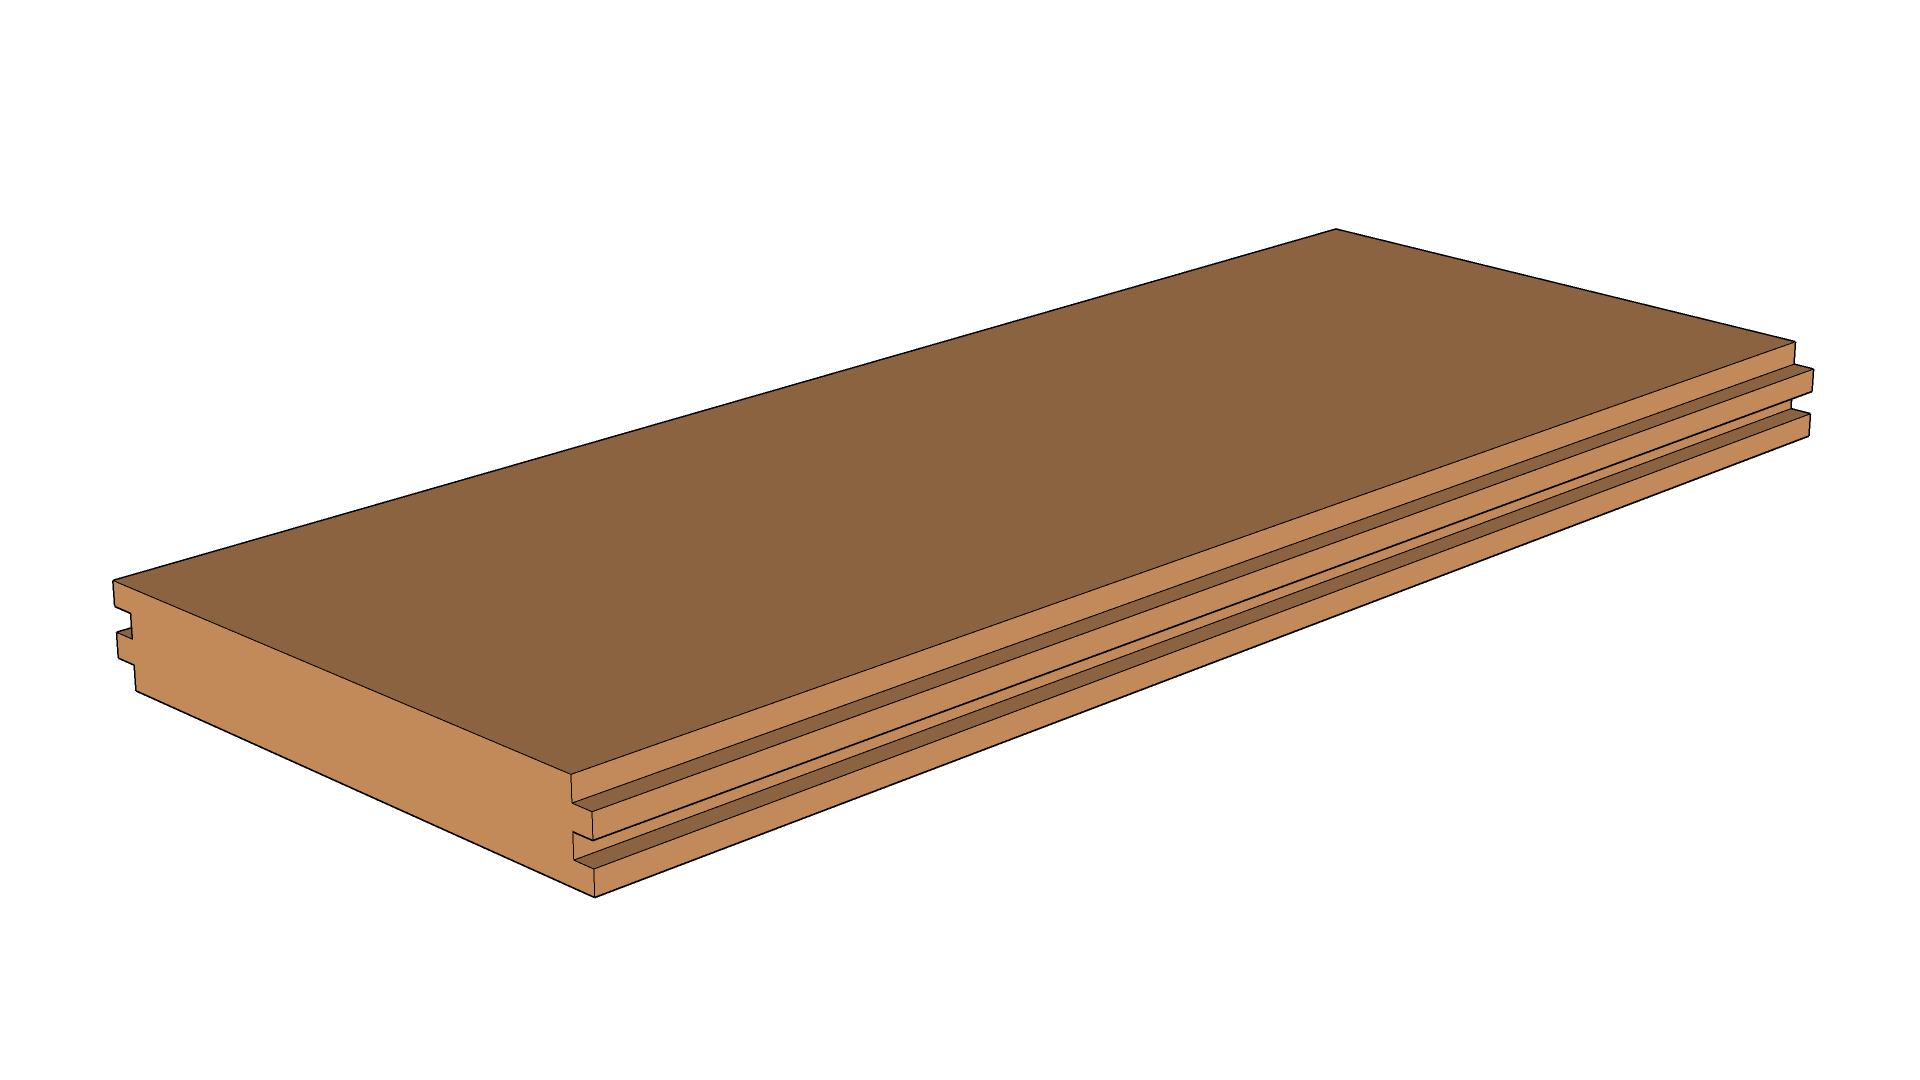
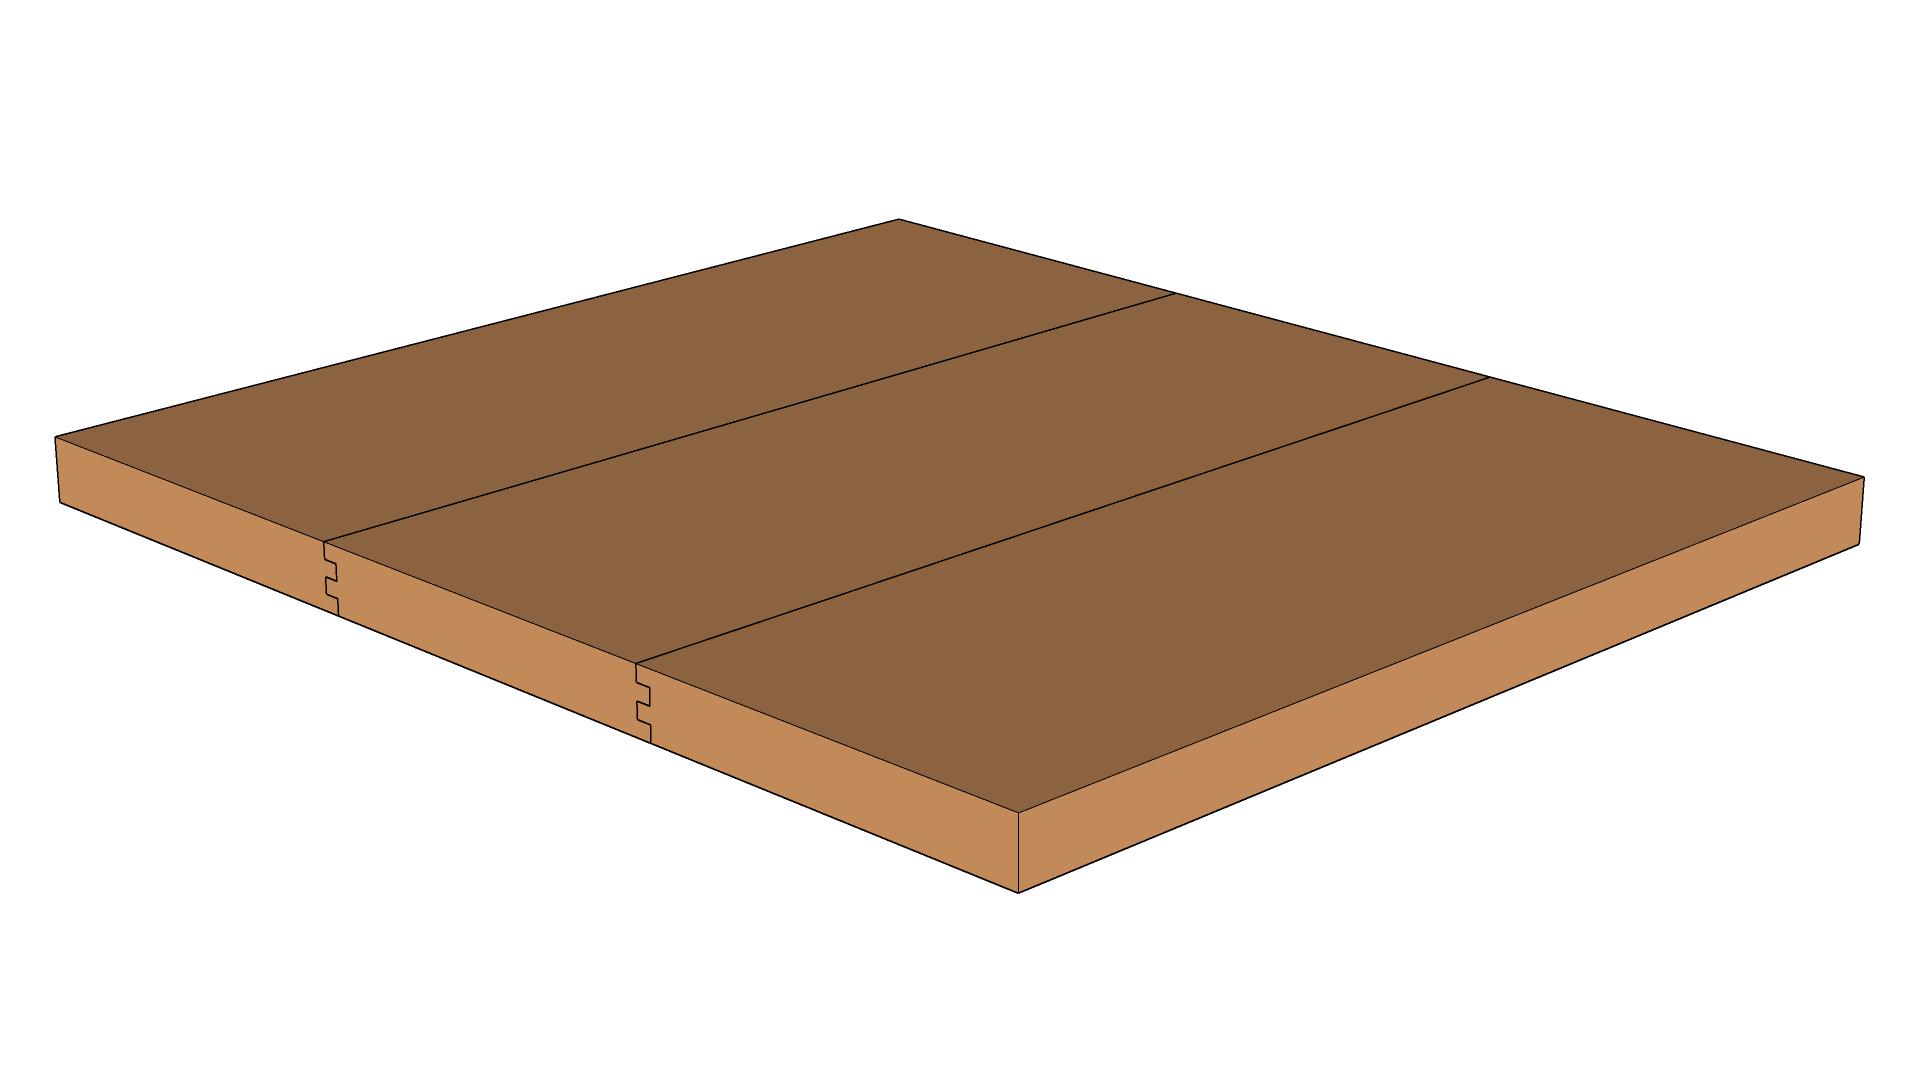
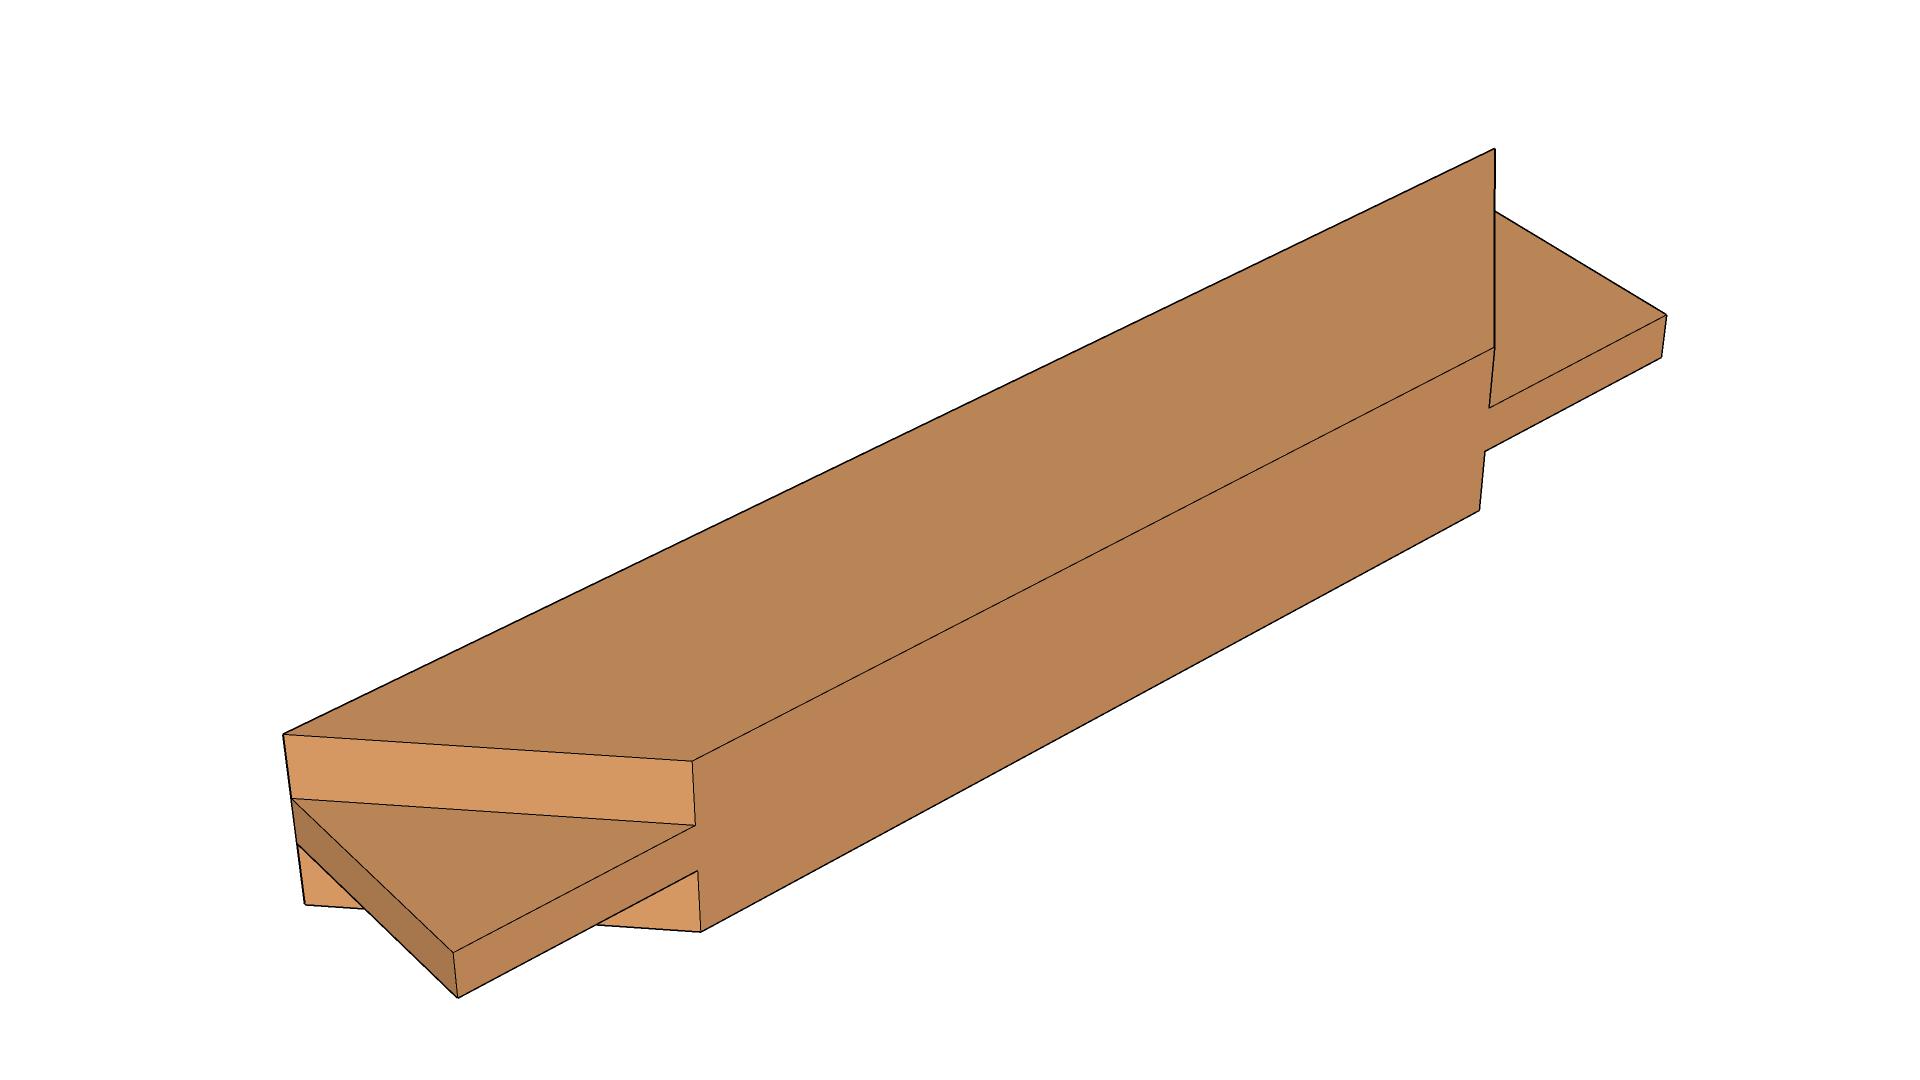
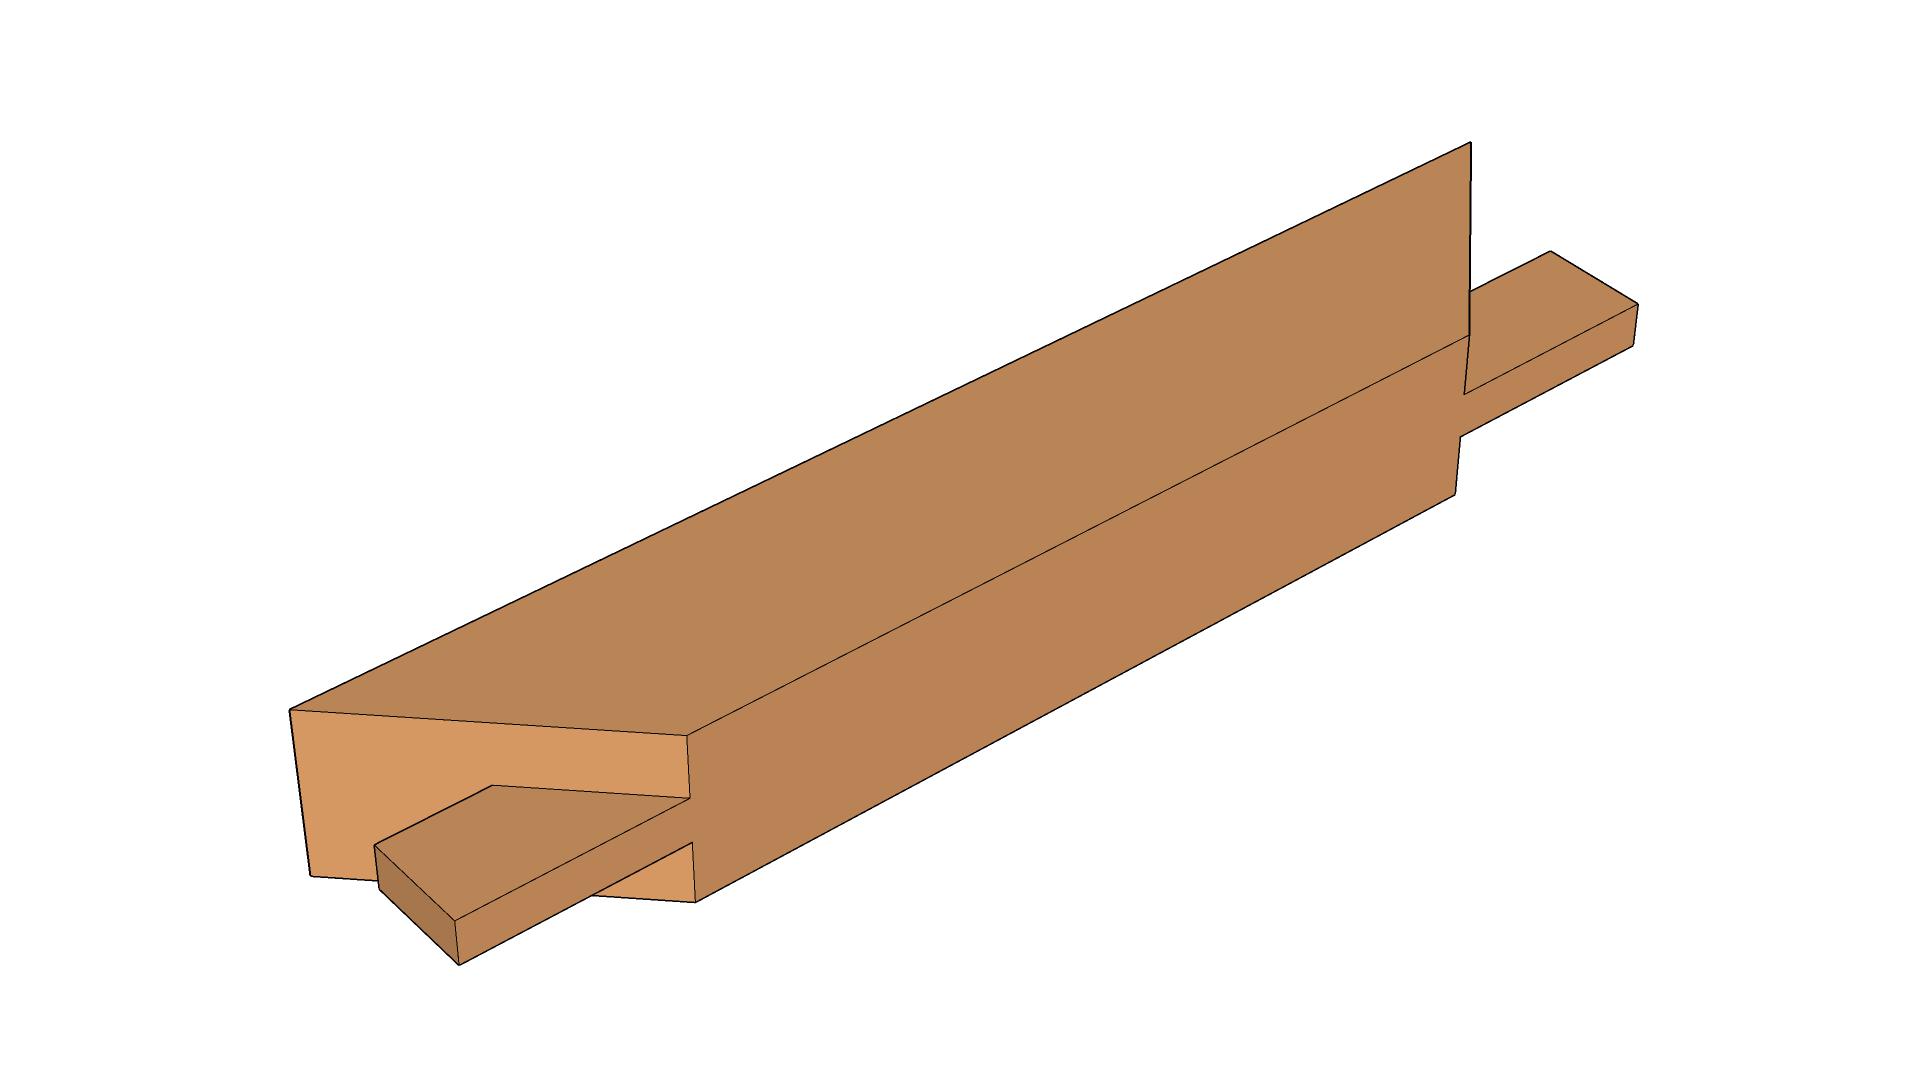
3: Tongue and Groove
Cut tongue and groove and glue pieces to accommodate final dimensions.
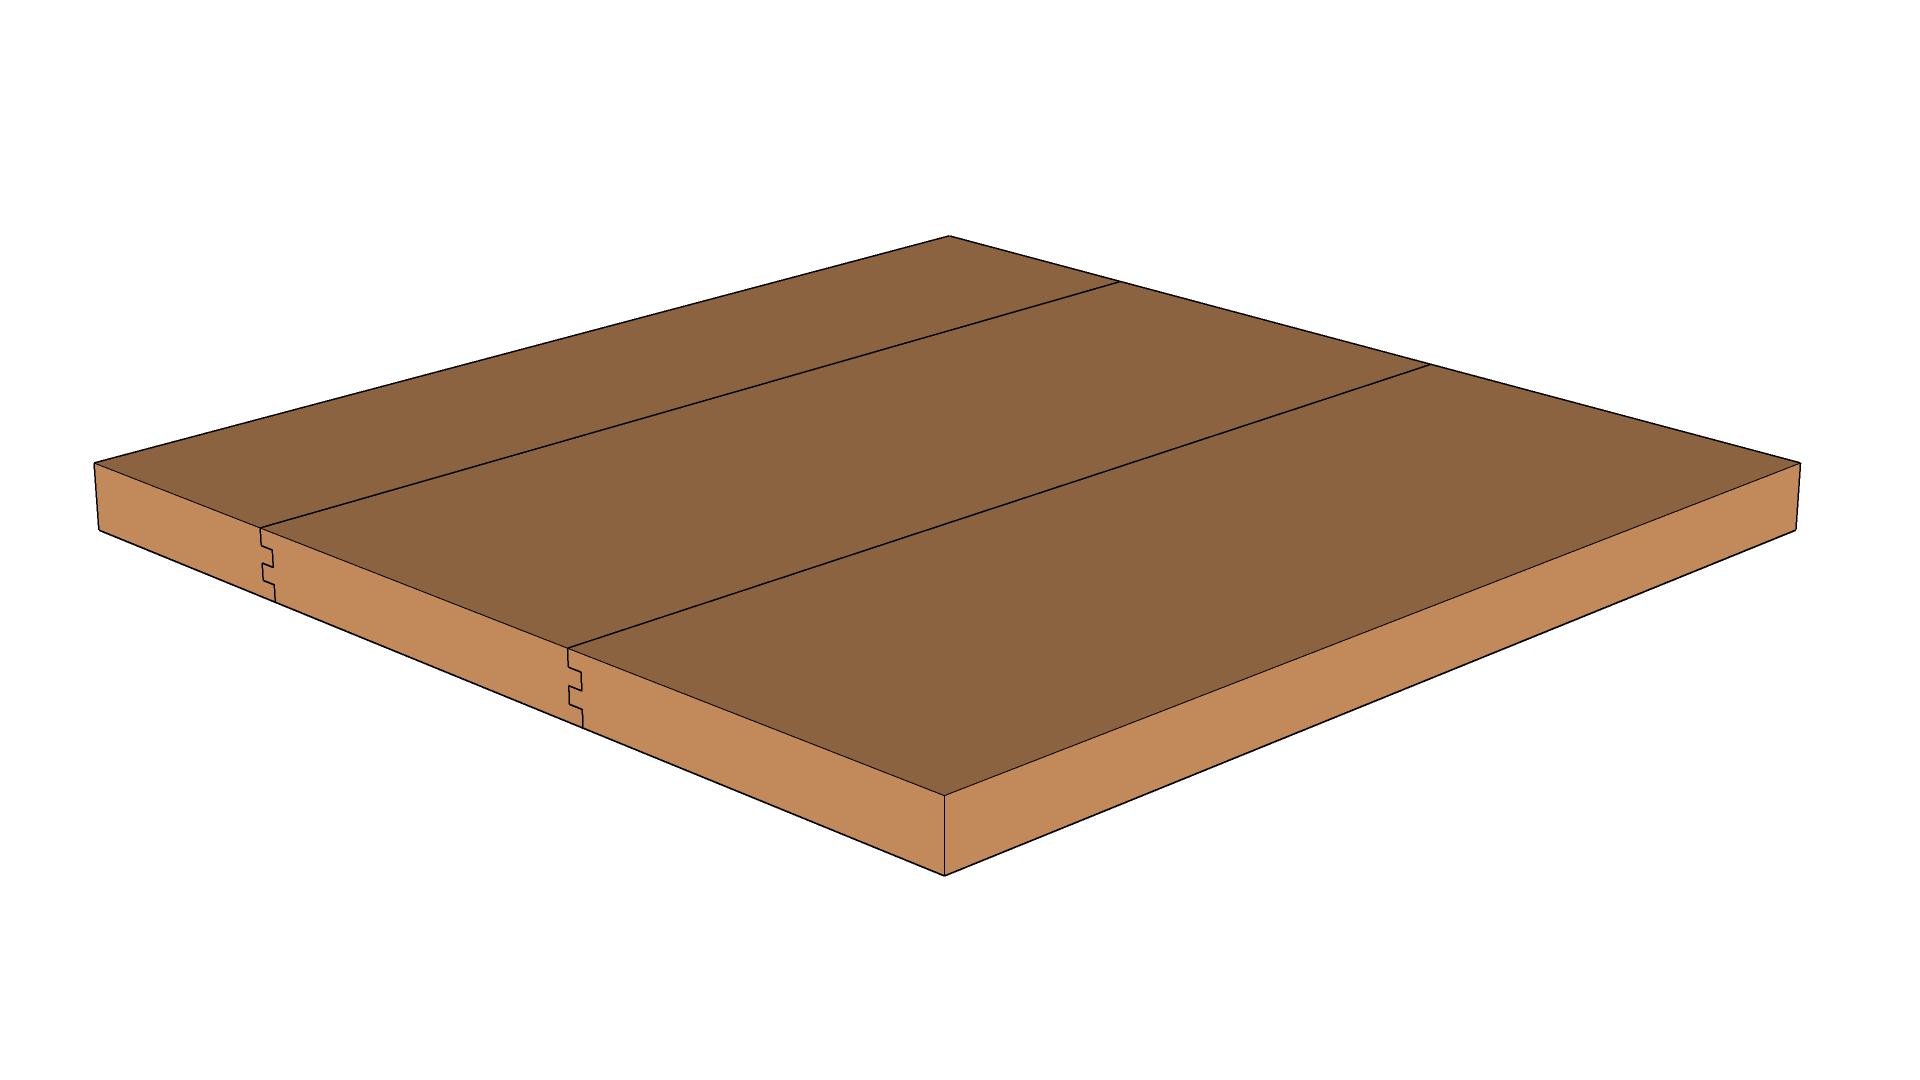
4: Glue Boards Together
If required, glue tongue and grooves together.
5: Final Dimensions
Trim seat panel to final required width.
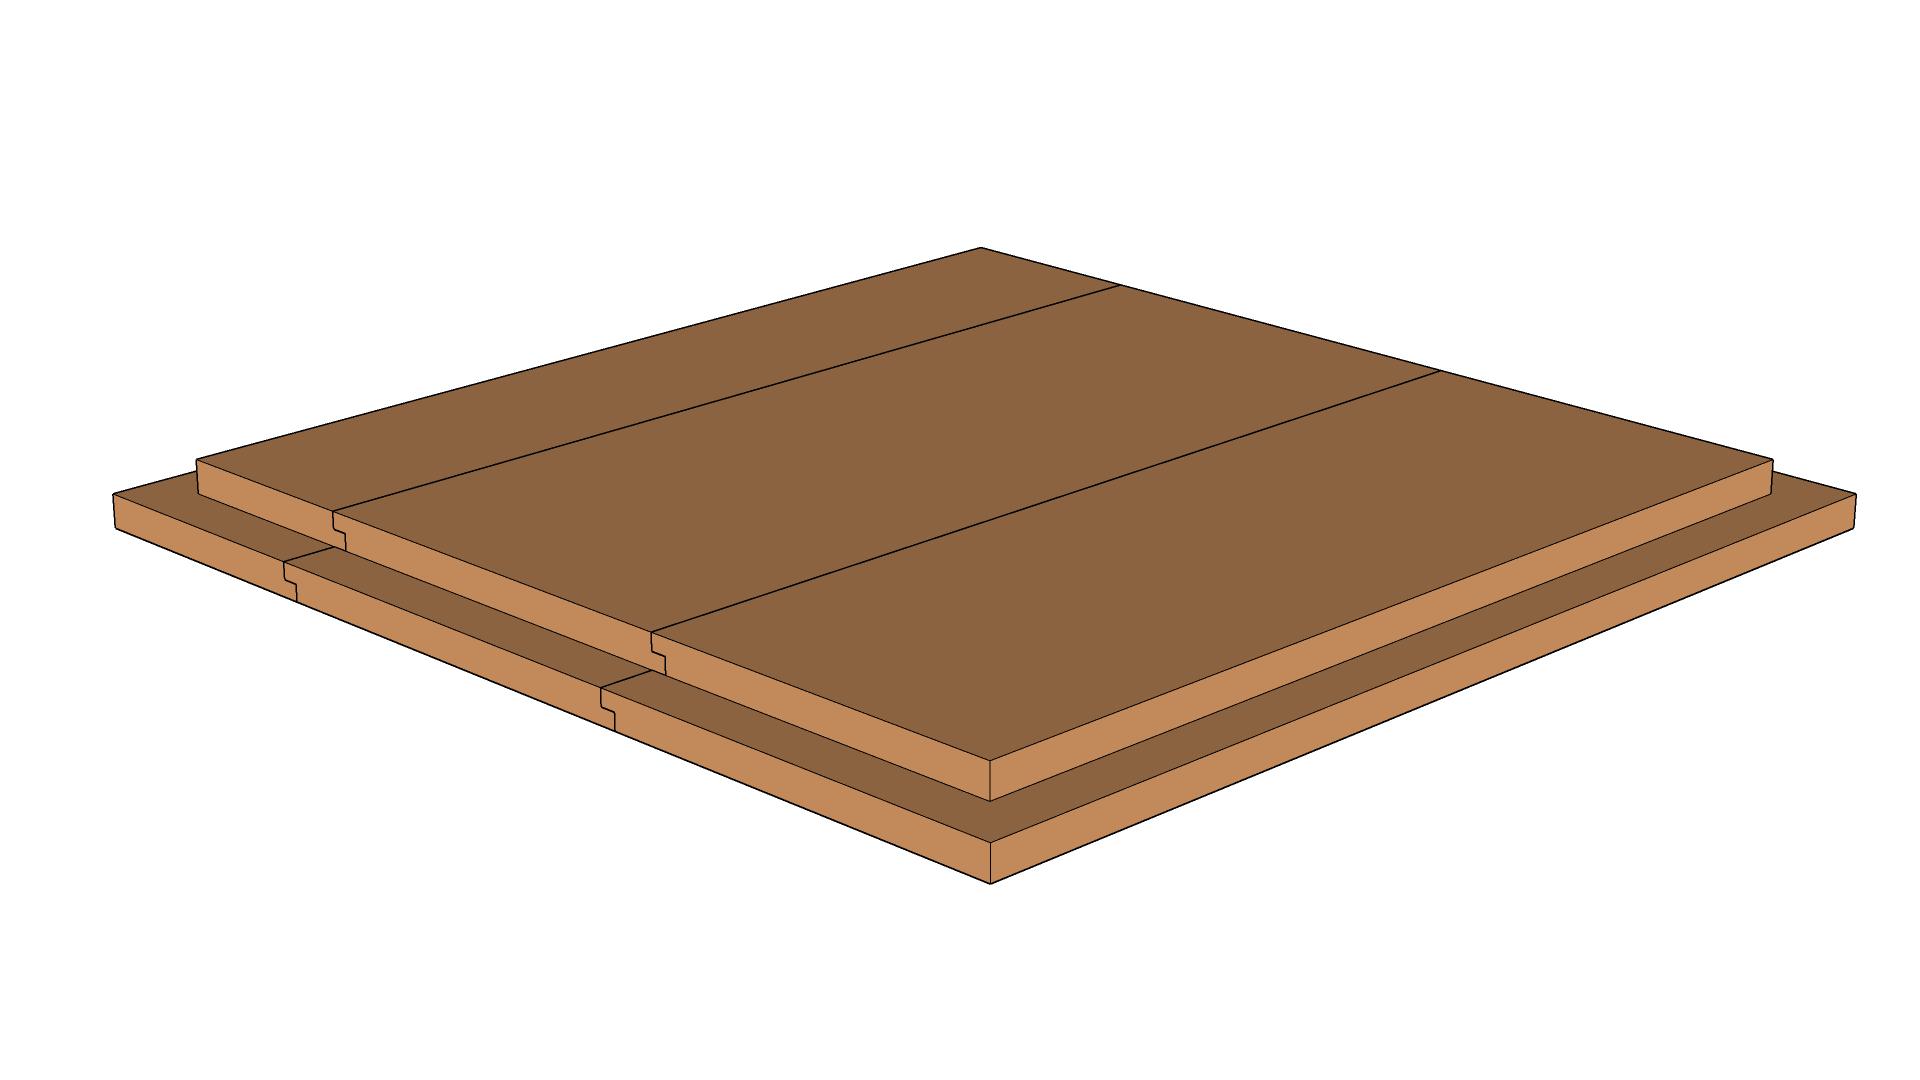
6: Outside Groove
Cut a dado along the outer edge of the upper face of the seat panel.
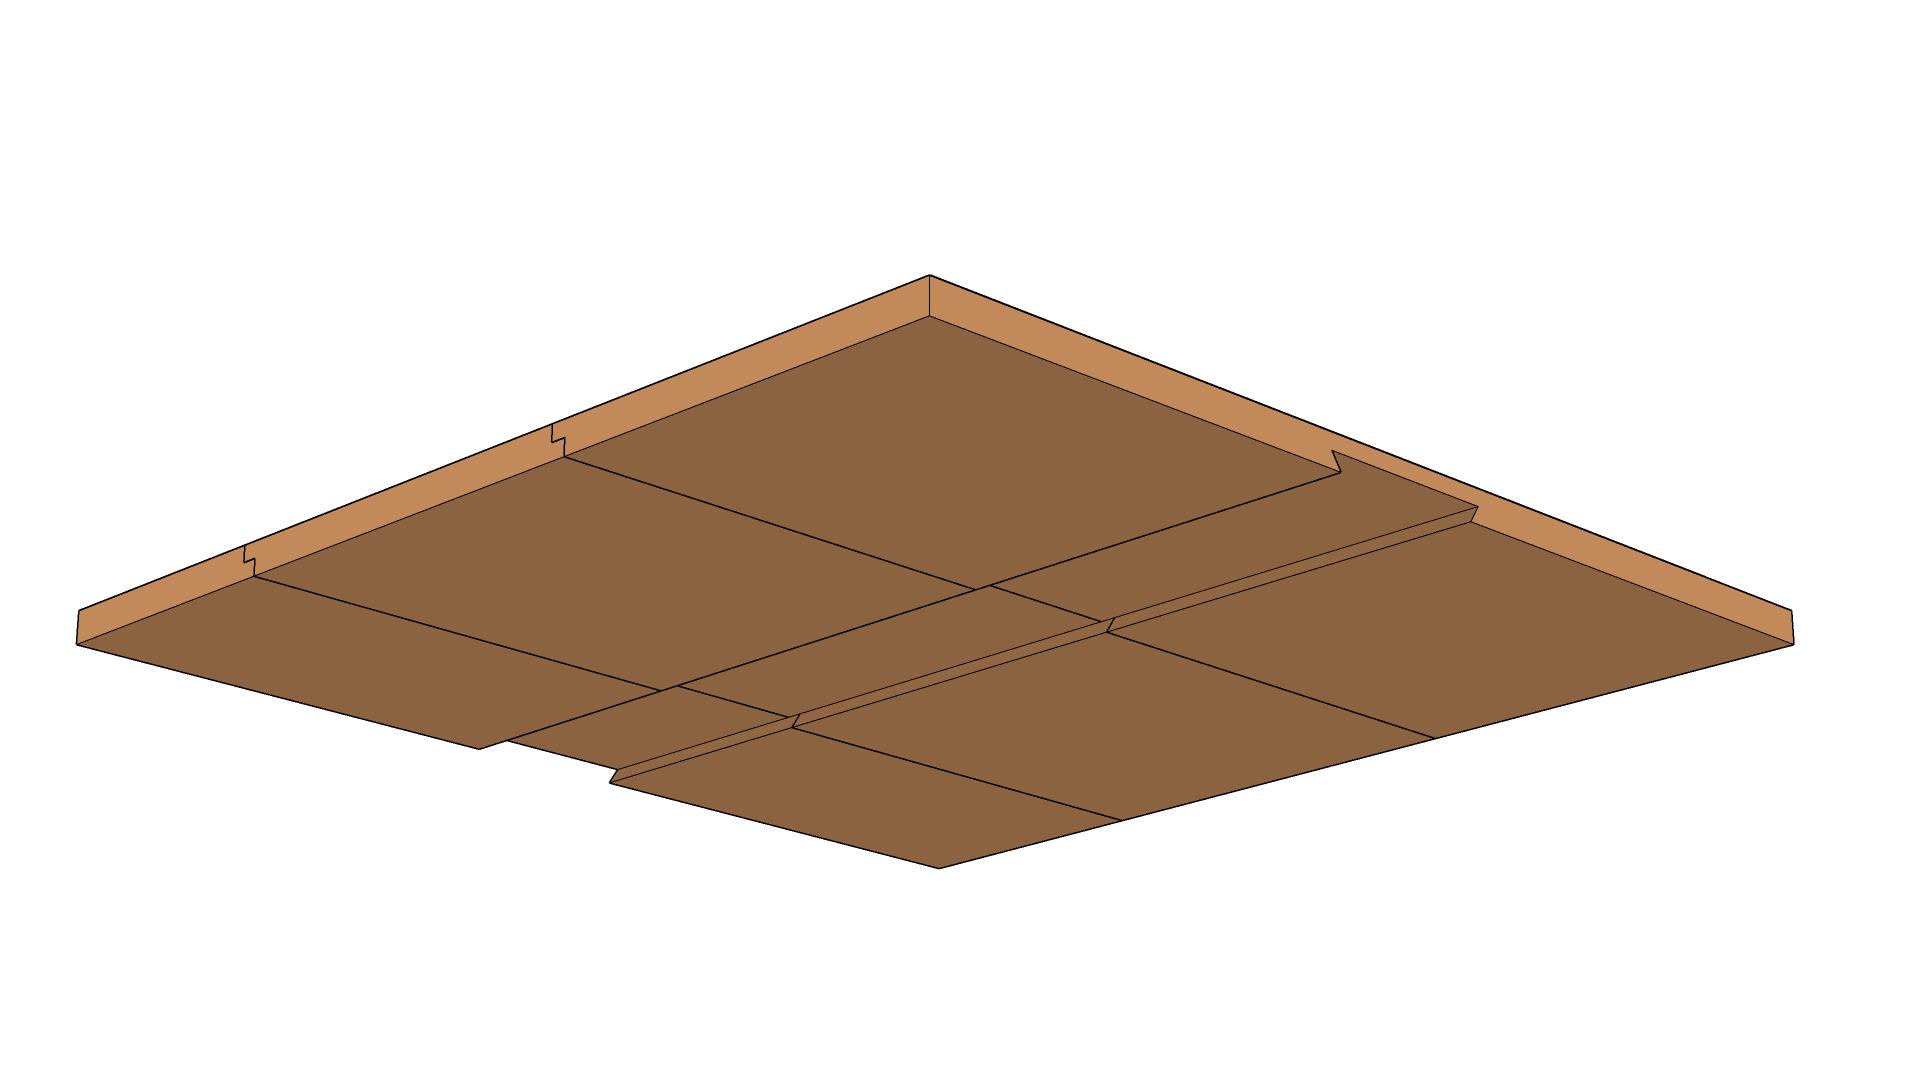
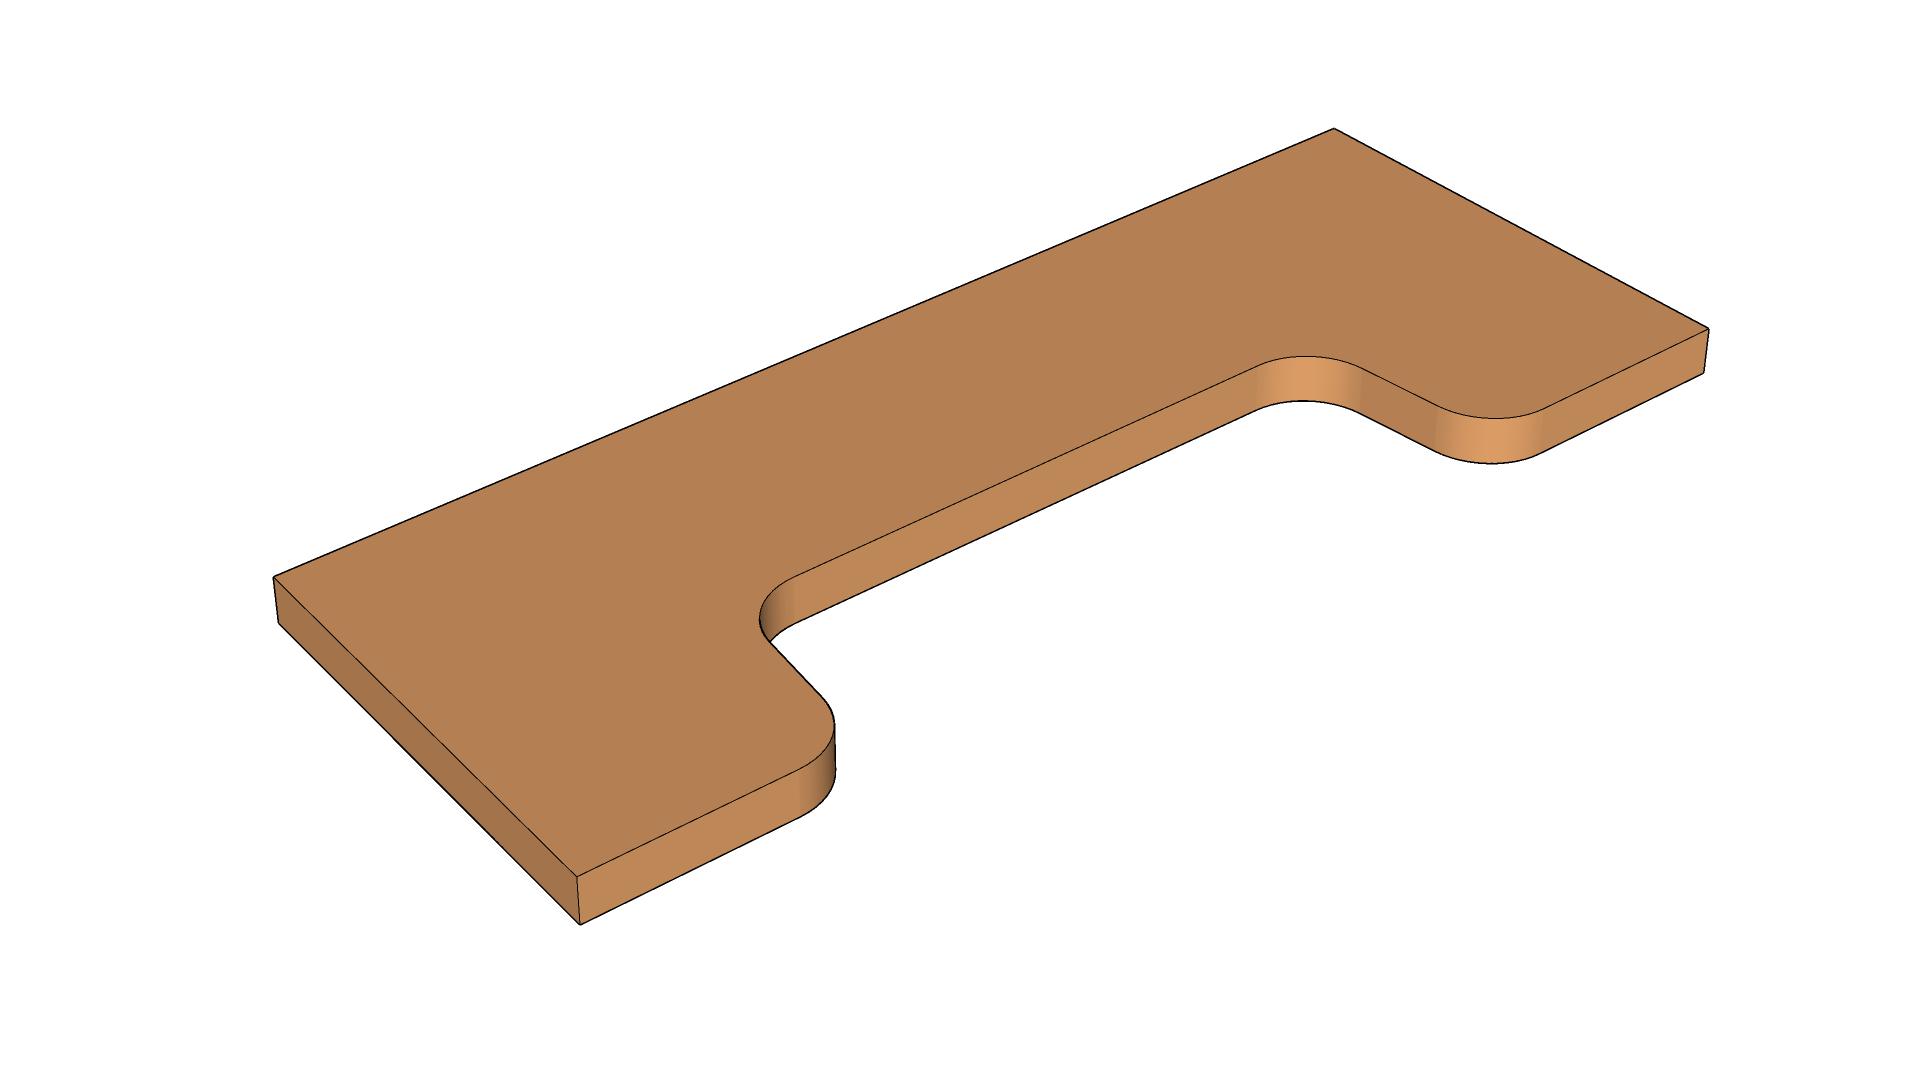
7: Panel Brace Dovetail
Cut a dovetail groove on the bottom face of the panel to accommodate the support brace.
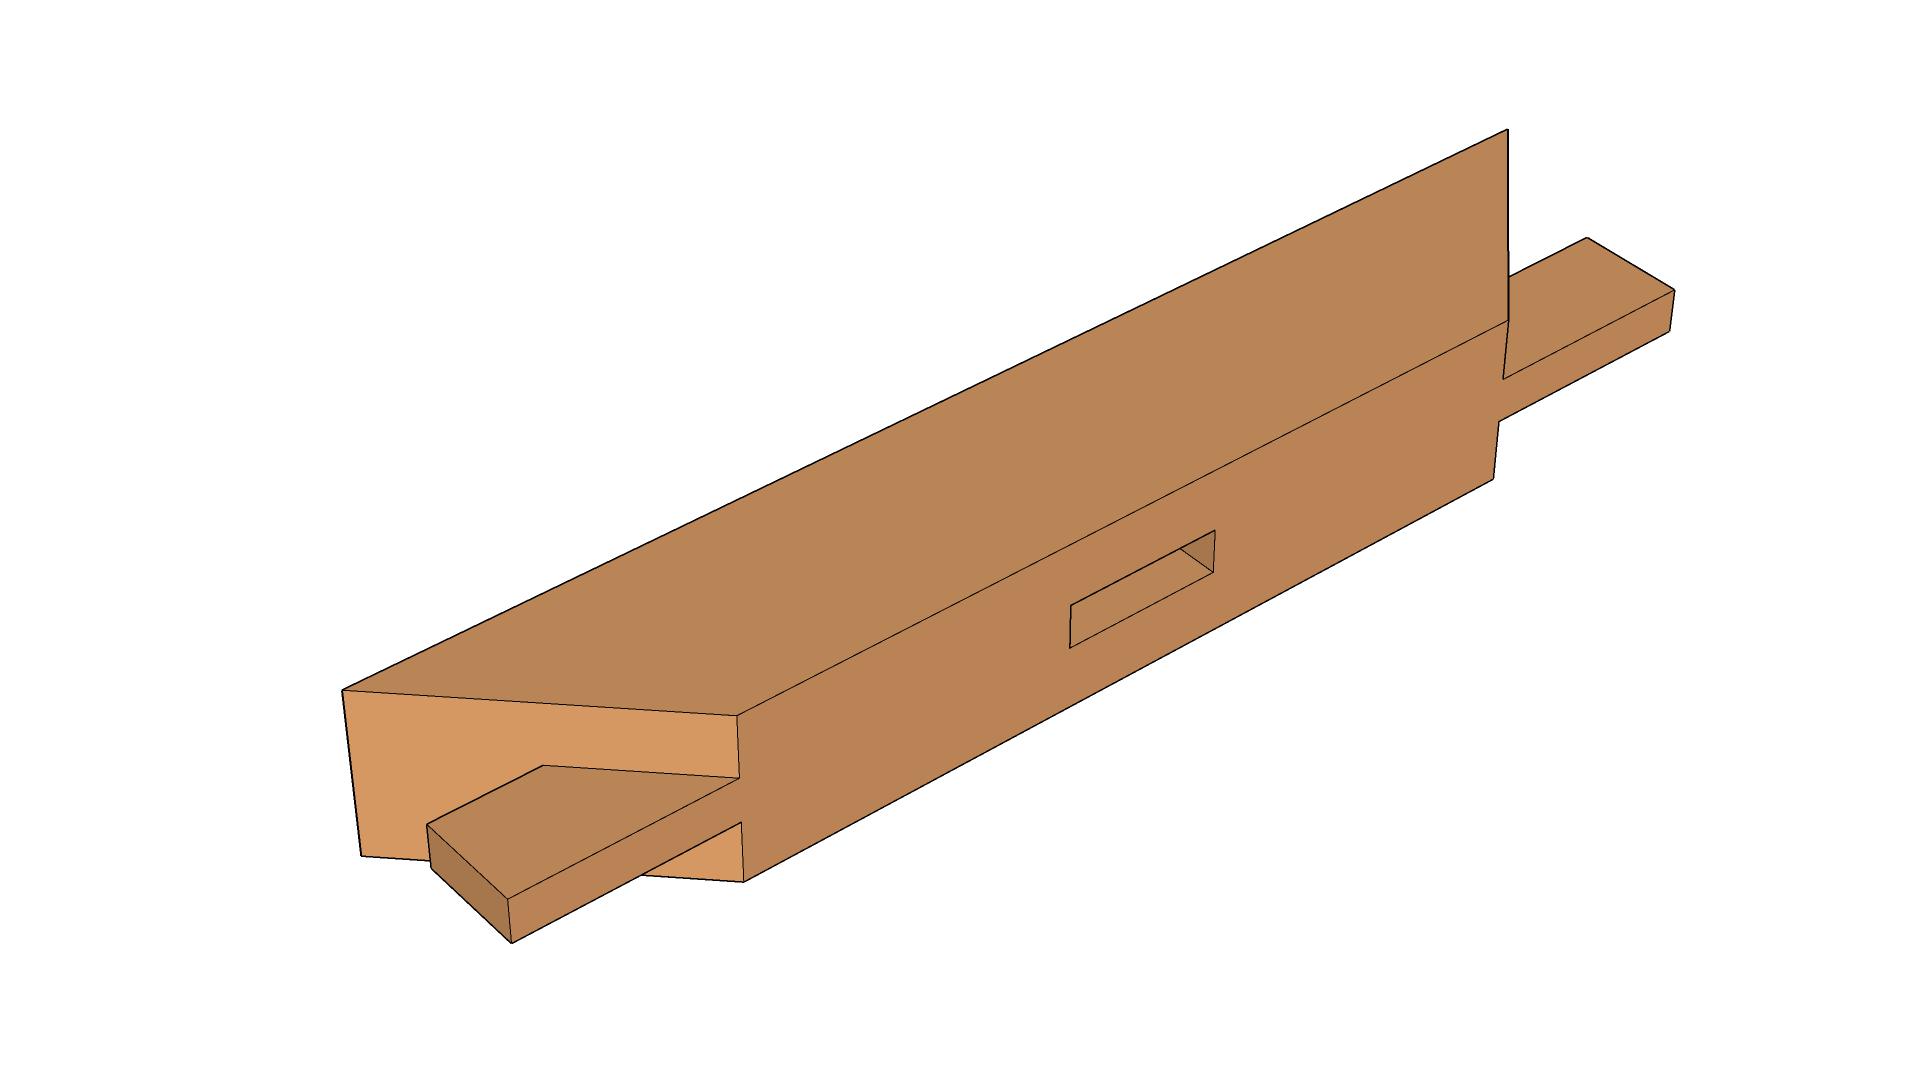
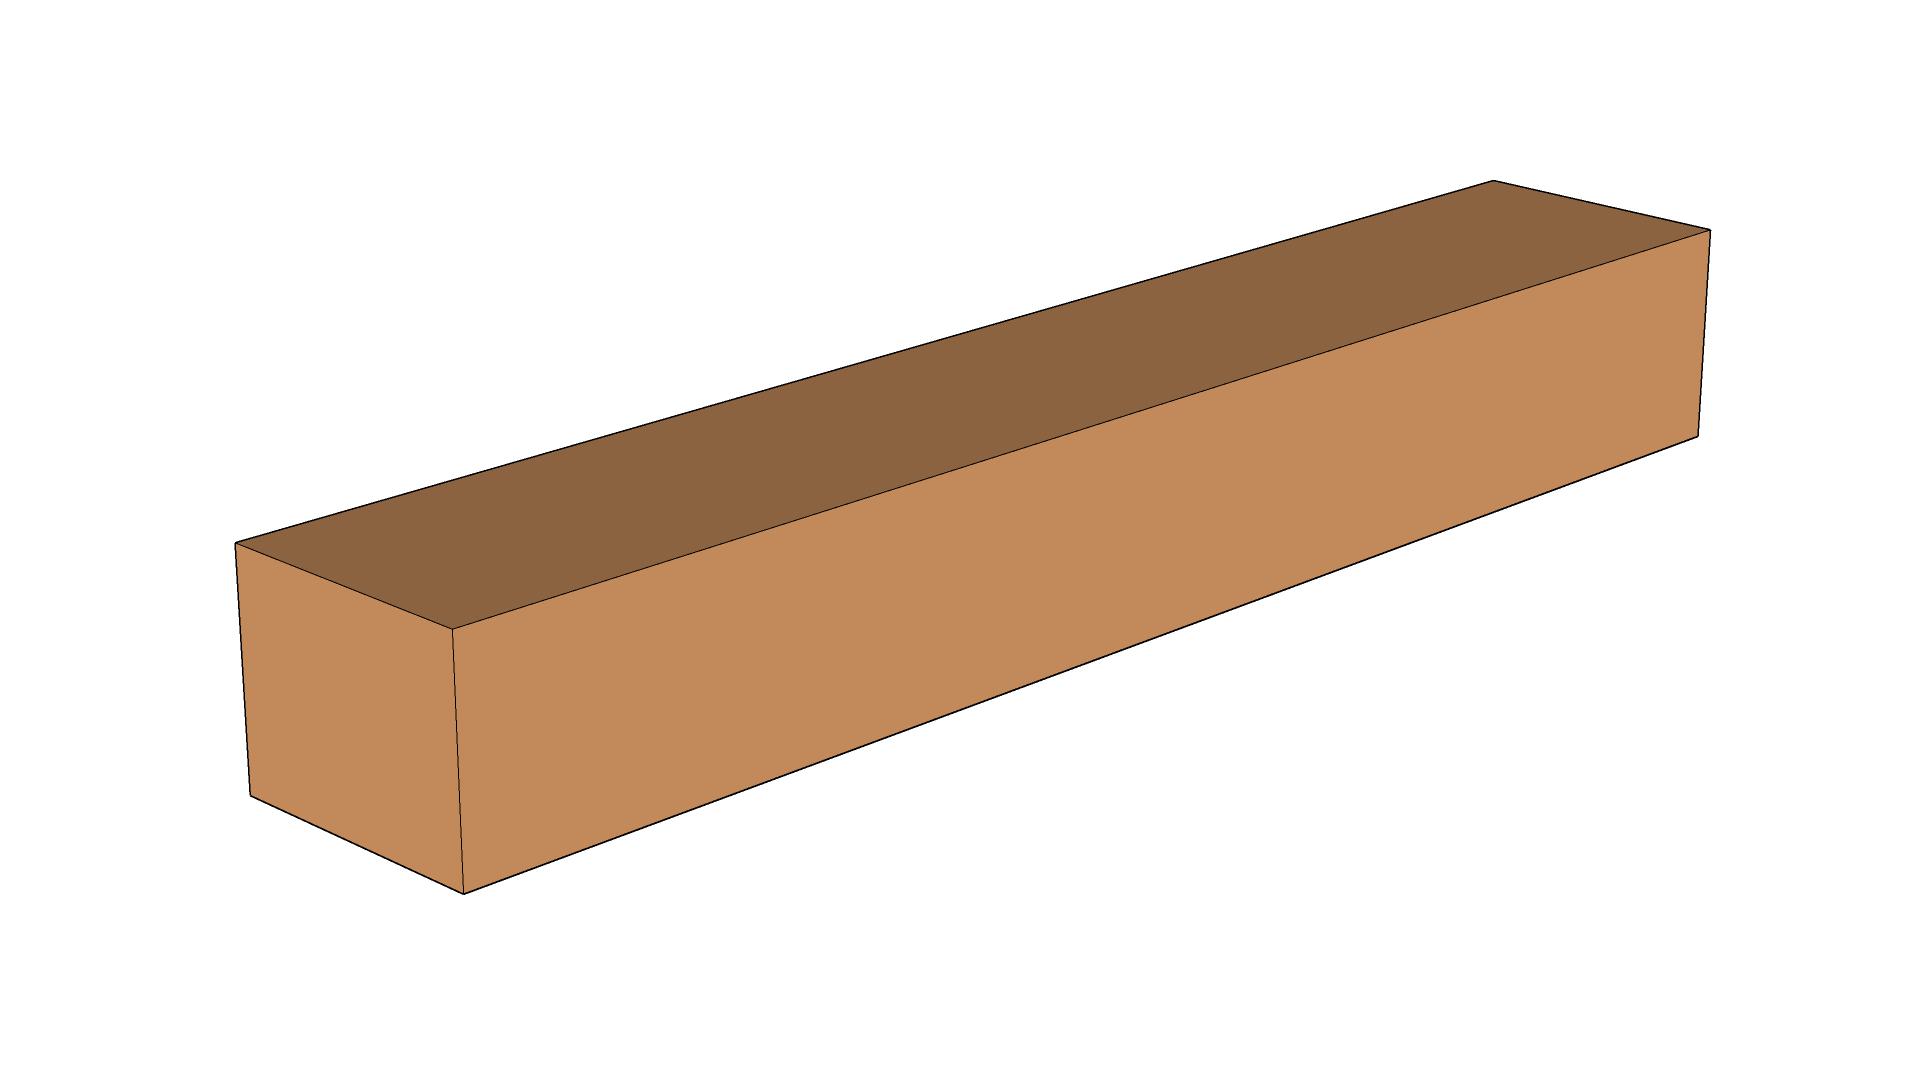
The Seat Frame (Tenon)
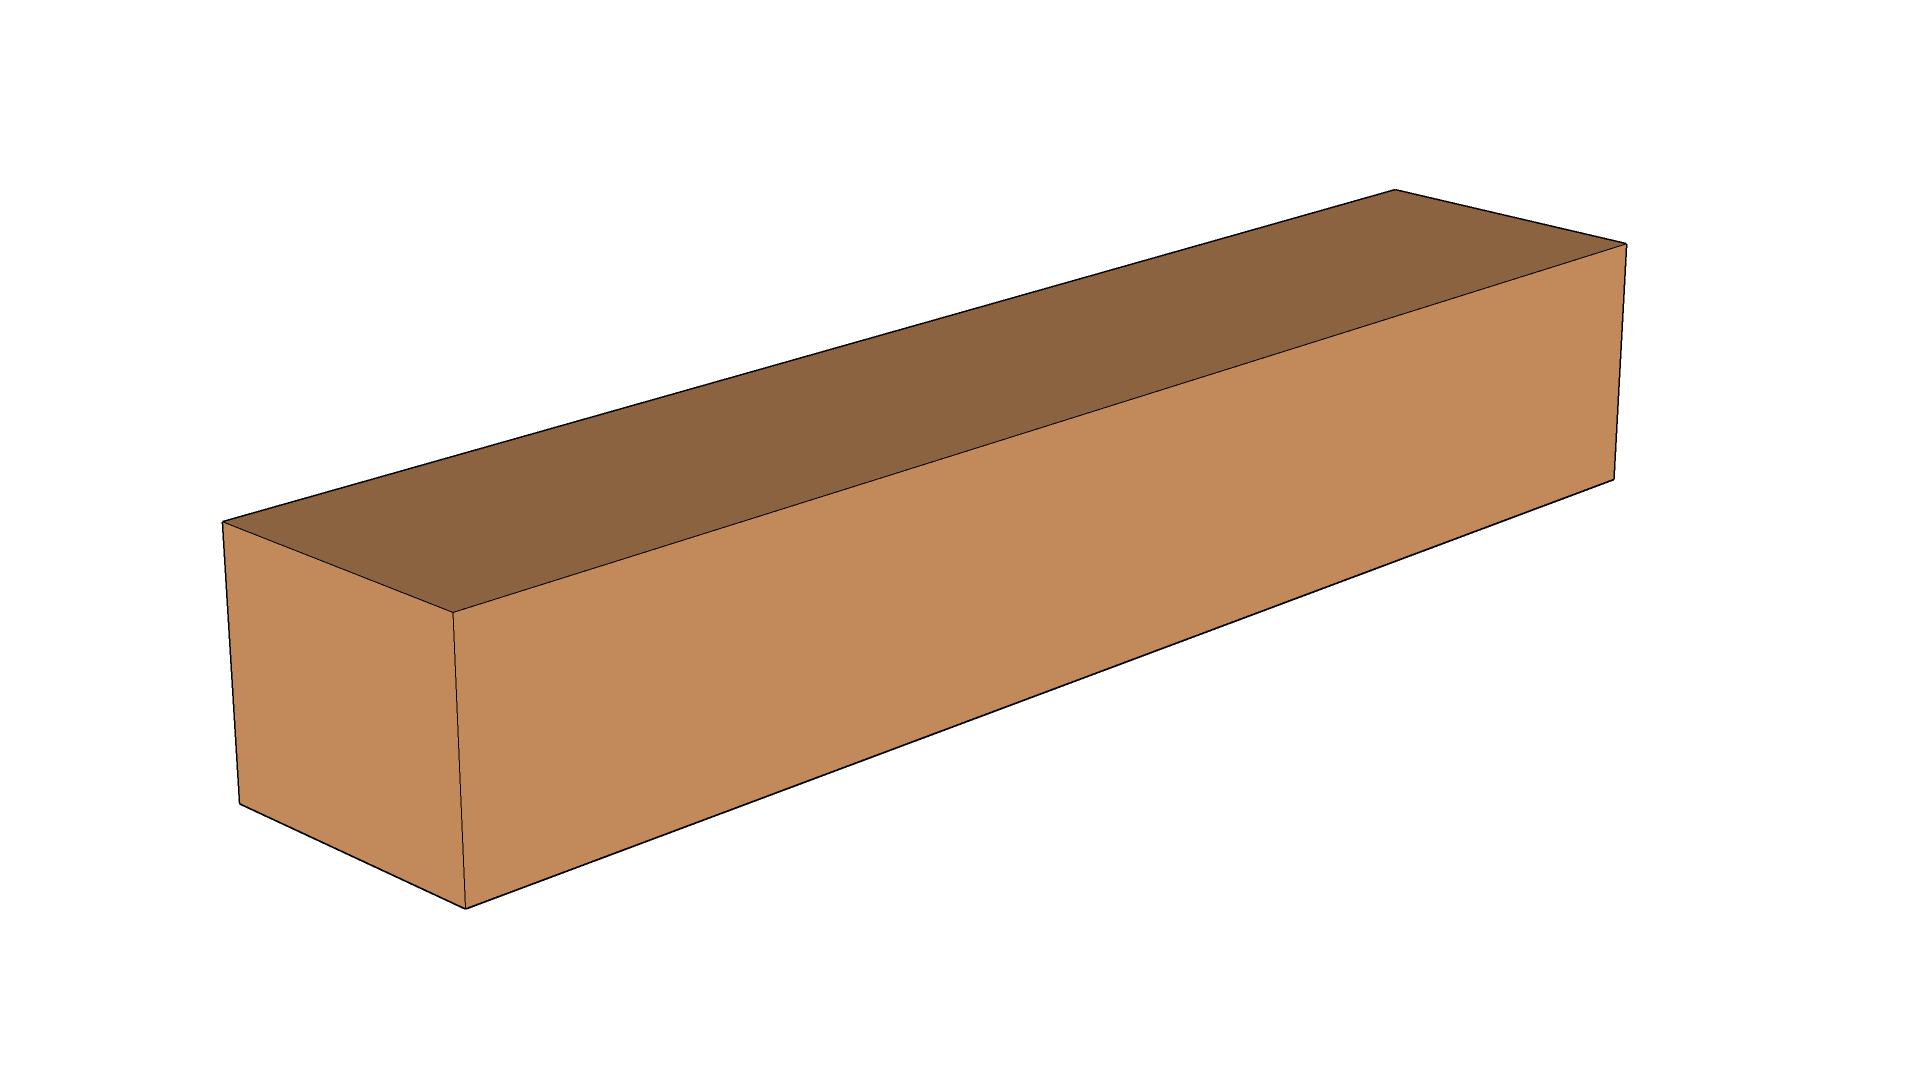
1: Rough Dimension
Cut timber to rough dimensions.
2: Dimension
Square timber and cut to final length.
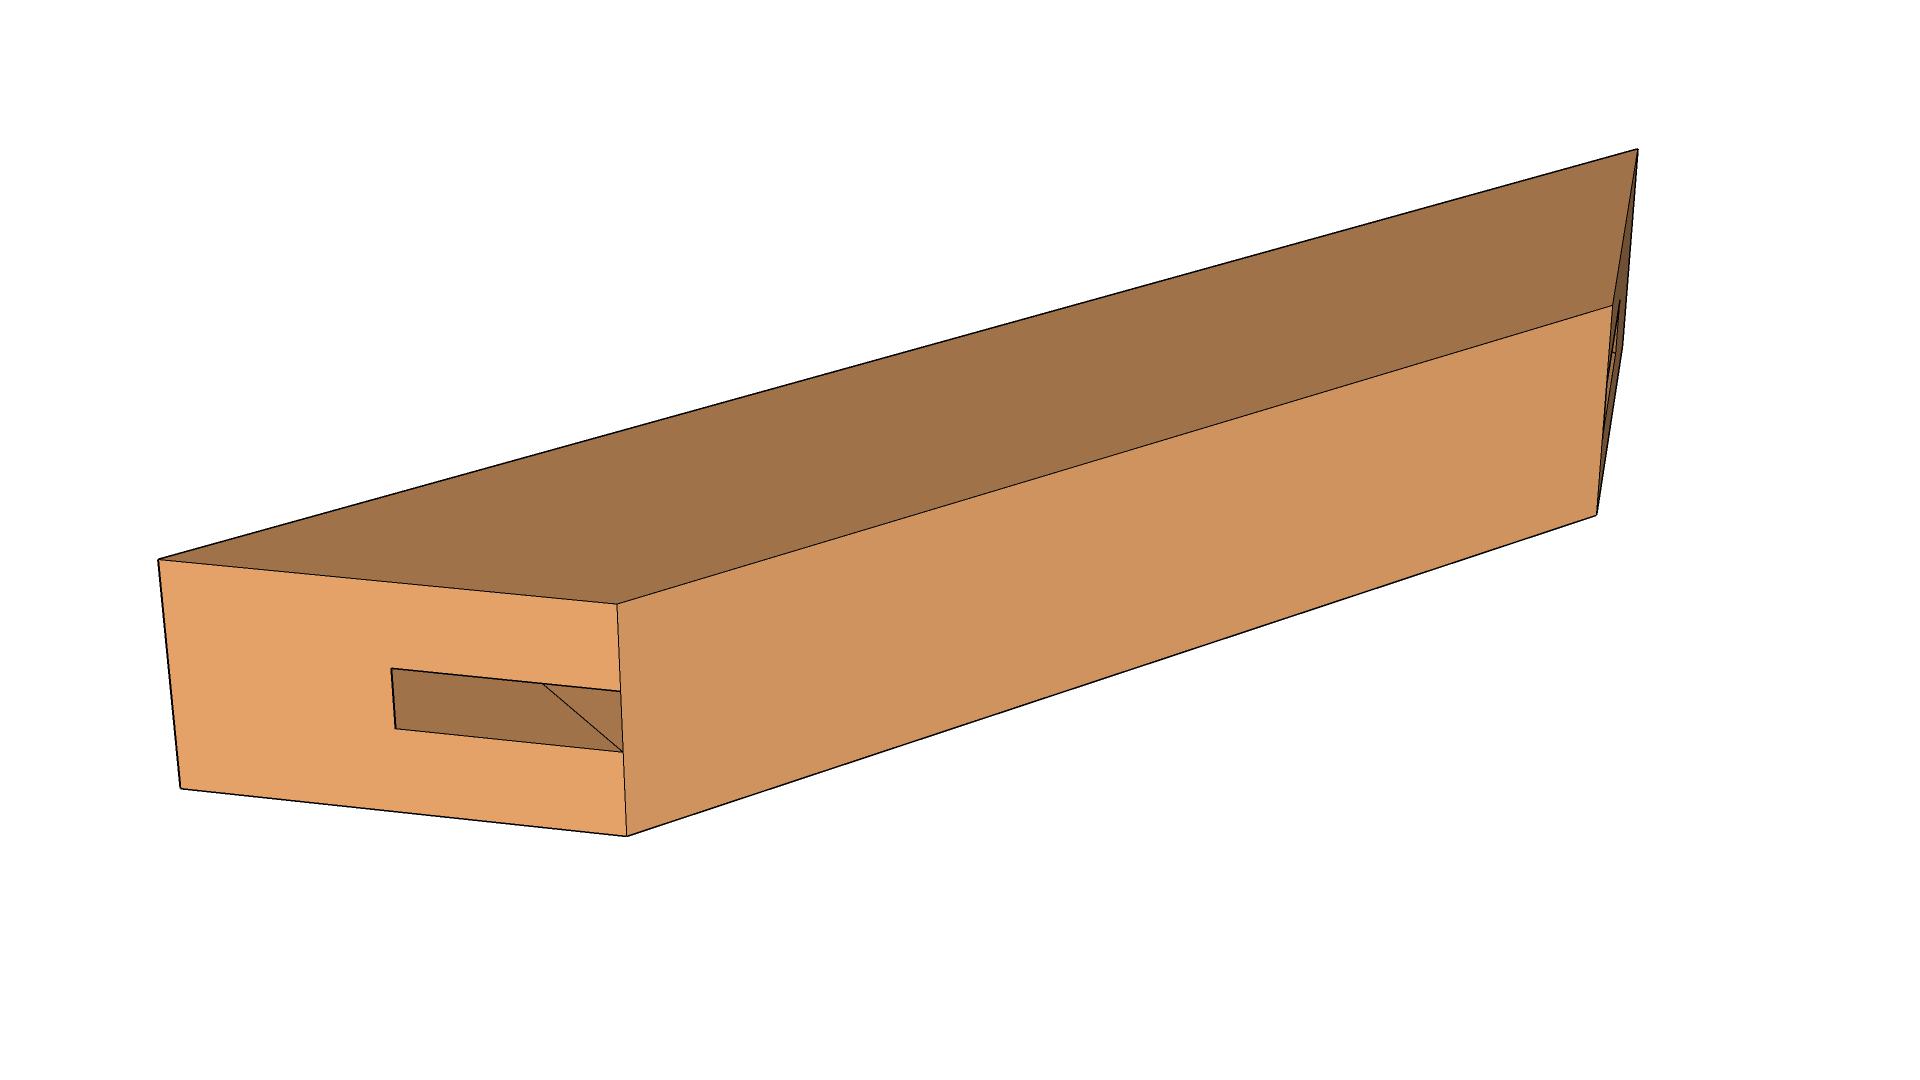
3: Cut Angled Tenon Shoulders
Tenon shoulder needs to be cut at a 45-degree angle.
4: Clean Tenon Shoulders
Remove unused part of tenon.
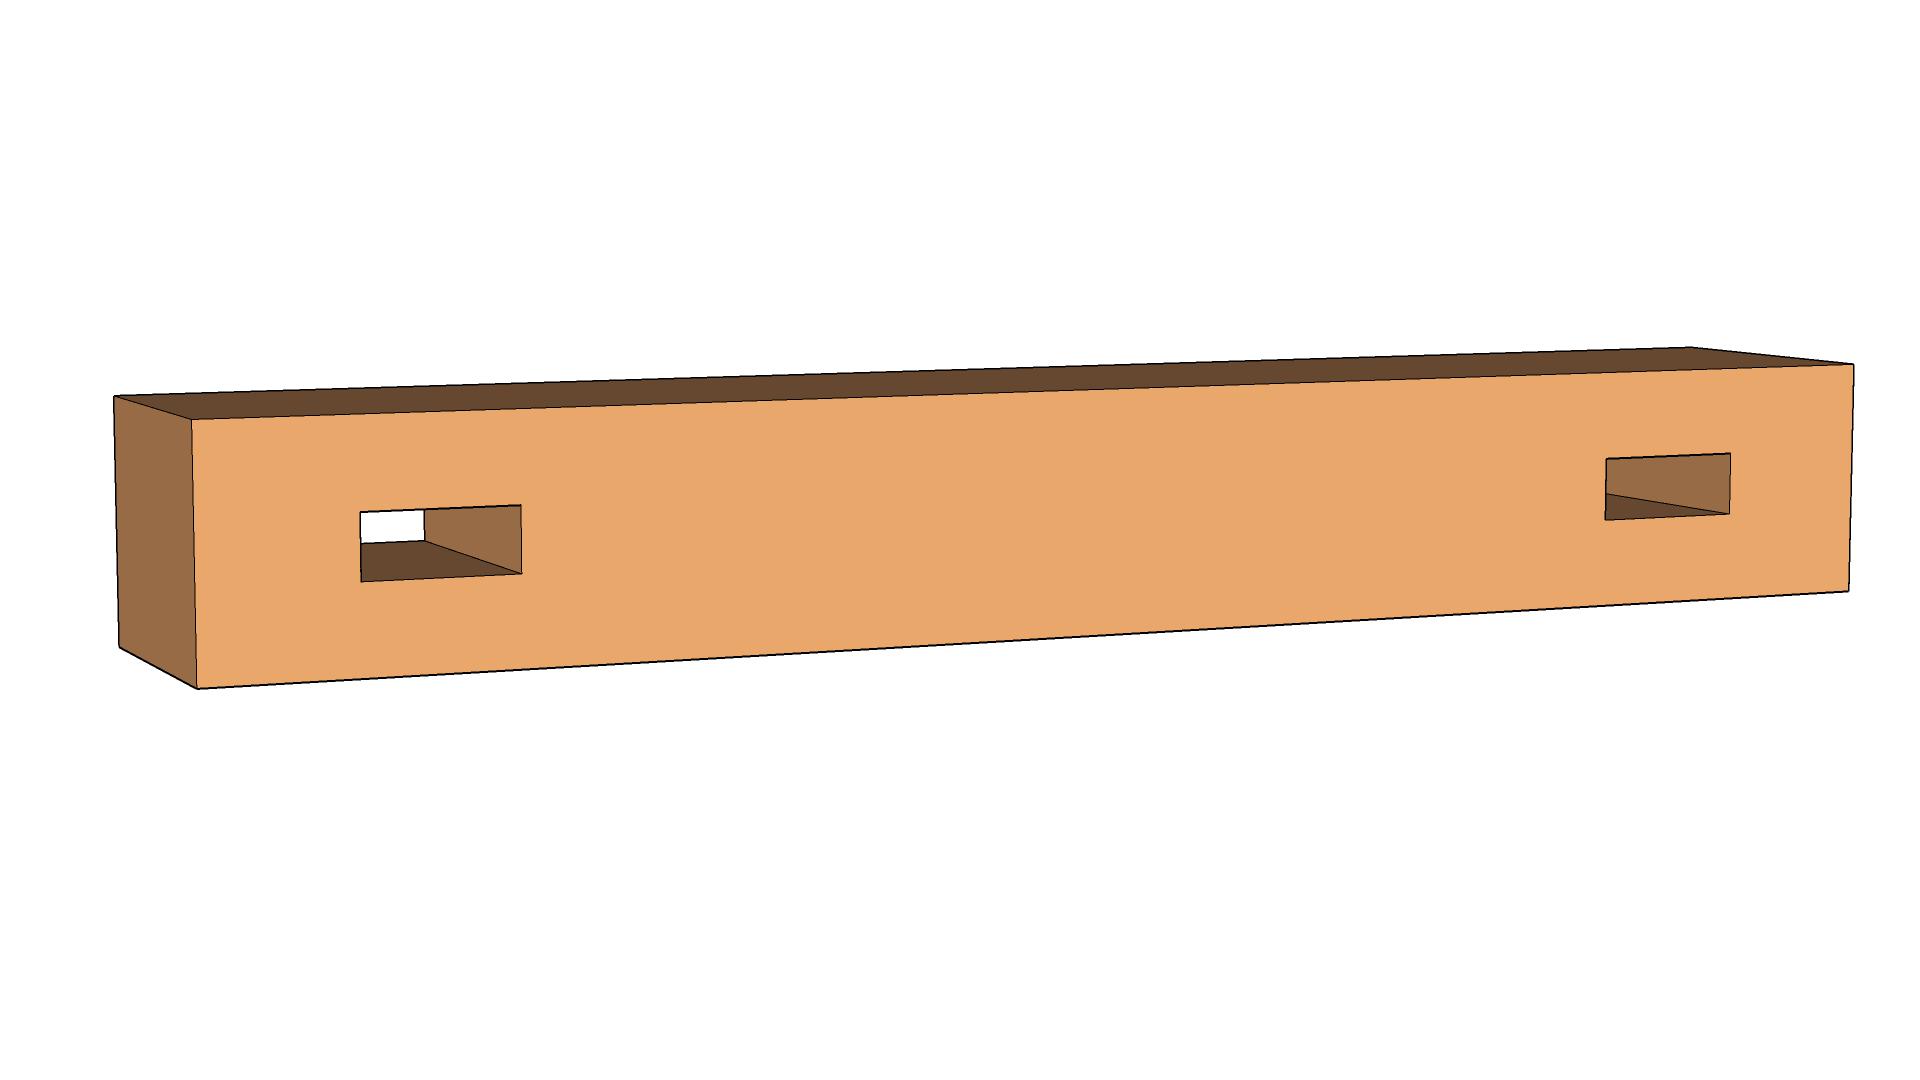
5: Create Brace Mortise
Create a mortise hole for the panel brace tenon.
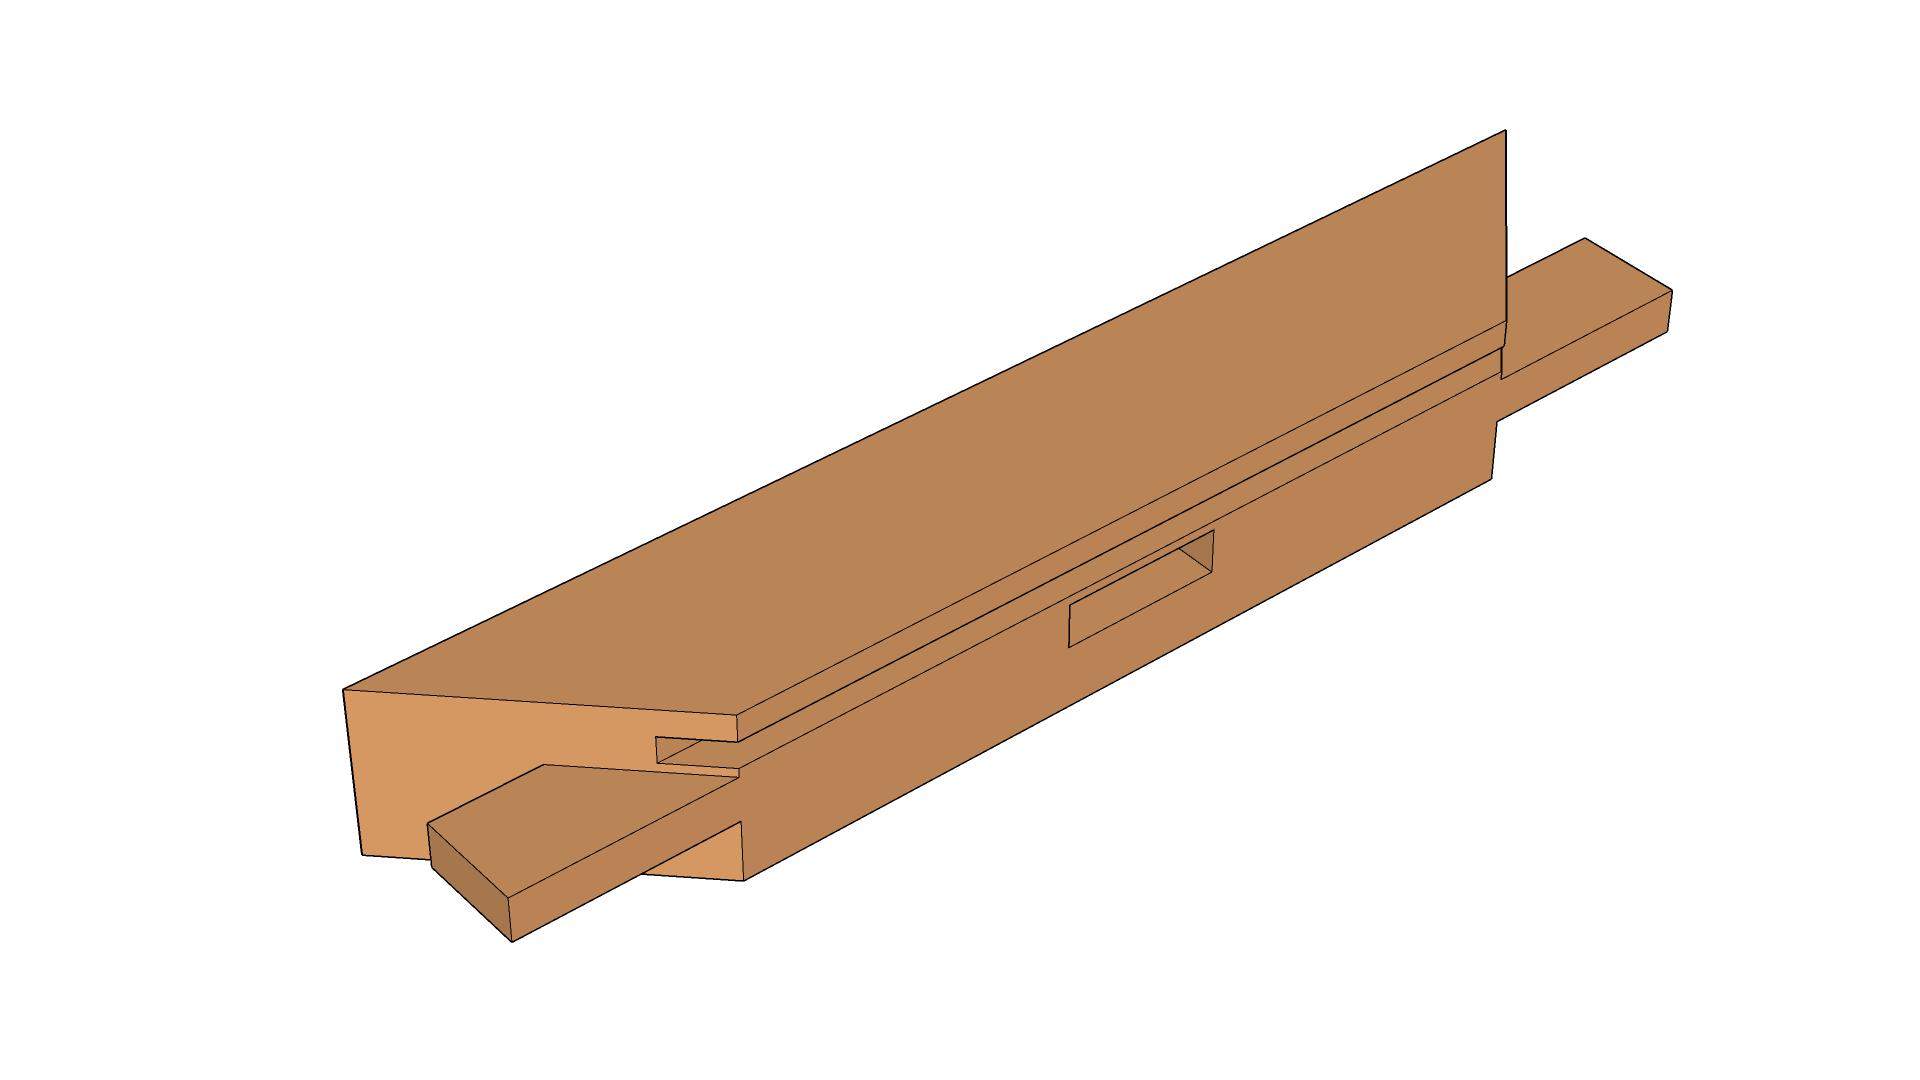
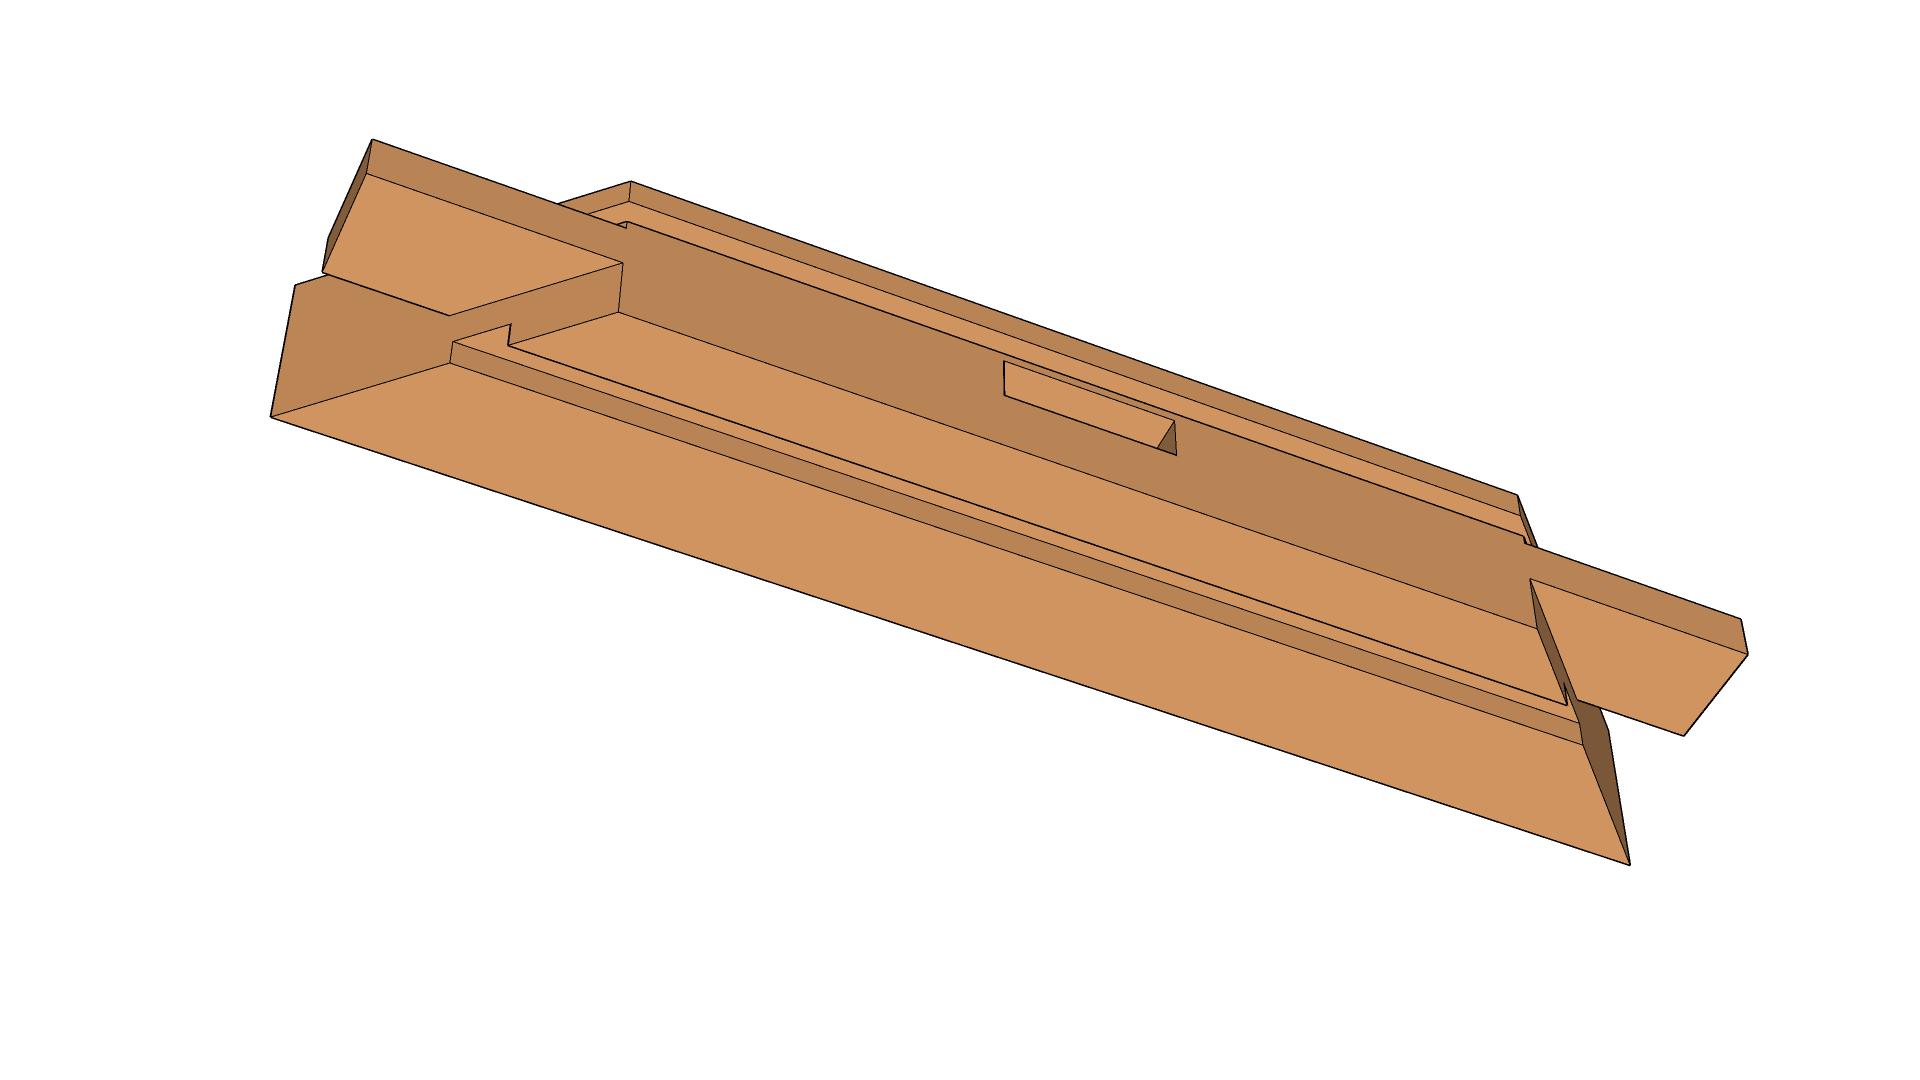
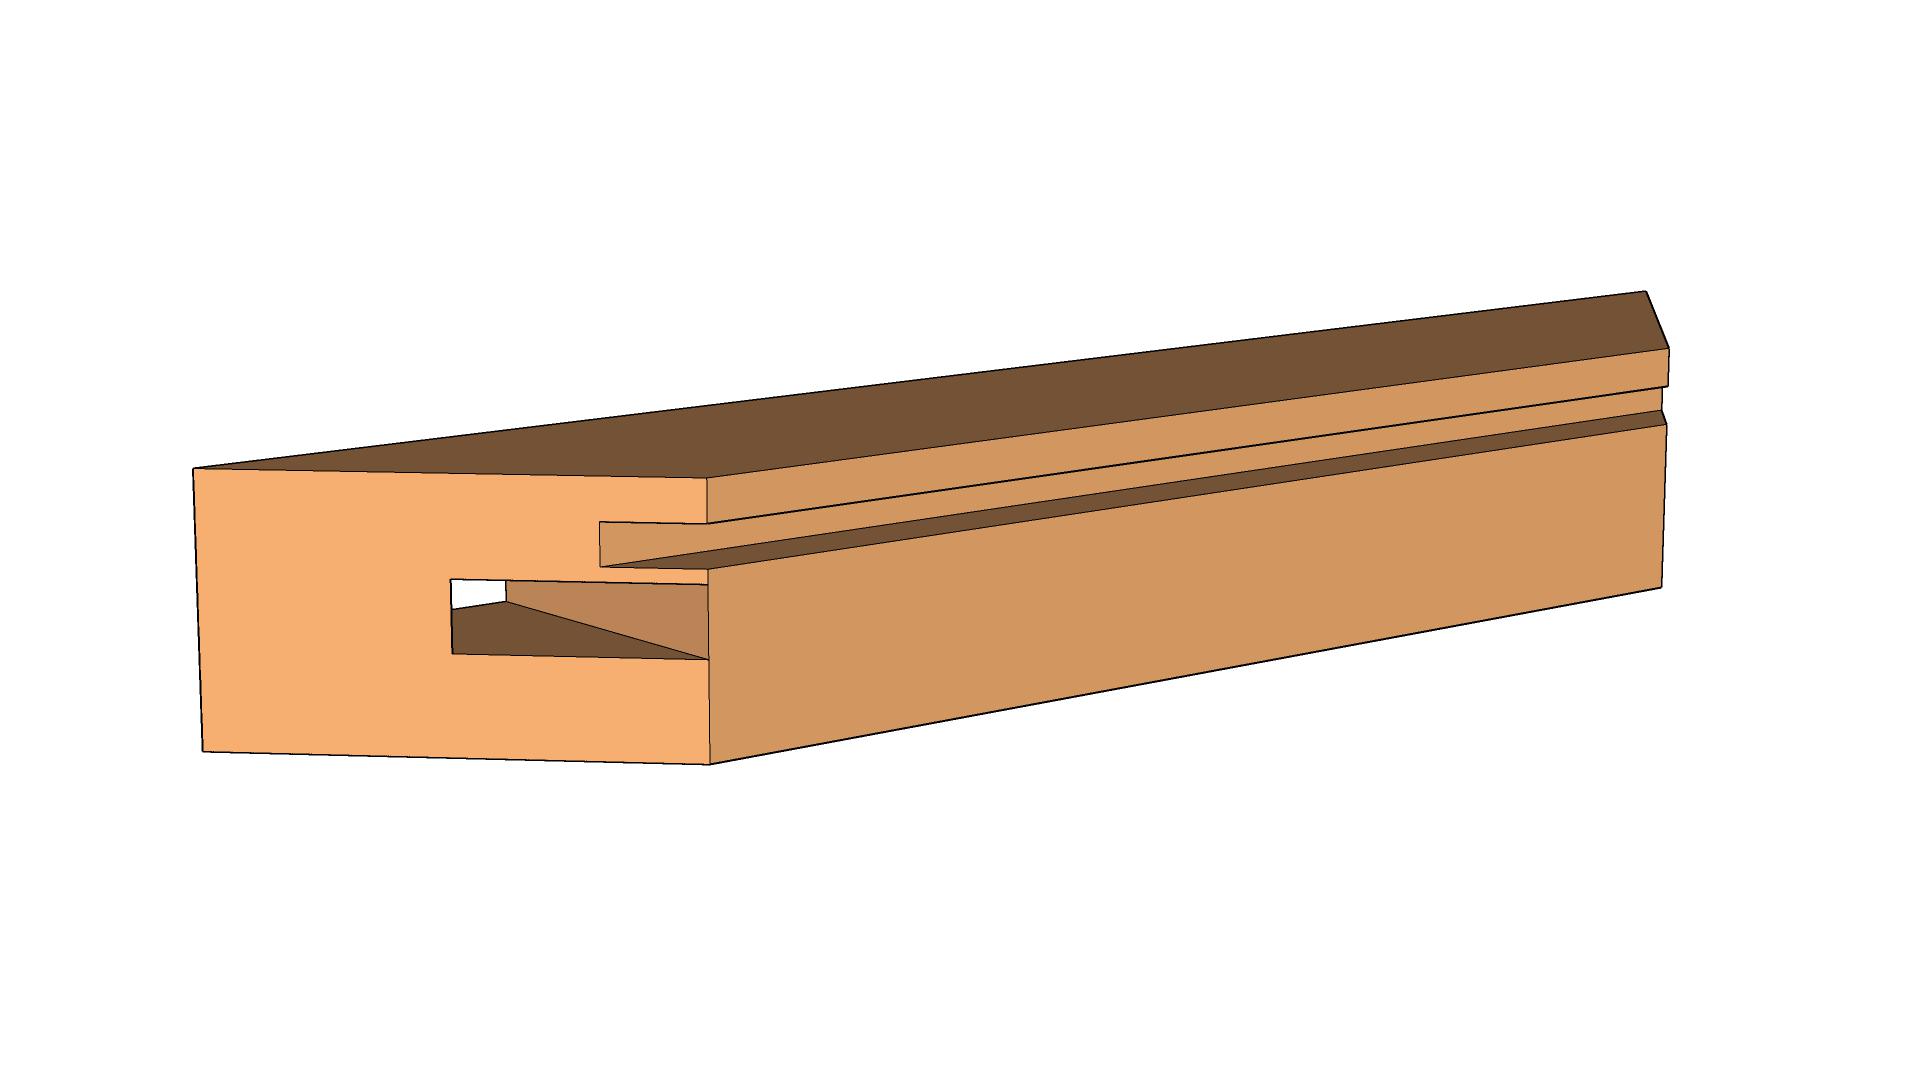
6: Create Panel Groove
Create a groove for the main seat panel to fit into.
7: Create Waist Groove
Create a groove for the waist panels to fit into.
The Seat Frame (Mortise)
1: Rough Dimension
Cut timber to rough dimensions.
2: Dimension
Square timber and cut to final length.
3: Cut Mortises
Cut mortise holes for panel pieces.
4: Cut Mitre
To pair with the other panel pieces, the panel ends should be cut as a 45-degree angle.
5: Create Panel Groove
Create a groove for the main seat panel to fit into.
6: Create Waist Groove
Create a groove for the waist panels to fit into.
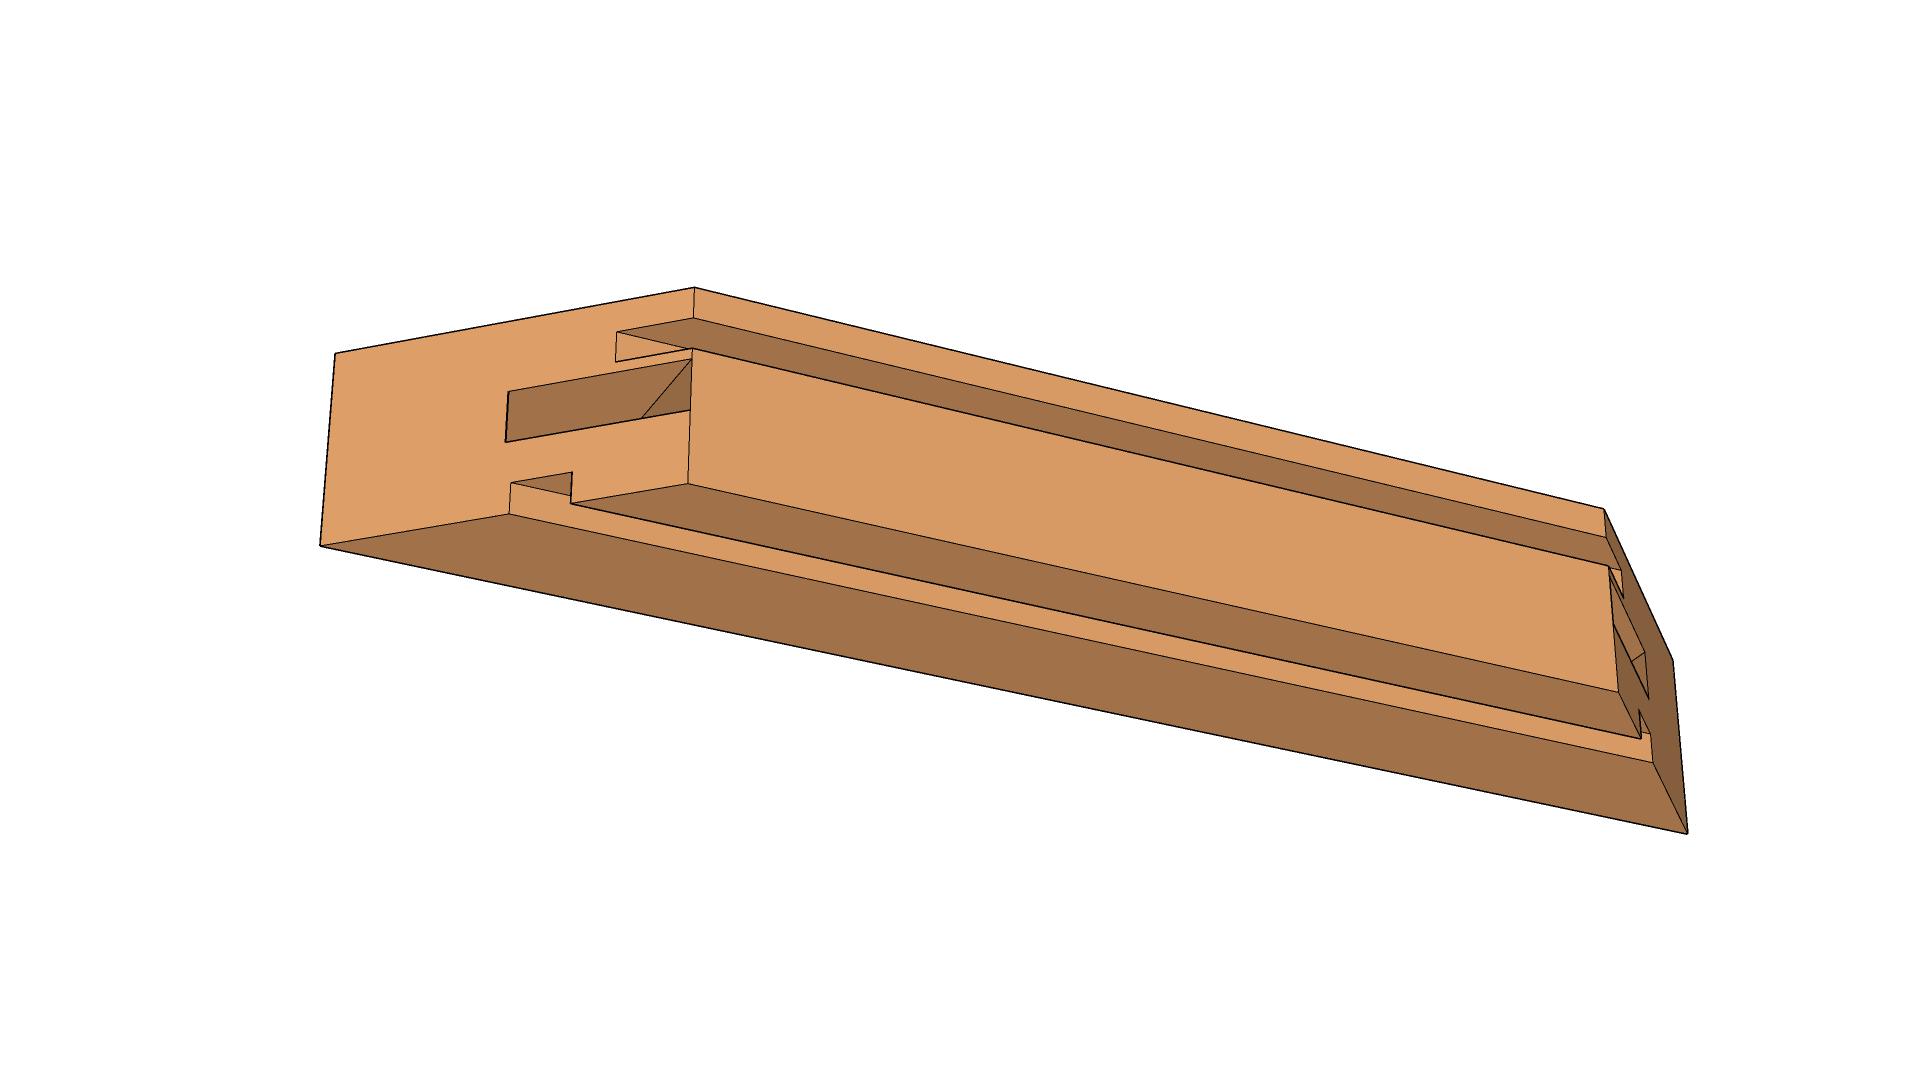
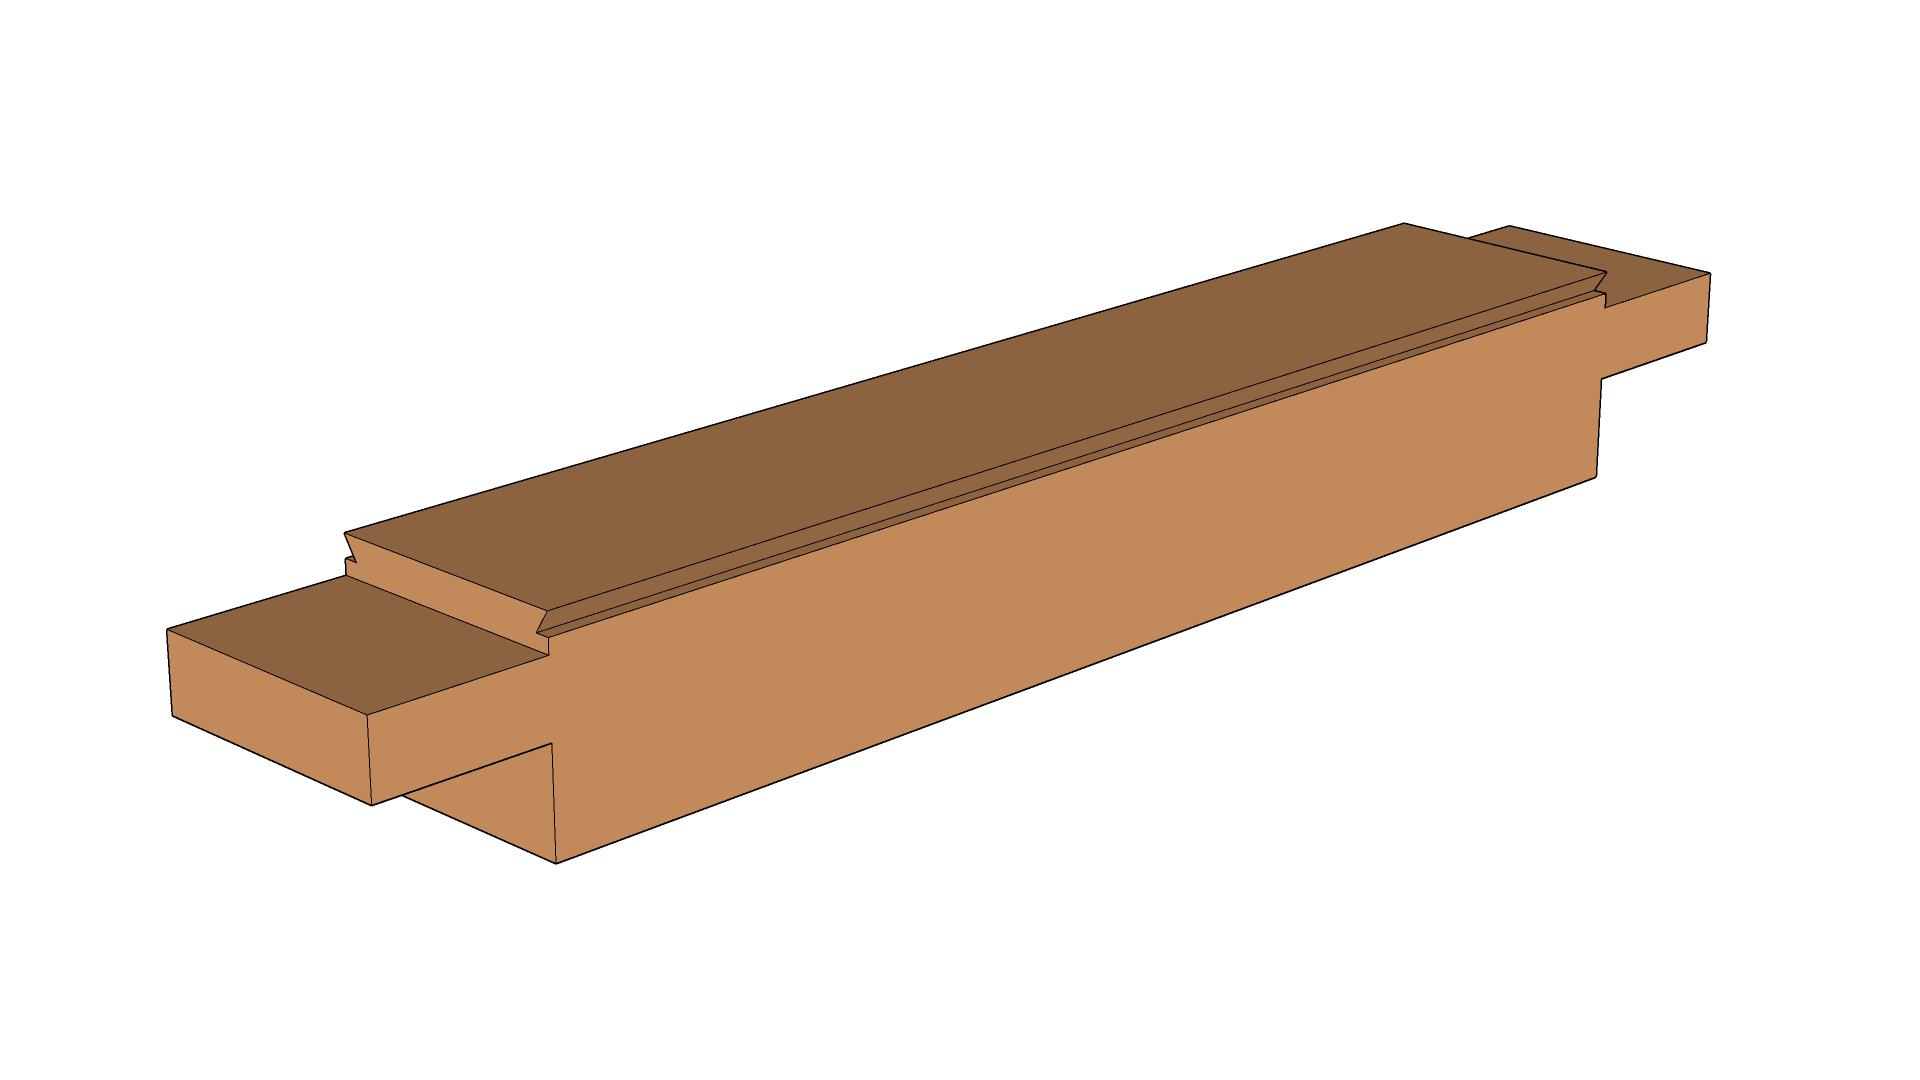
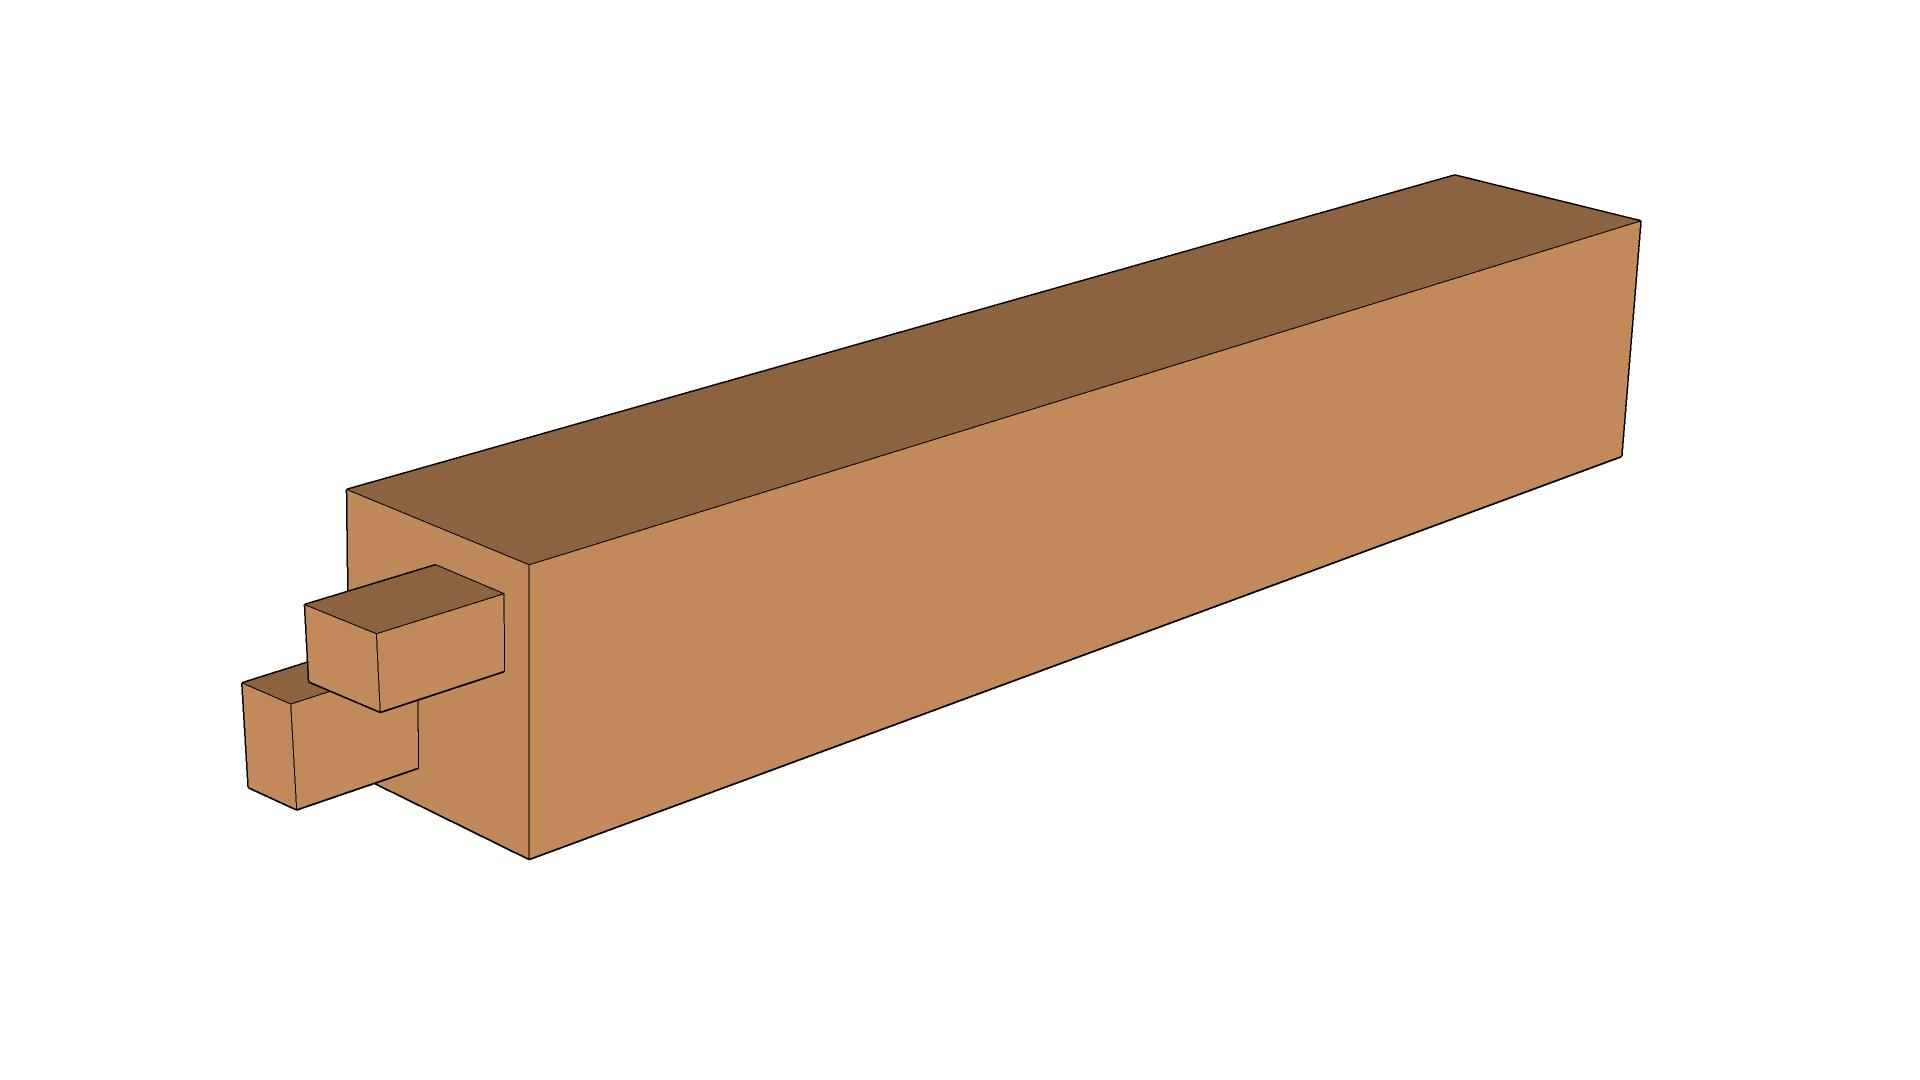
The Seat Support Brace
Used to reinforce the seat panel construction.
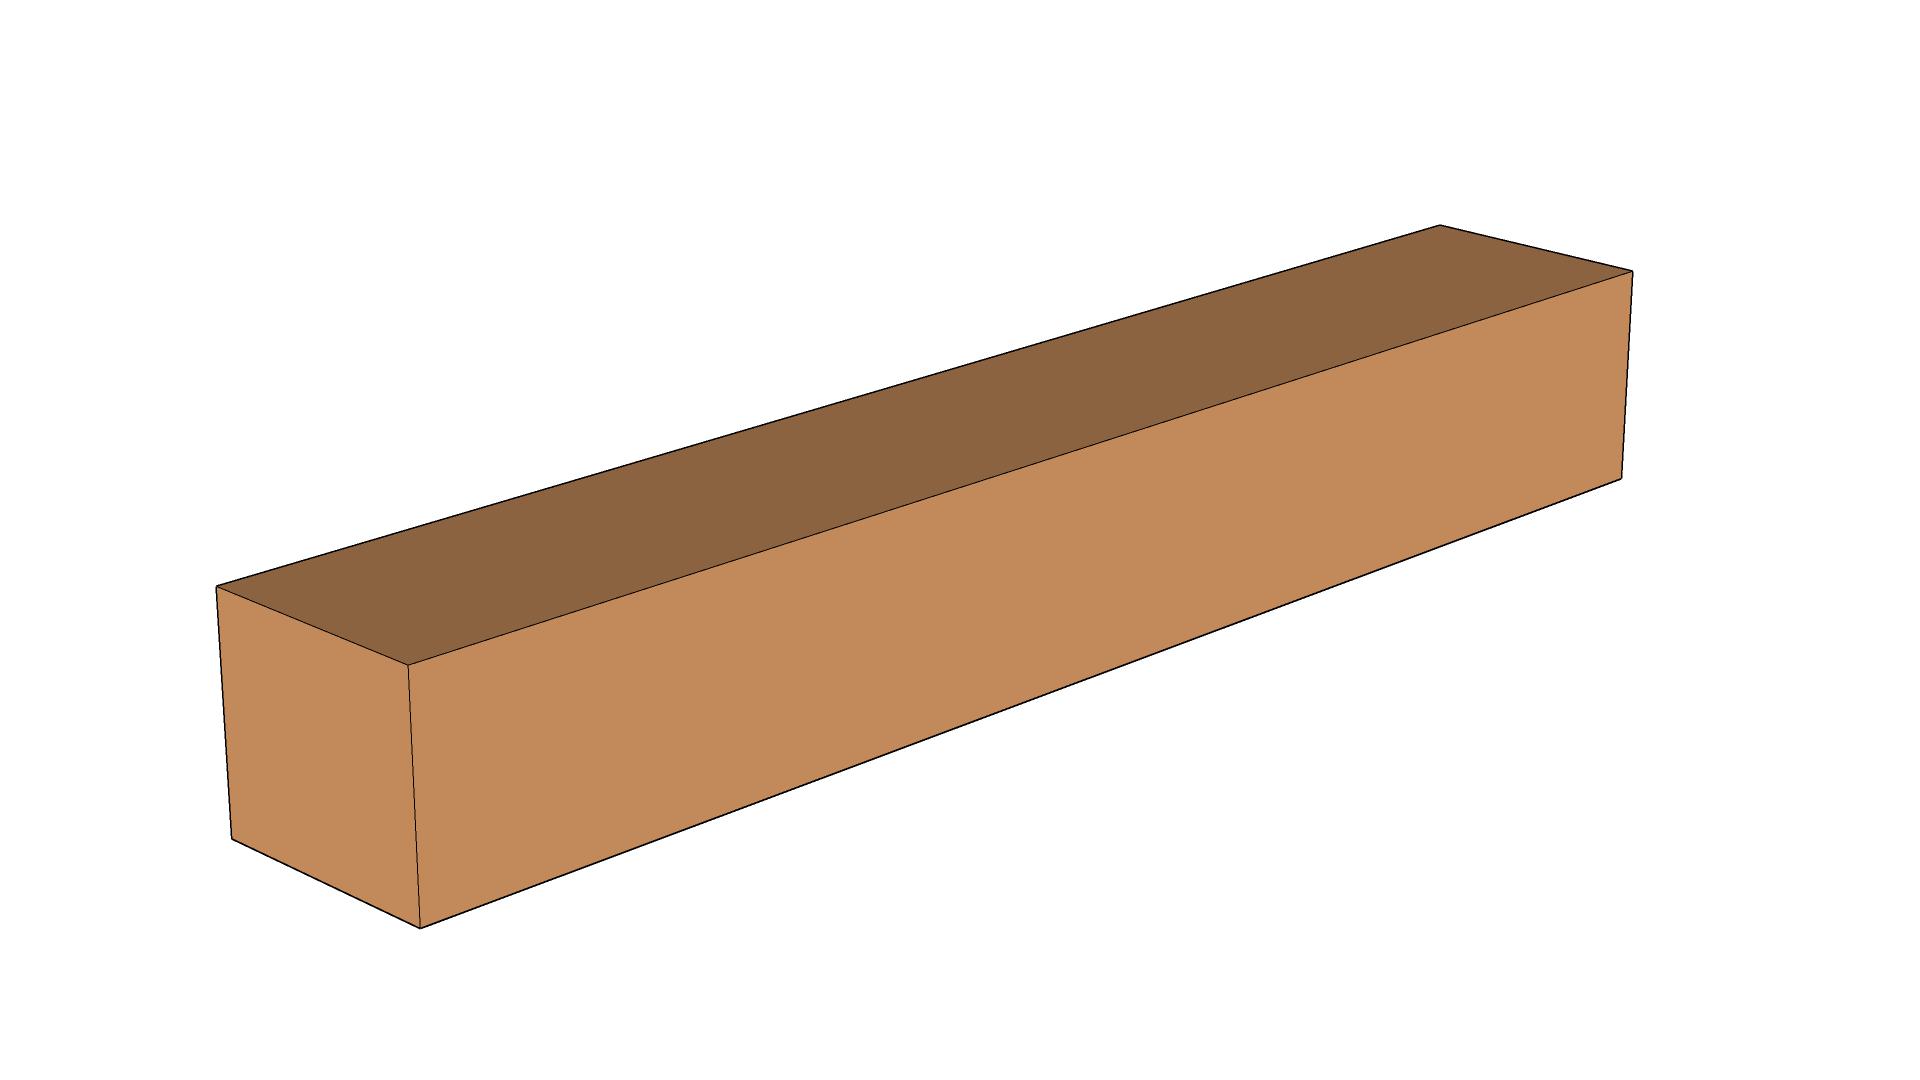
1: Rough Dimension
Cut timber to rough dimensions.
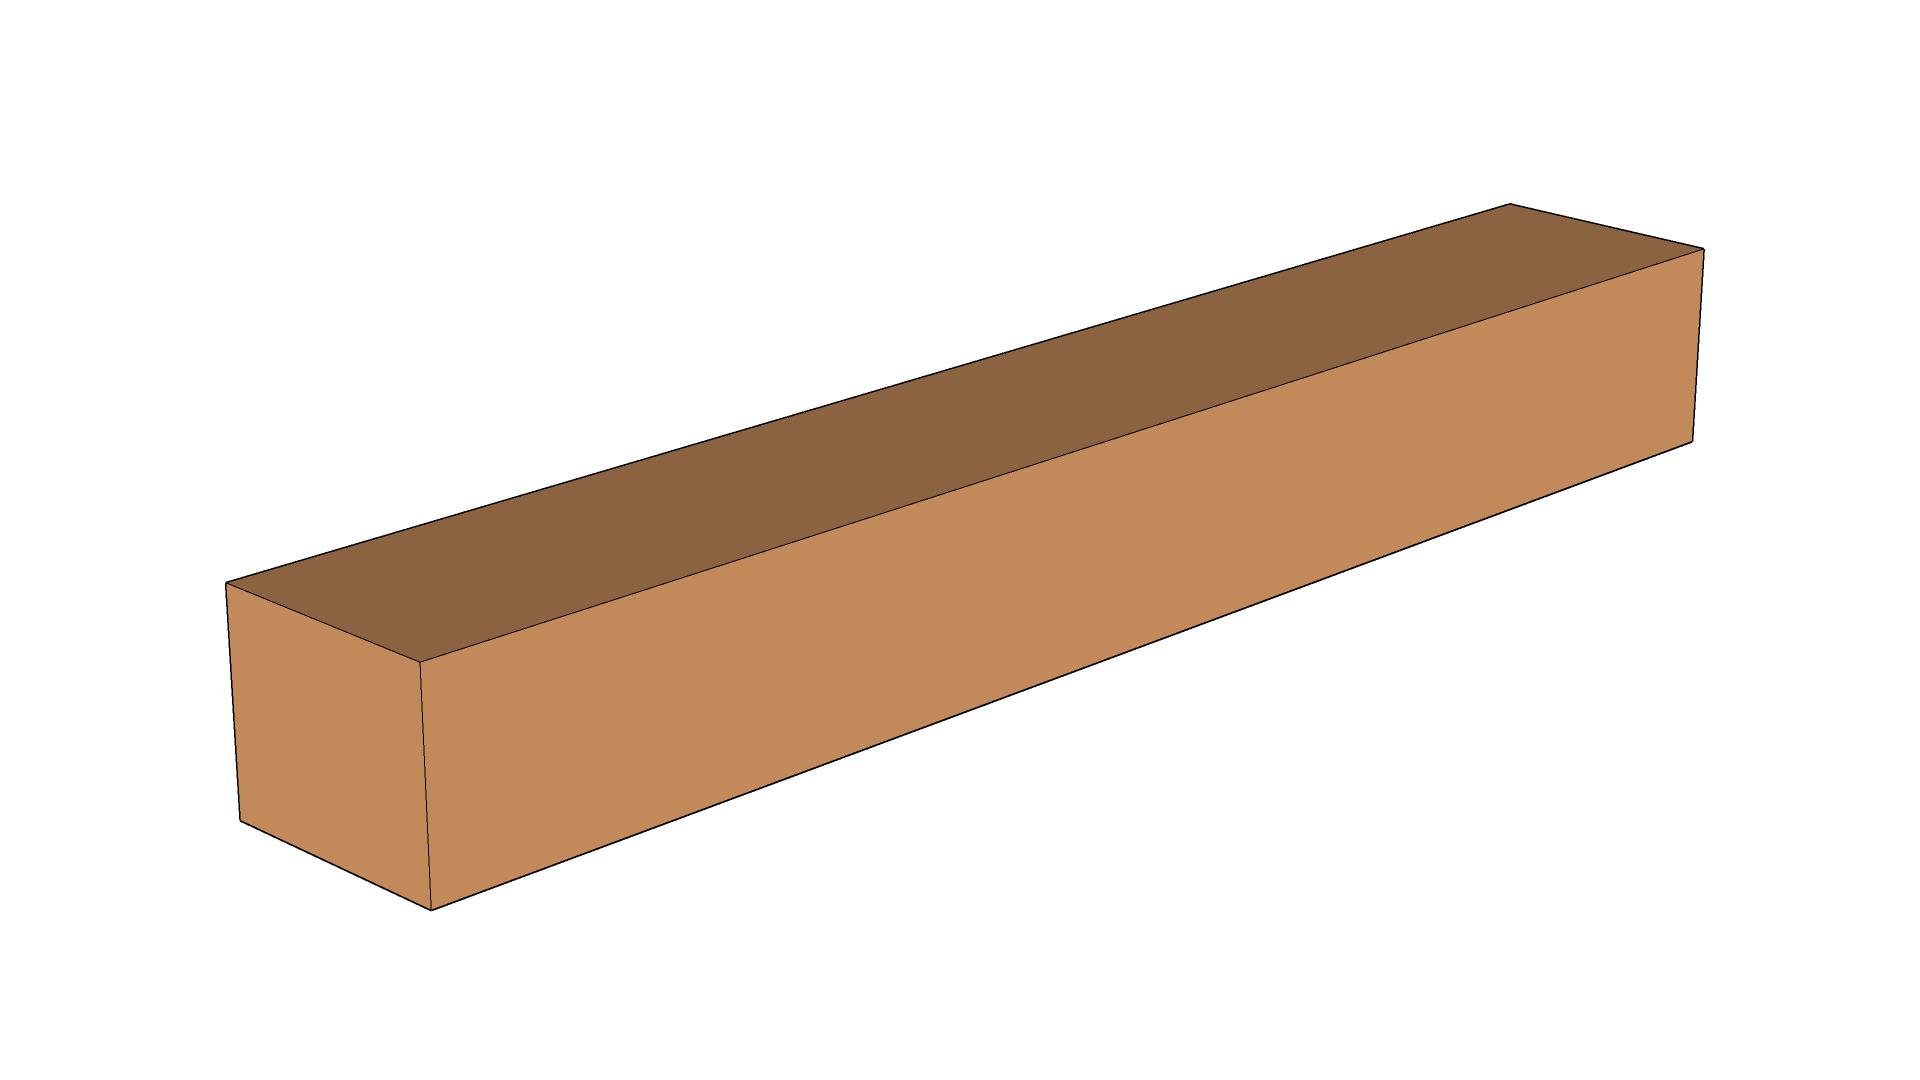
2: Dimension
Square timber and cut to final length.
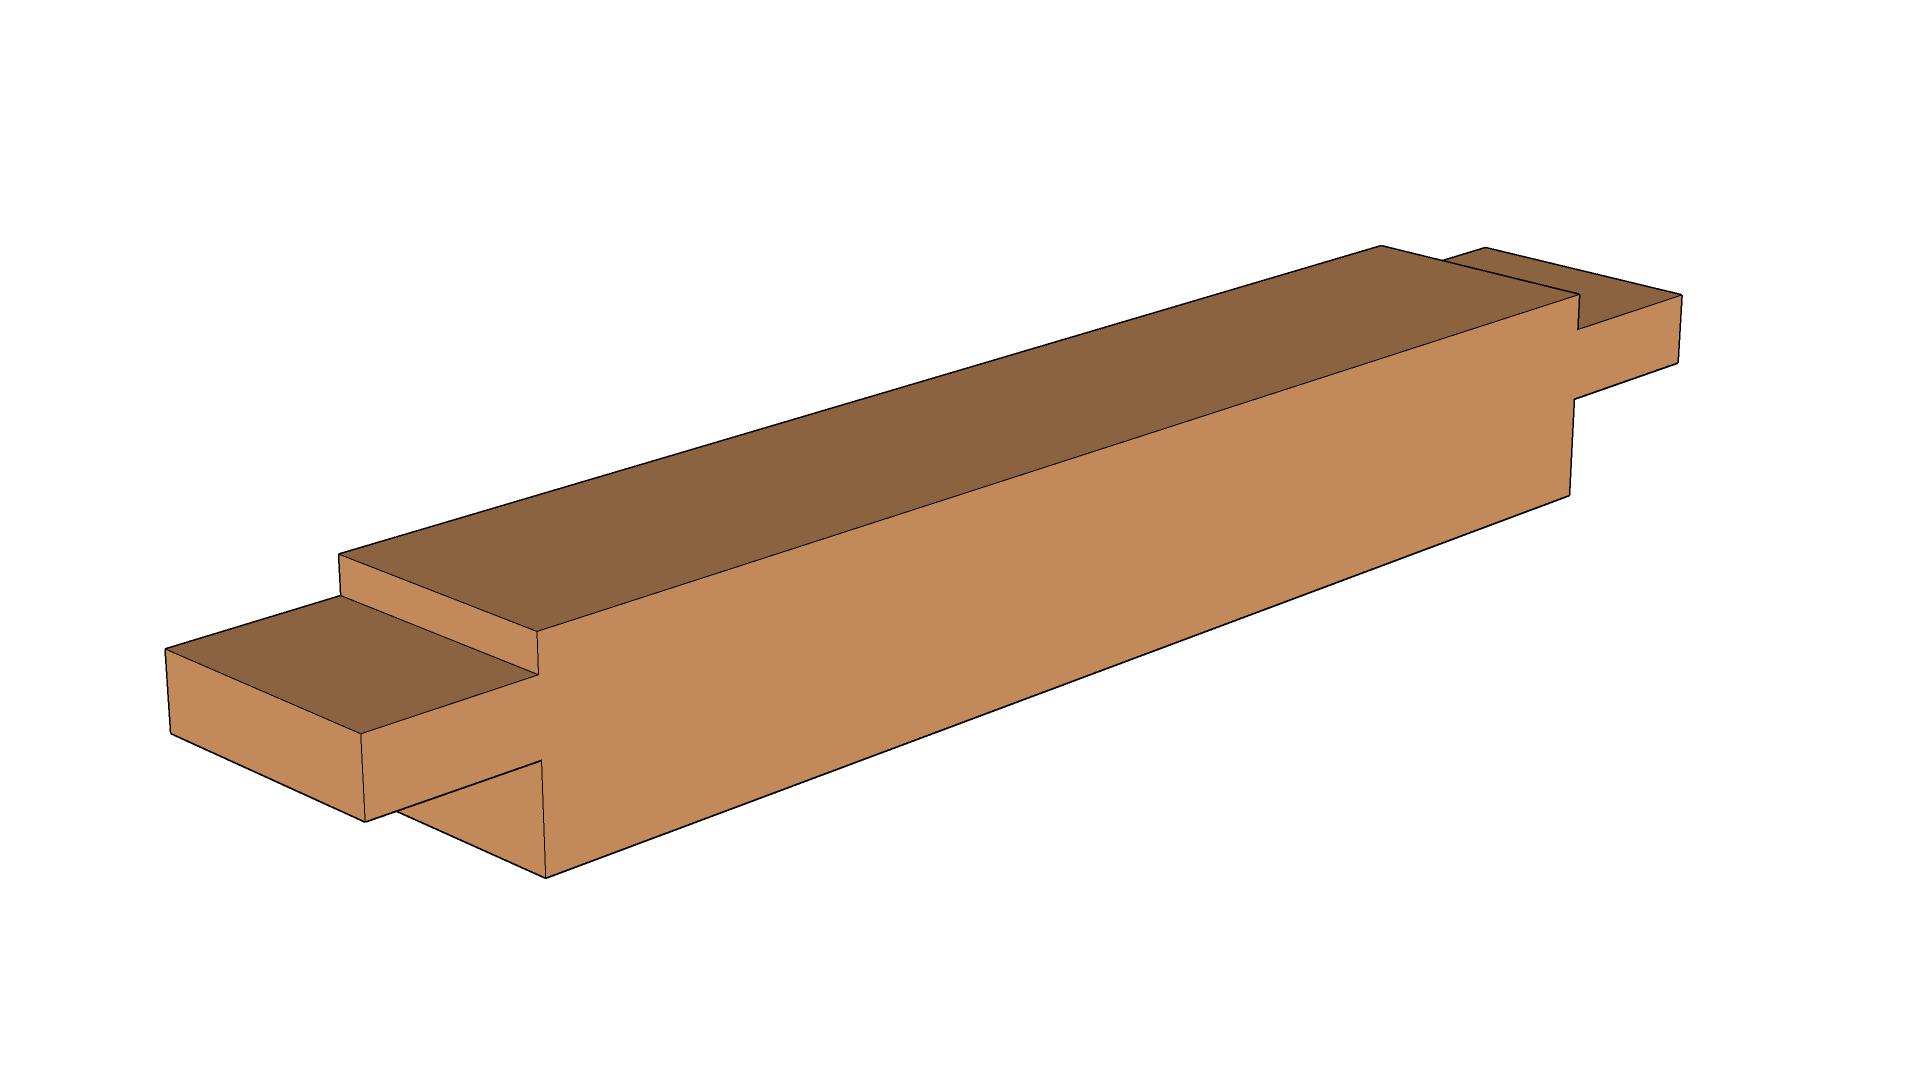
3: Create Tenons
Create tenons for placing into panel frame.
4: Cut Dovetail
Create tails for sliding brace into seat panel.
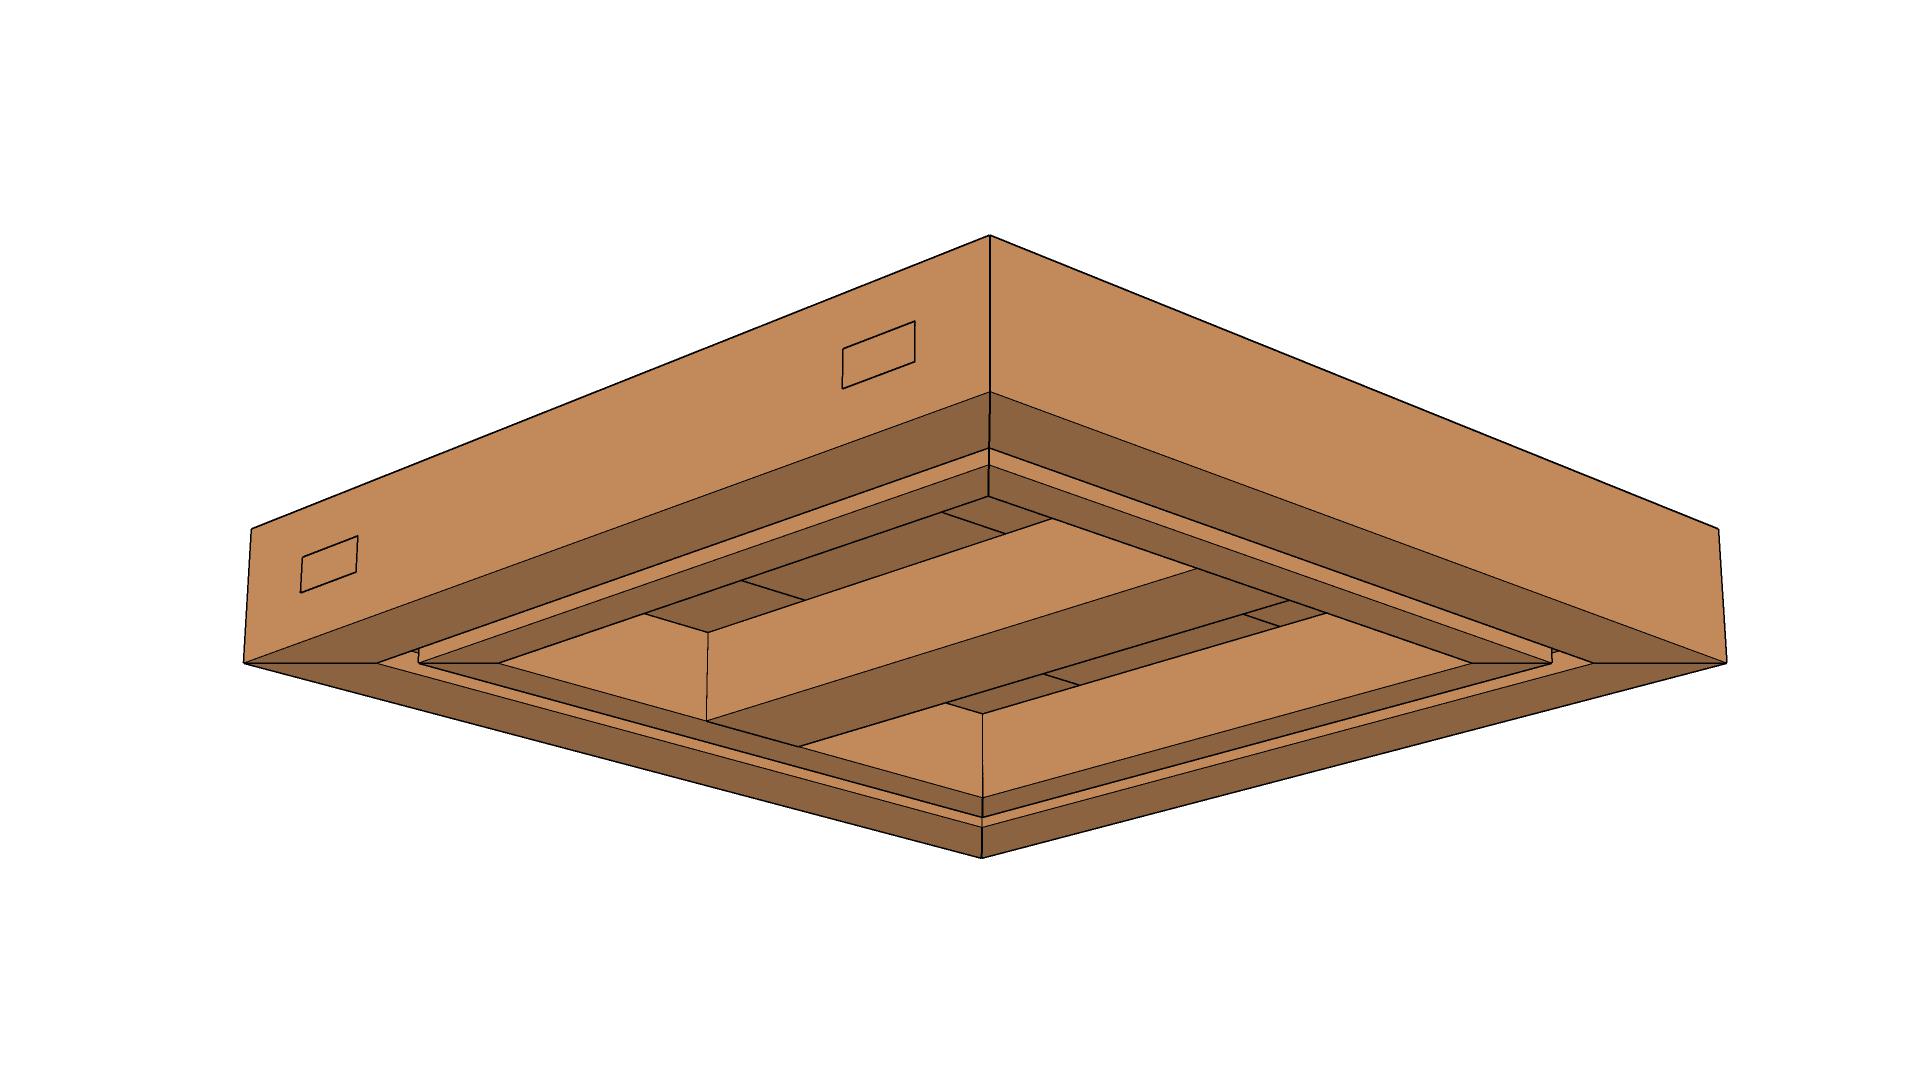
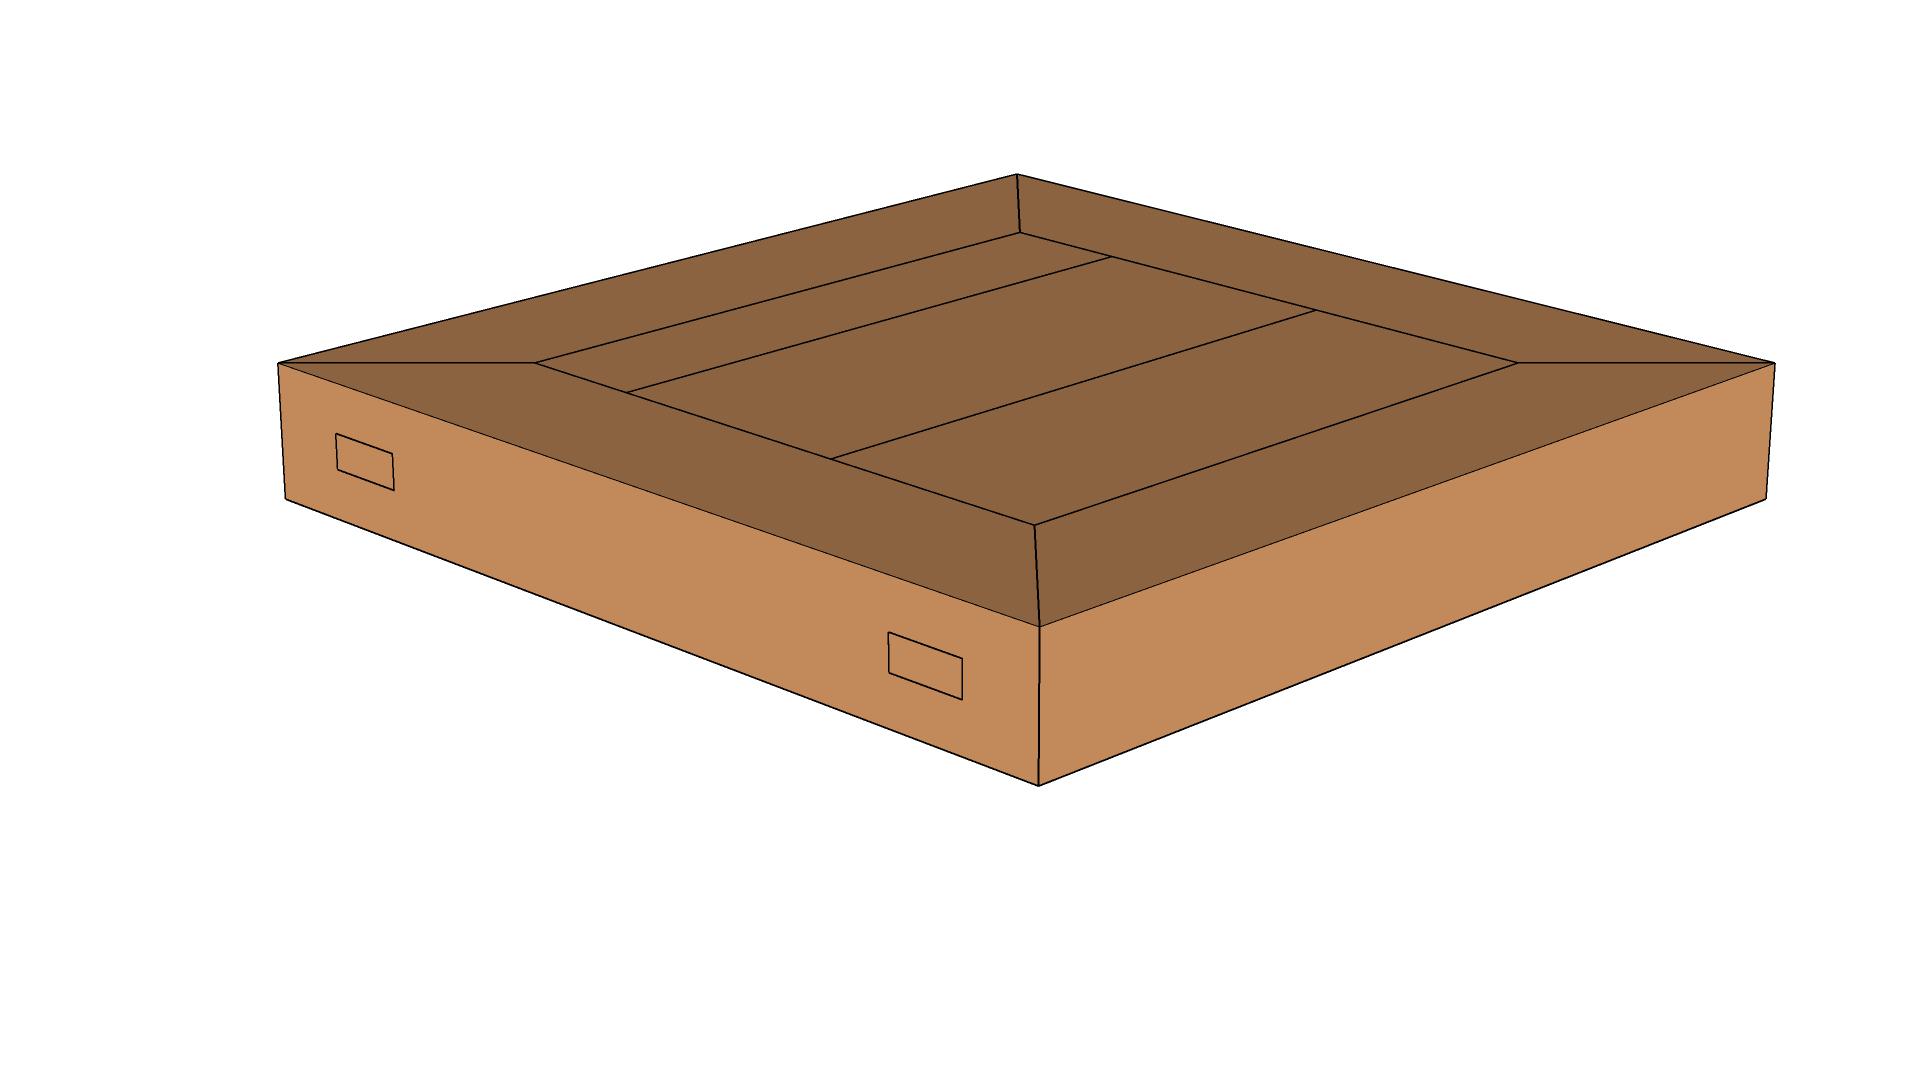
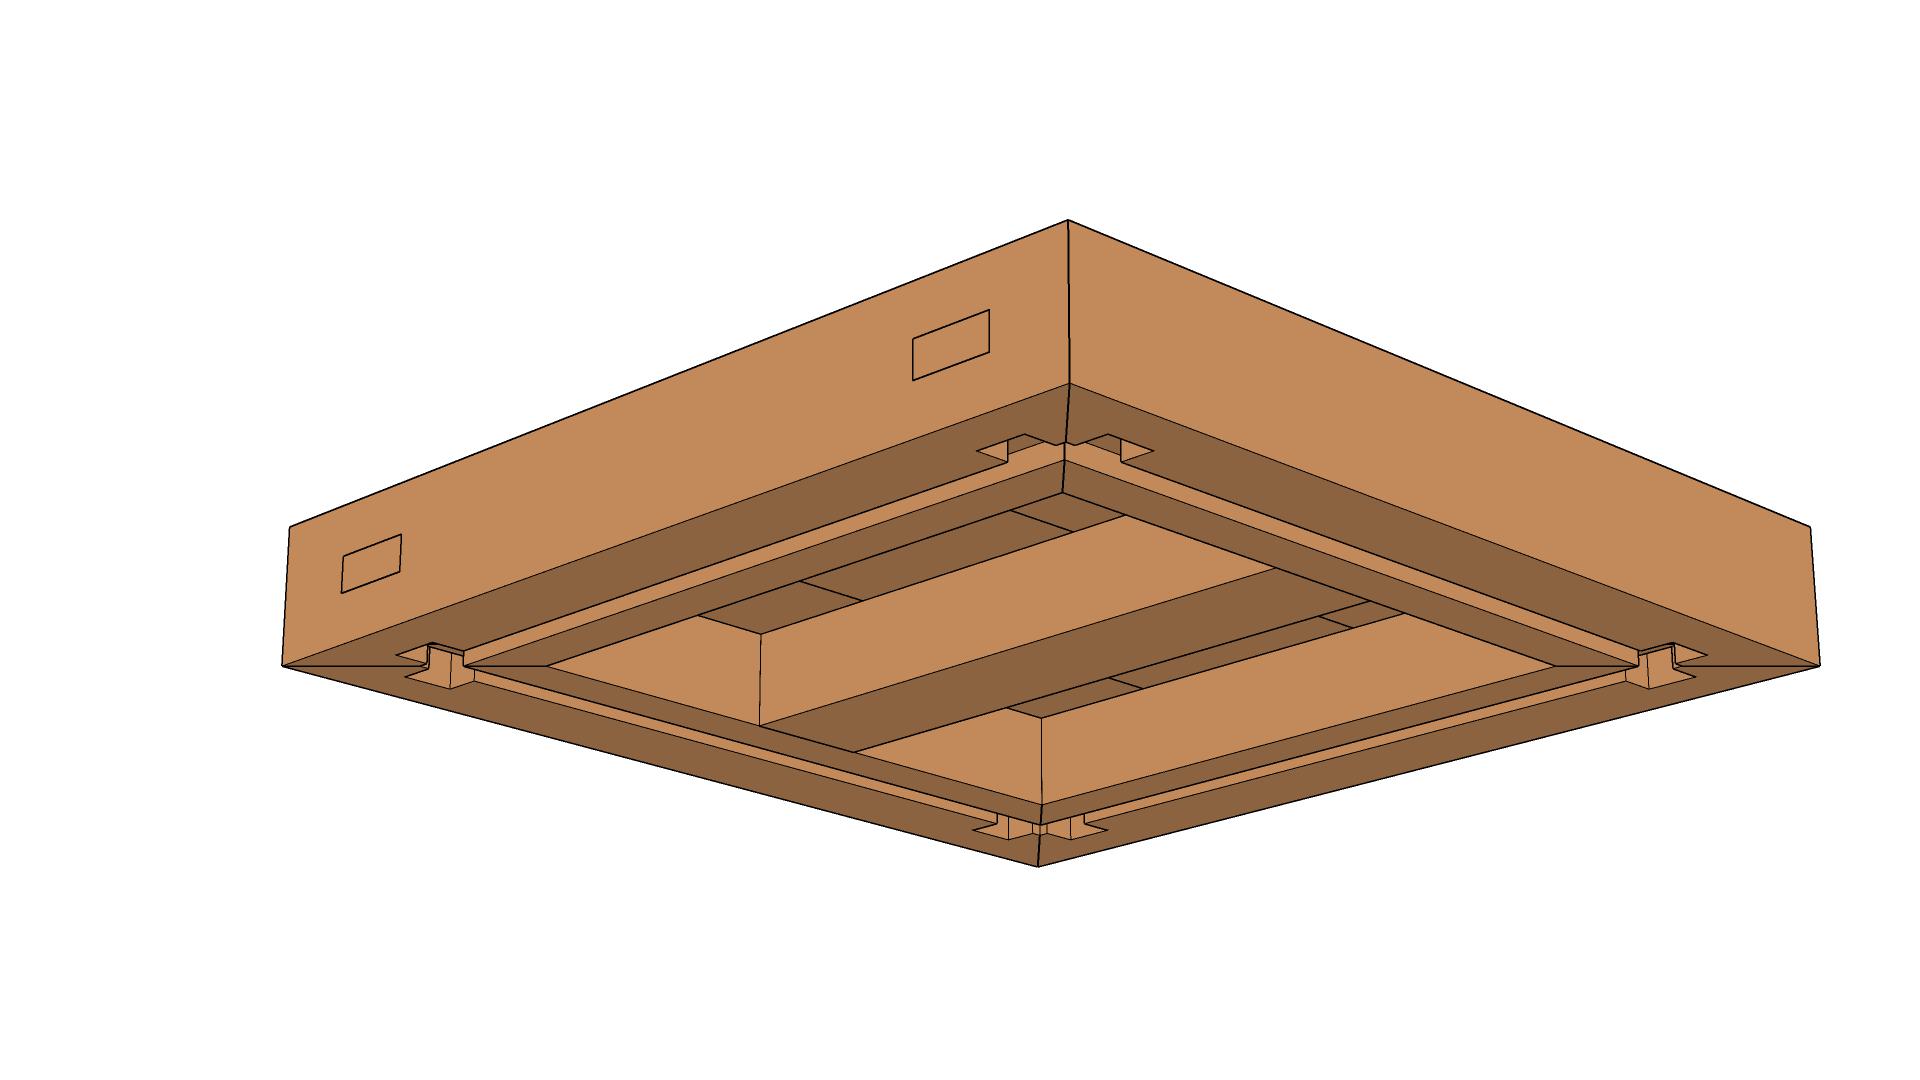
The Seat
1: Slide Brace Onto Panel
To allow for panel expansion the brace should not be glued in place.
2: Glue Seat Together
The remaining mortise and tenon joints should be glued in place, careful not to get glue on the panel edges and groove.
3: Cut Leg Mortises
Cut mortise holes for legs, tenon side should be shallower.
4: Round Edges
Round the edges of the seat.
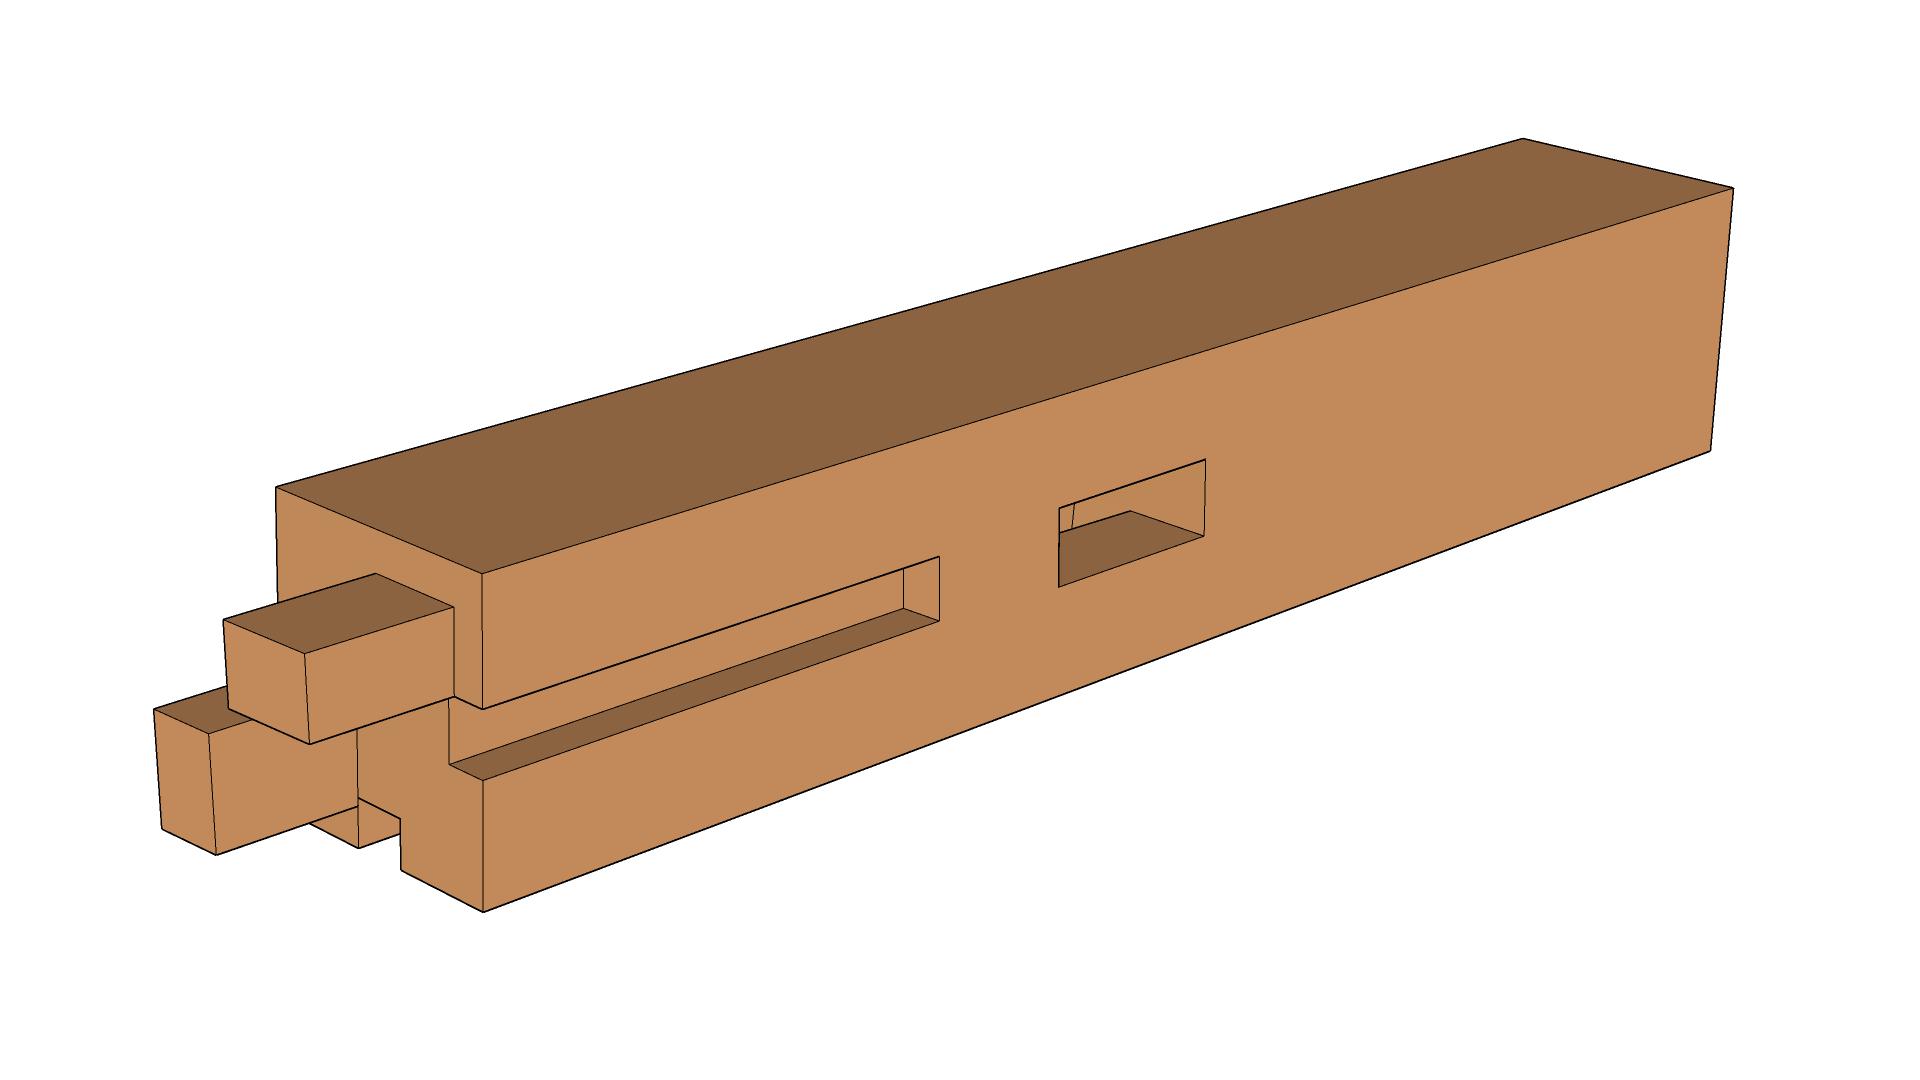
The Leg
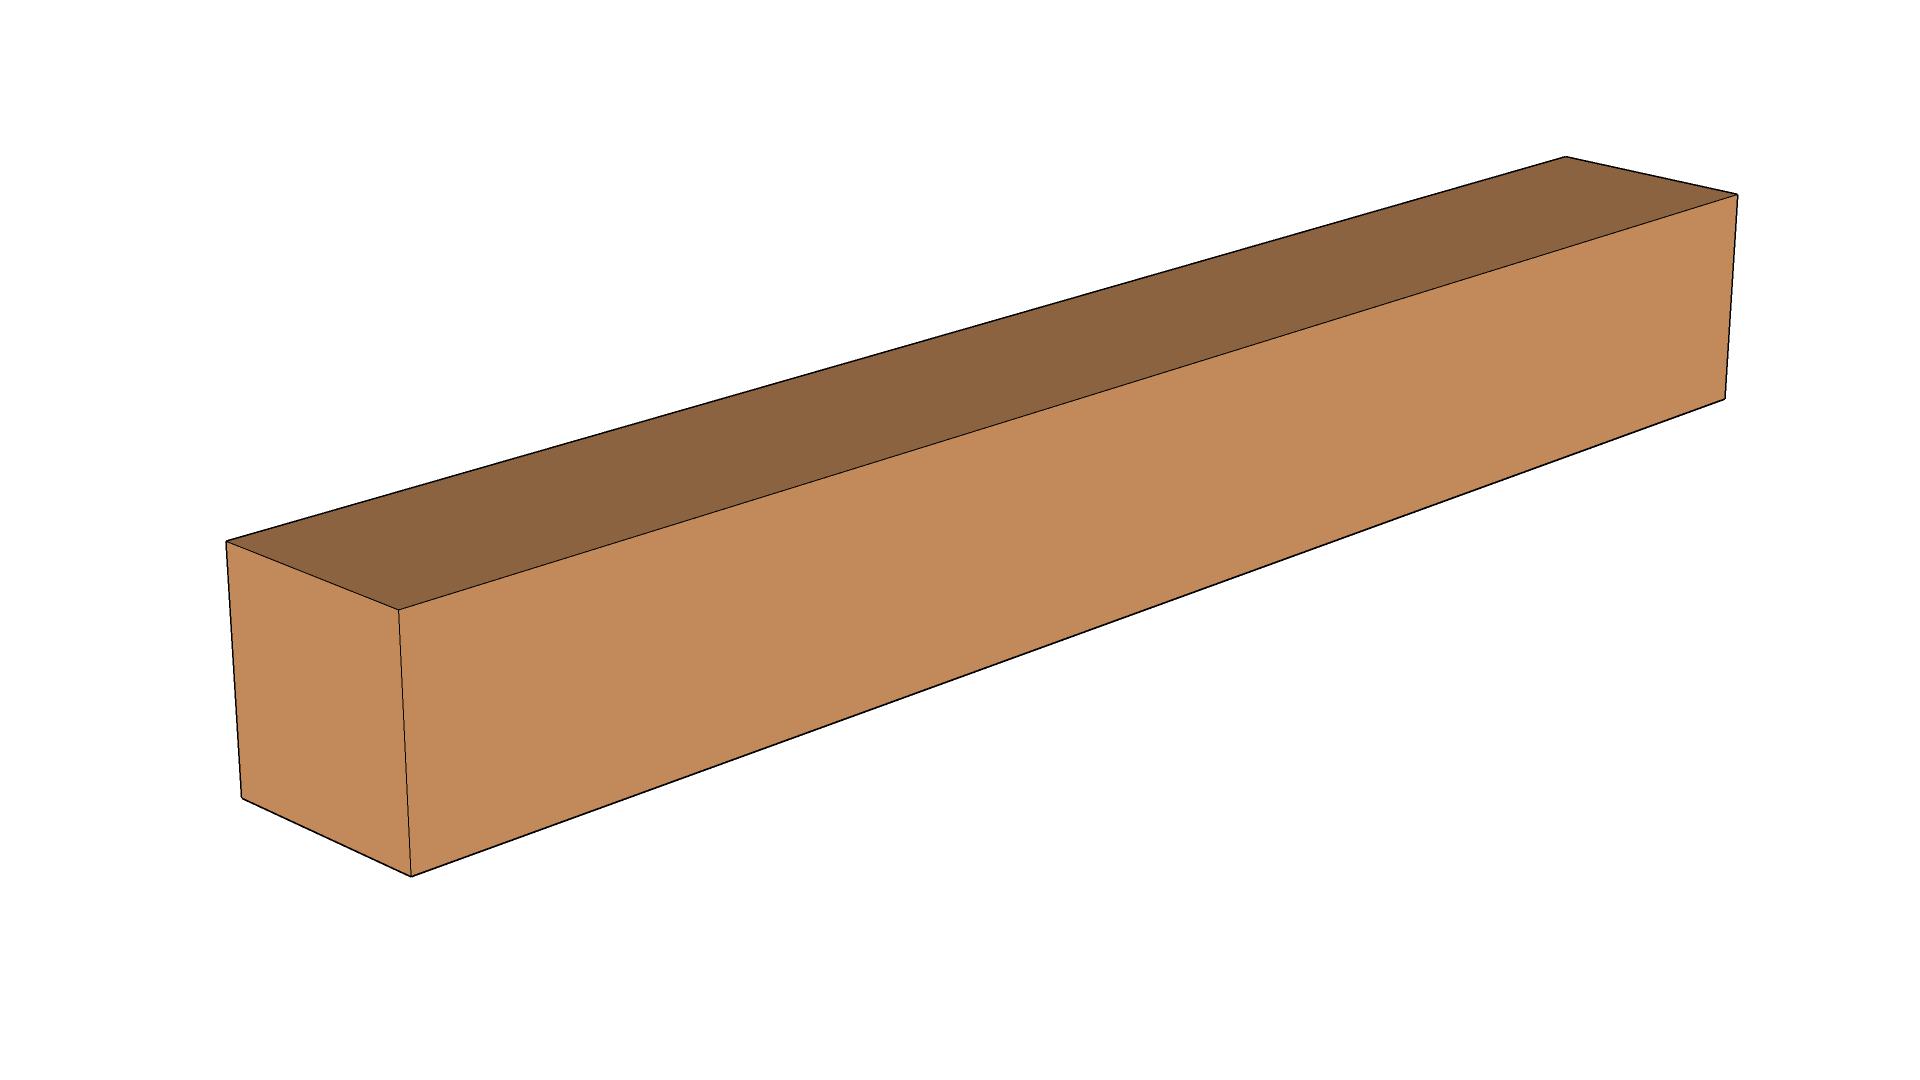
1: Rough Dimension
Cut timber to rough dimensions.
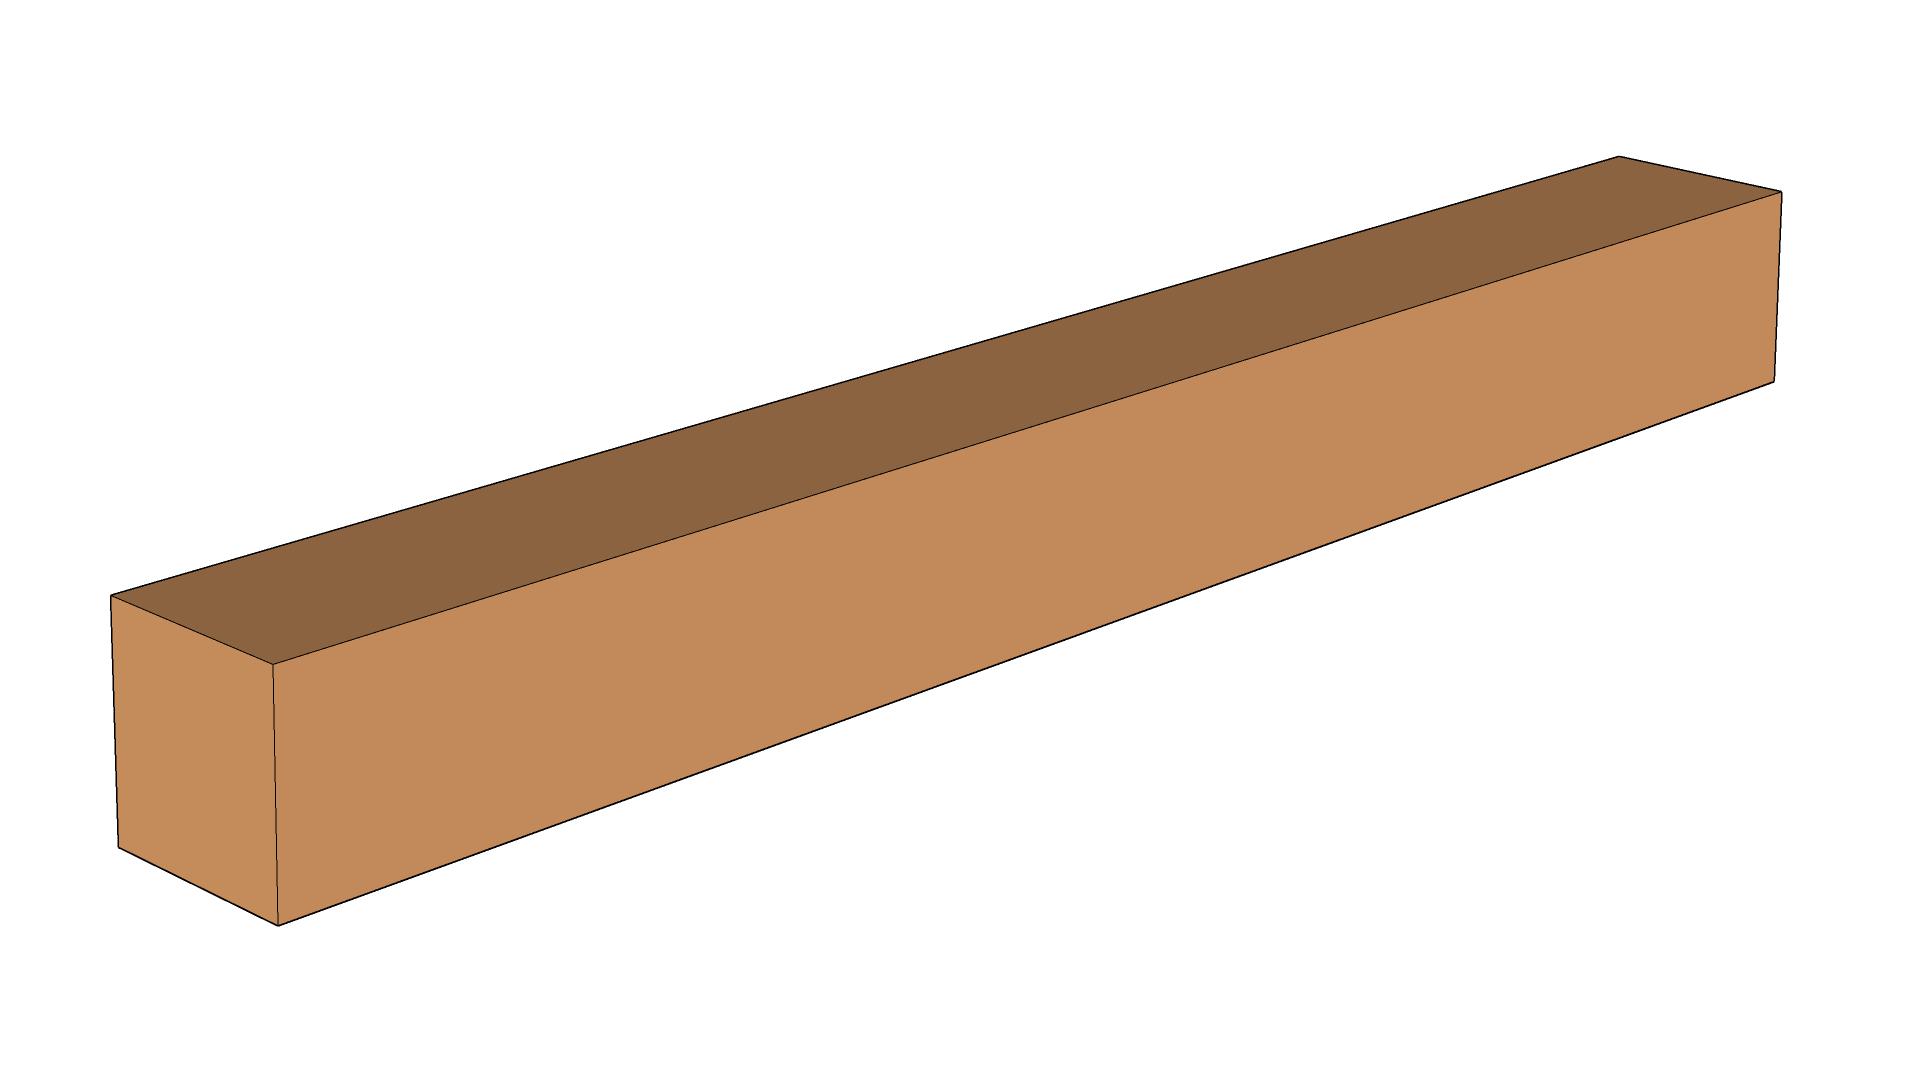
2: Dimension
Square timber and cut to final length, bottom of the leg should be cut at two angles.
3: Cut Tenons
Tenon cheeks should be cut straight, but tenon shoulders need to be cut angled parallel to the leg bottom.
4: Cut Mortises
Cut mortise holes for stretchers, a hole on both internal faces.
5: Cut Waist Grooves
Cut grooves for waists on both internal faces of the leg.
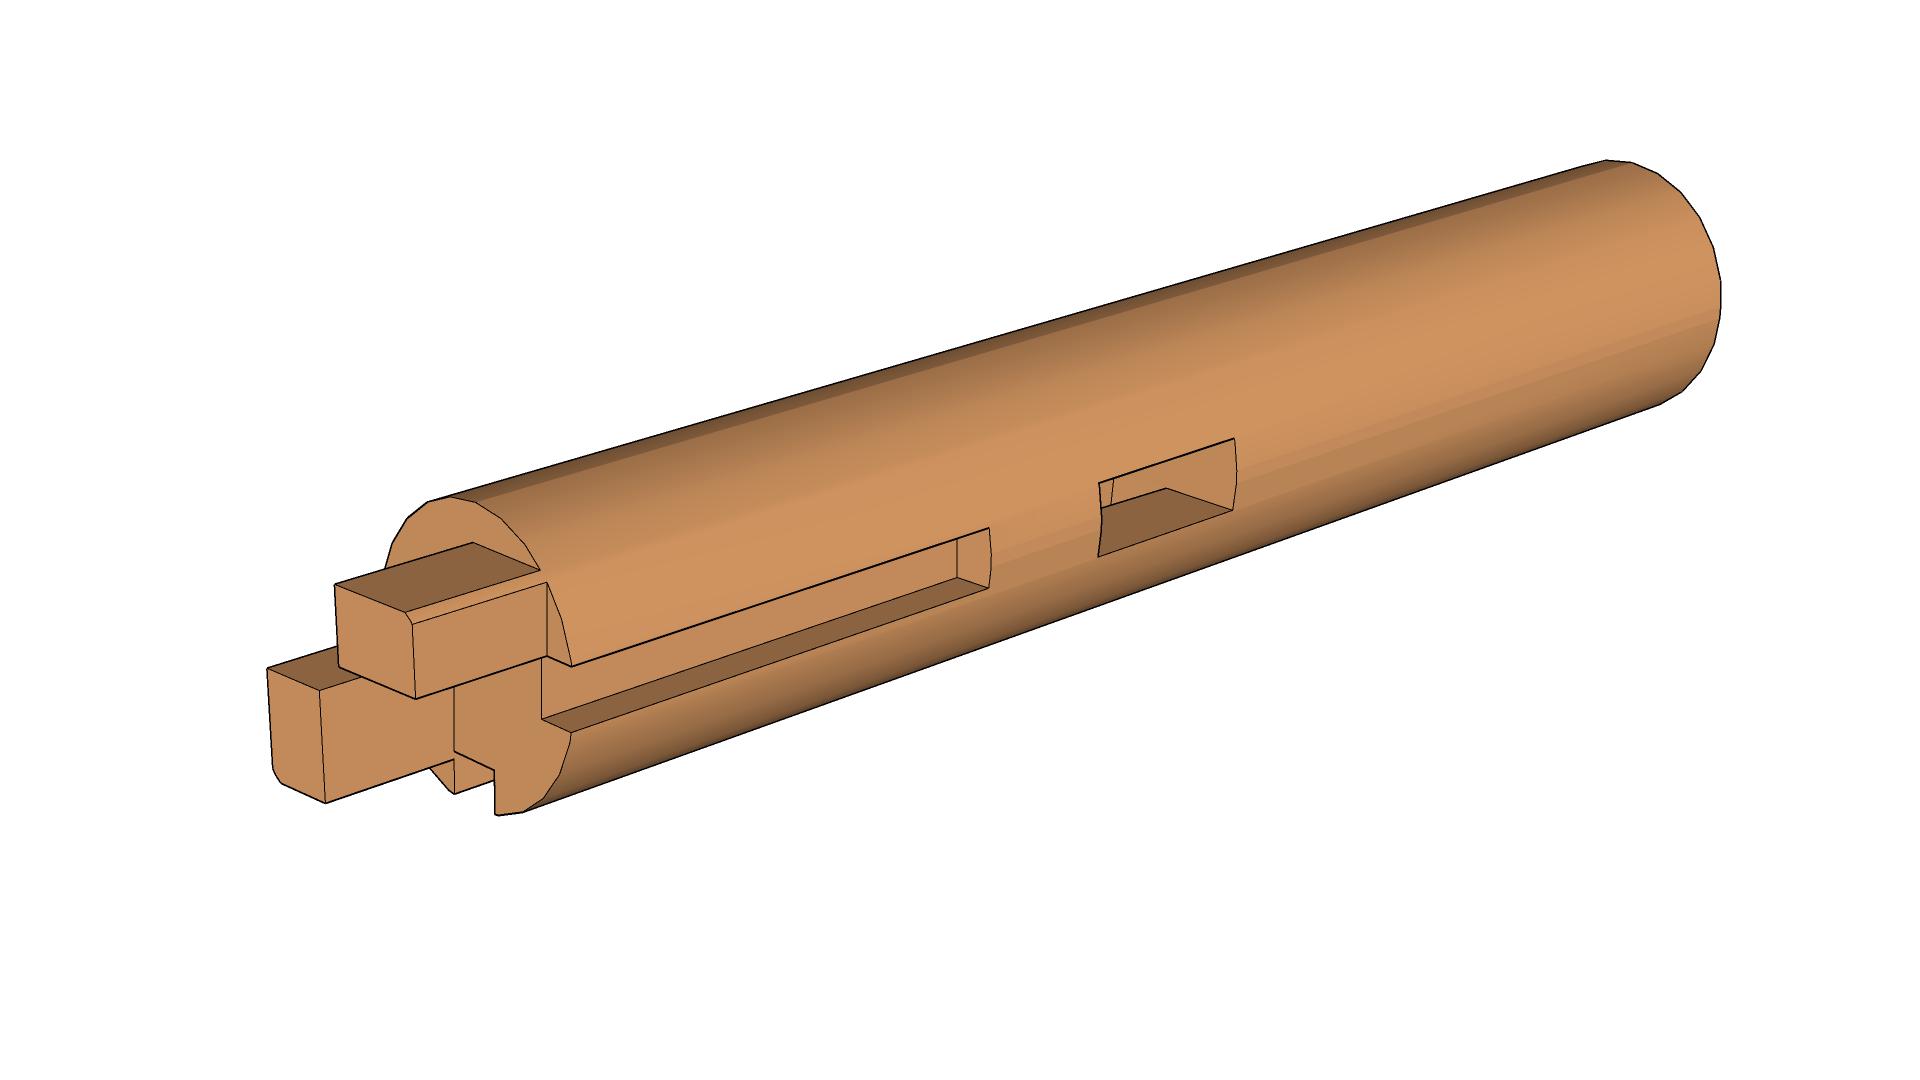
6: Round Edges
Round the edges of the legs to form a cylinder. A chamfer should also be cut at the bottom of the leg to avoid splintering.
The Stretcher
1: Rough Dimension
Cut timber to rough dimensions.
2: Dimension
Square timber and cut to final length, both ends should be angled.
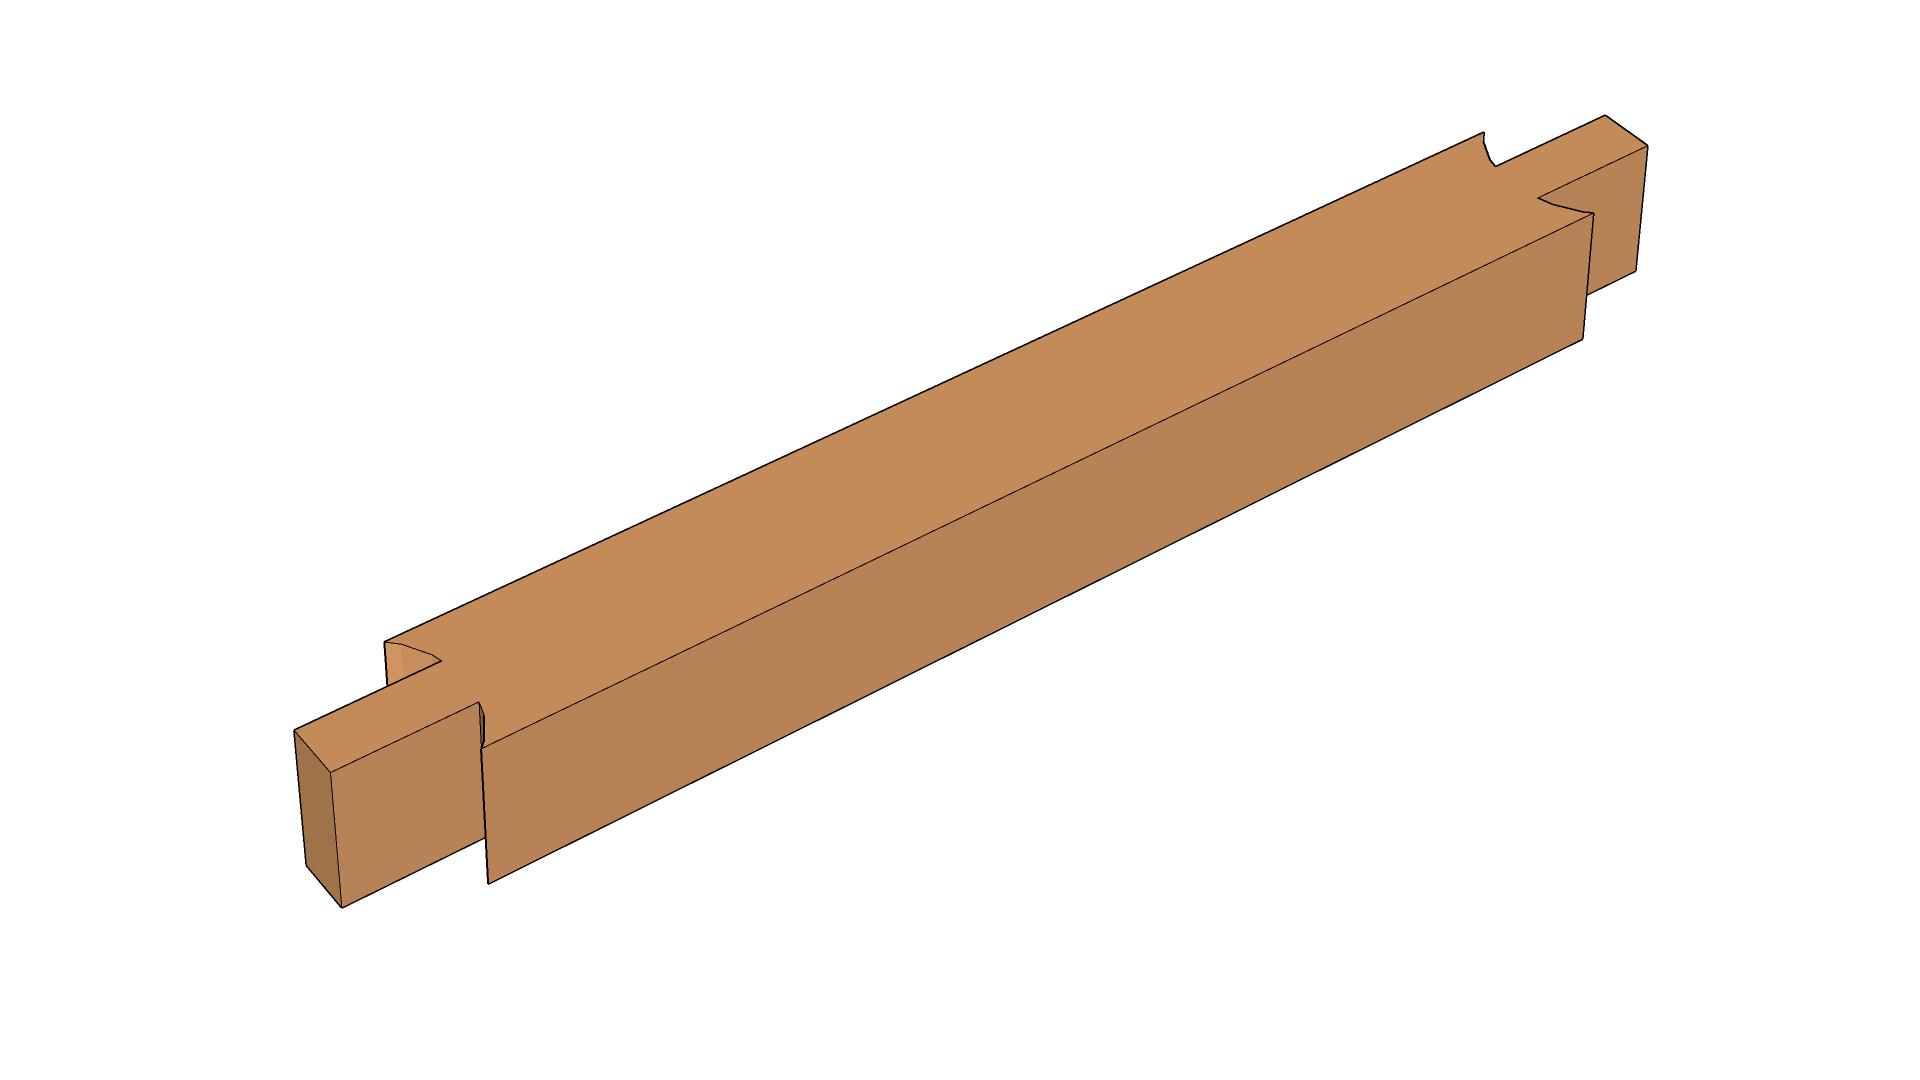
3: Cut Tenon Cheeks
Cut tenon cheeks, 3mm away from the curved shoulder line.
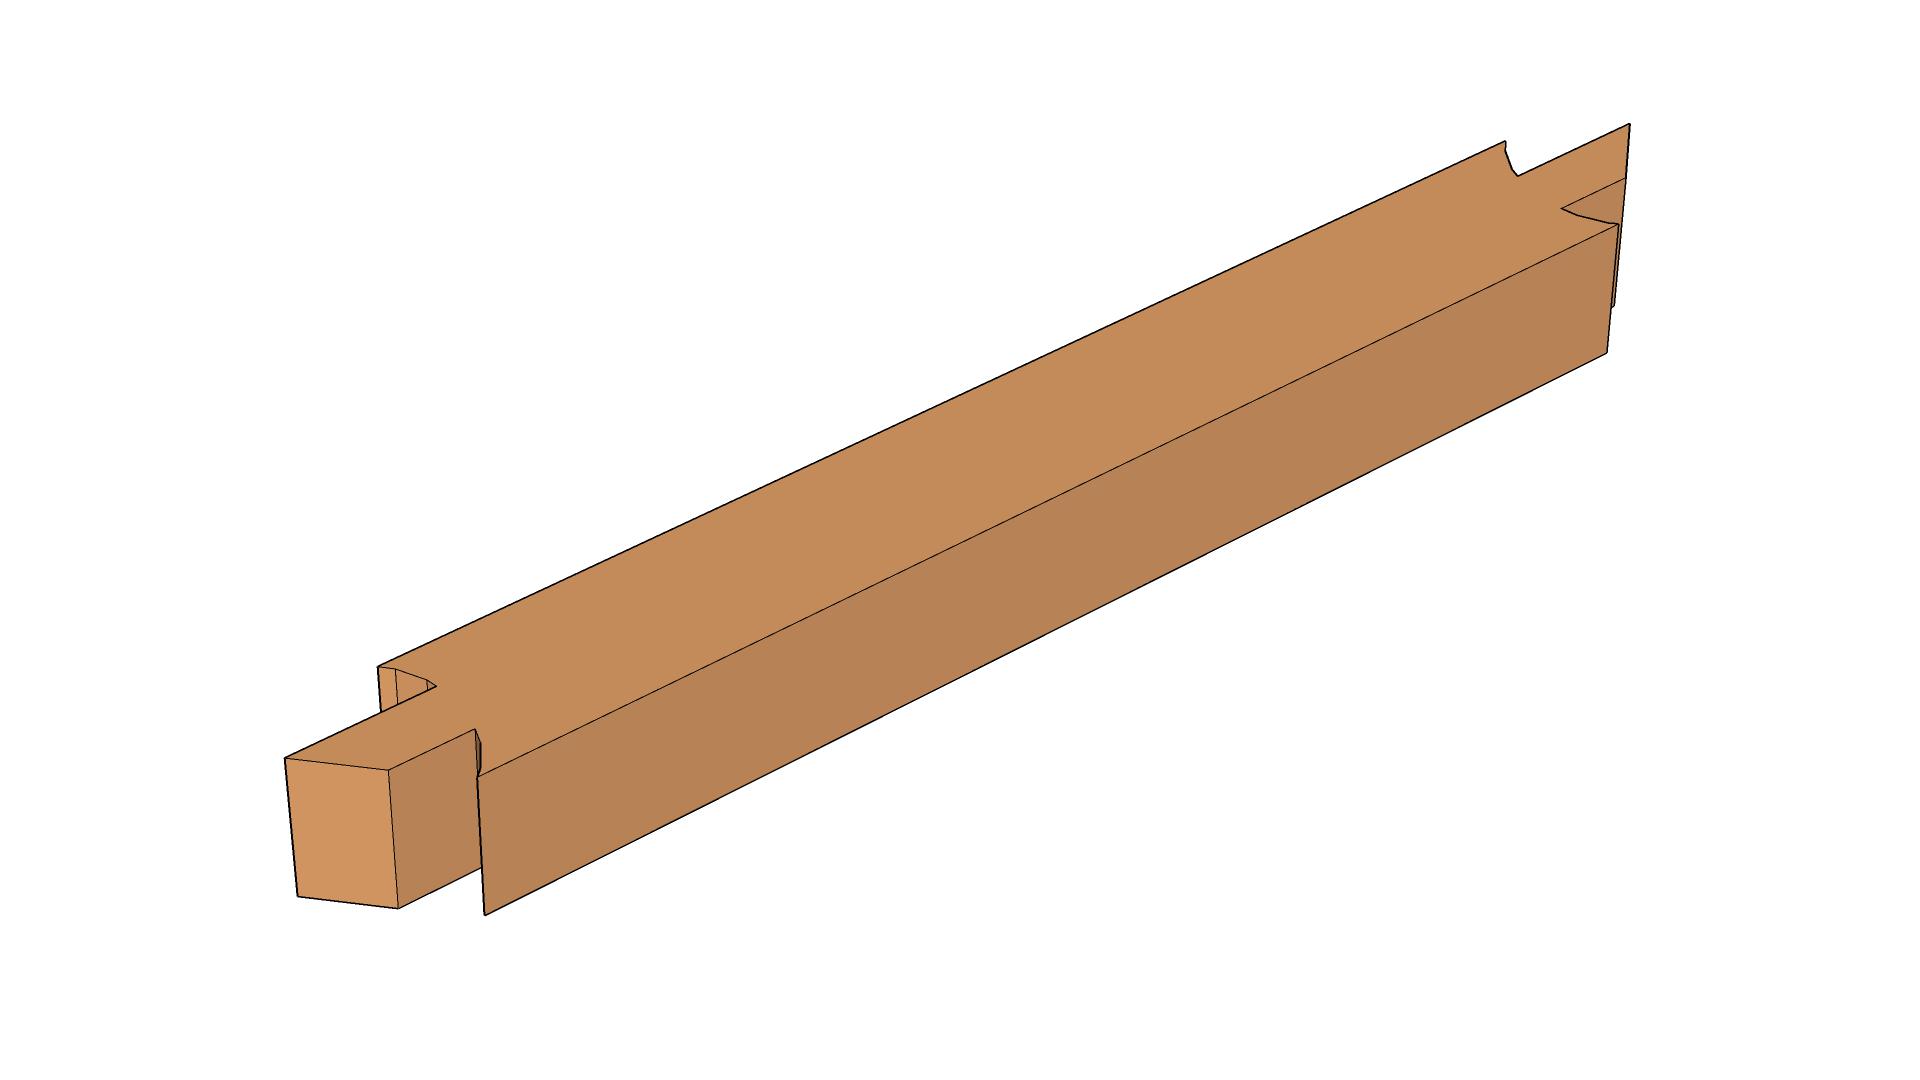
4: Cut Tenon Shoulders
Using a custom router bit, cut the remaining cheek waist and tenon shoulders.
5: Cut Tenon Mitre
To fit inside the leg the tenon ends need to be cut at a 45-degree angle.
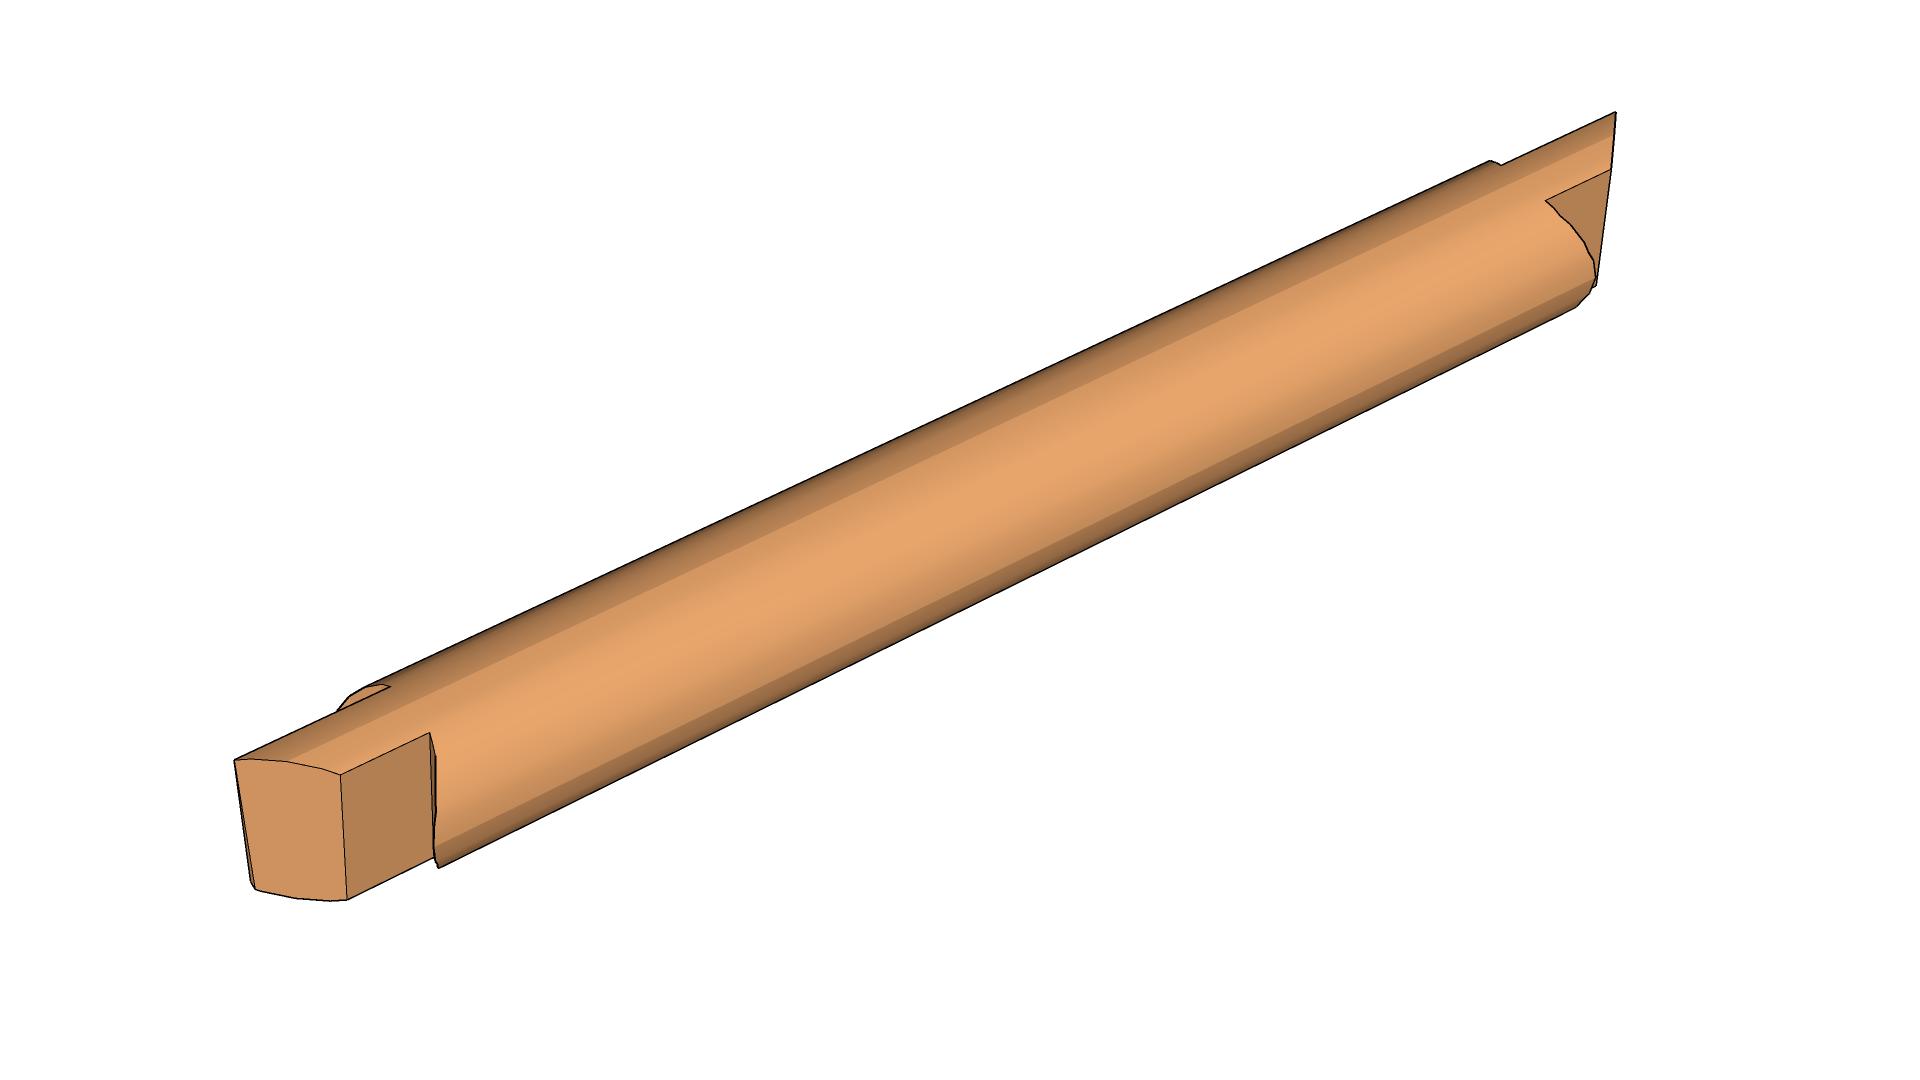
6: Round Edges
Round the edges of the stretcher to form a cylinder.
The Waist
1: Rough Dimension
Cut timber to rough dimensions.
2: Dimension
Square timber and cut to final length, both ends should be angled.
3: Cut Waist Inset
Create a template so all waist panels are the same, and using a router cut out the waste.